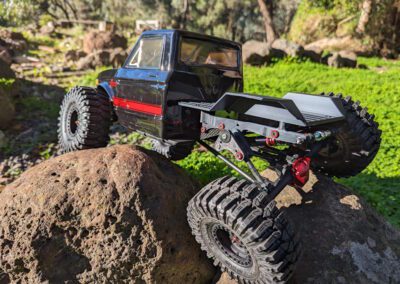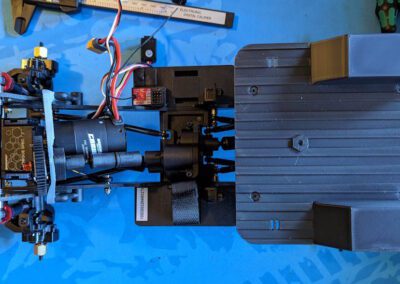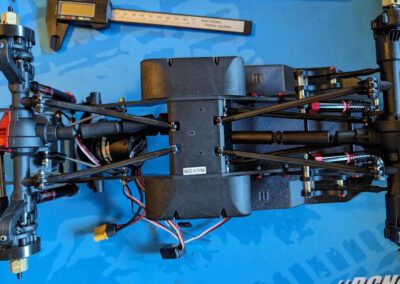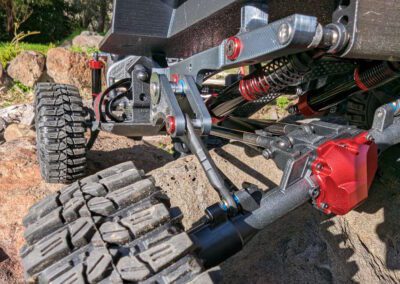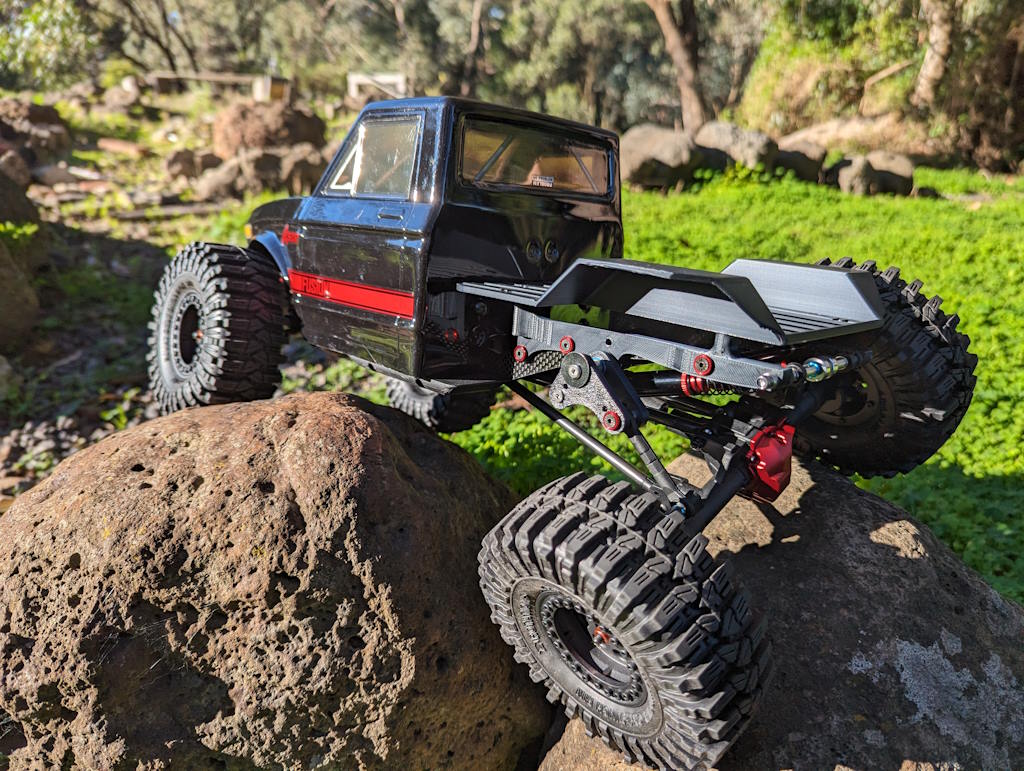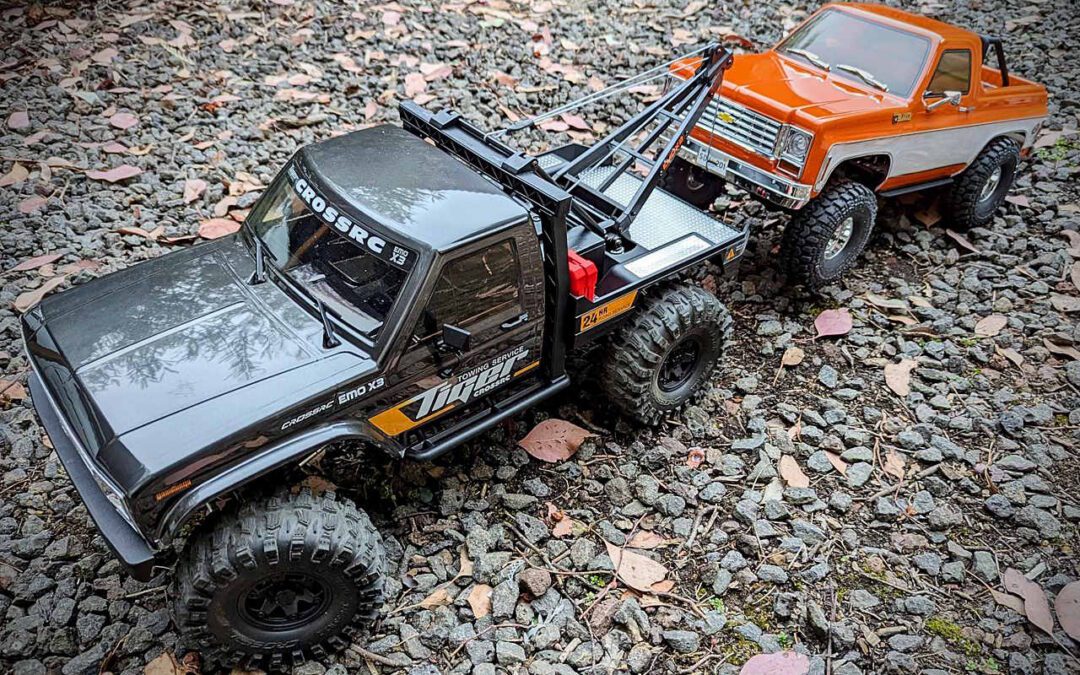
Servo Bracket for Cross RC UT4 Pro

Servo Bracket for Cross RC UT4 Pro

Micro Servo Bracket for Cross RC UT4 Pro

What This Is

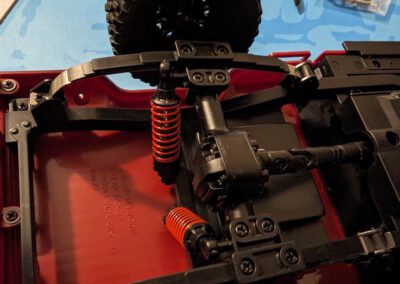
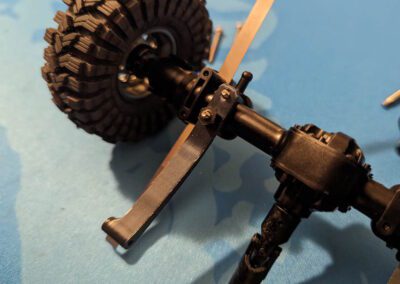
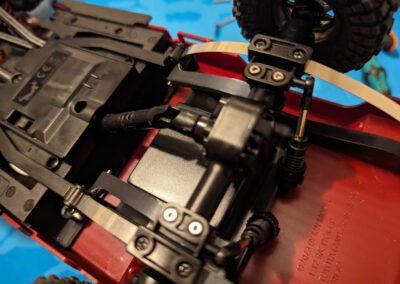
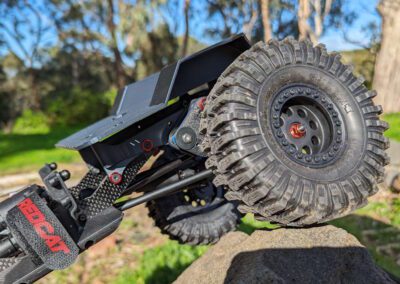
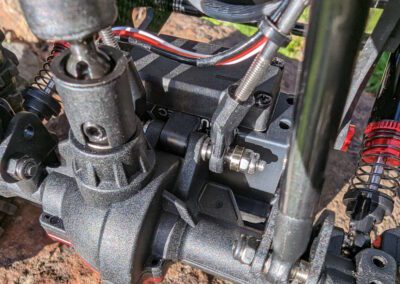
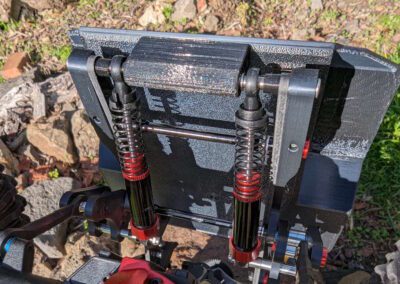
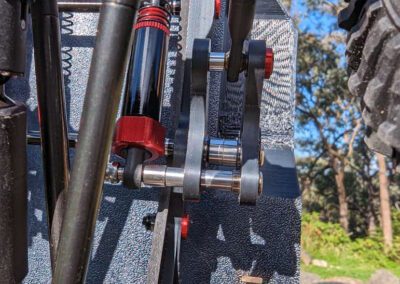
There’s a bracket on the Cross RC UT4 Pro that lets you have indepenent control of the front and rear diff locks with two servos, or to combine them and use just one servo for both.

However, a standard servo won’t fit, even with some cutting of the standard bracket. A micro servo won’t fit because it’s too small. The size that does fit is uncommon and you pretty much have to buy the Cross RC unit.

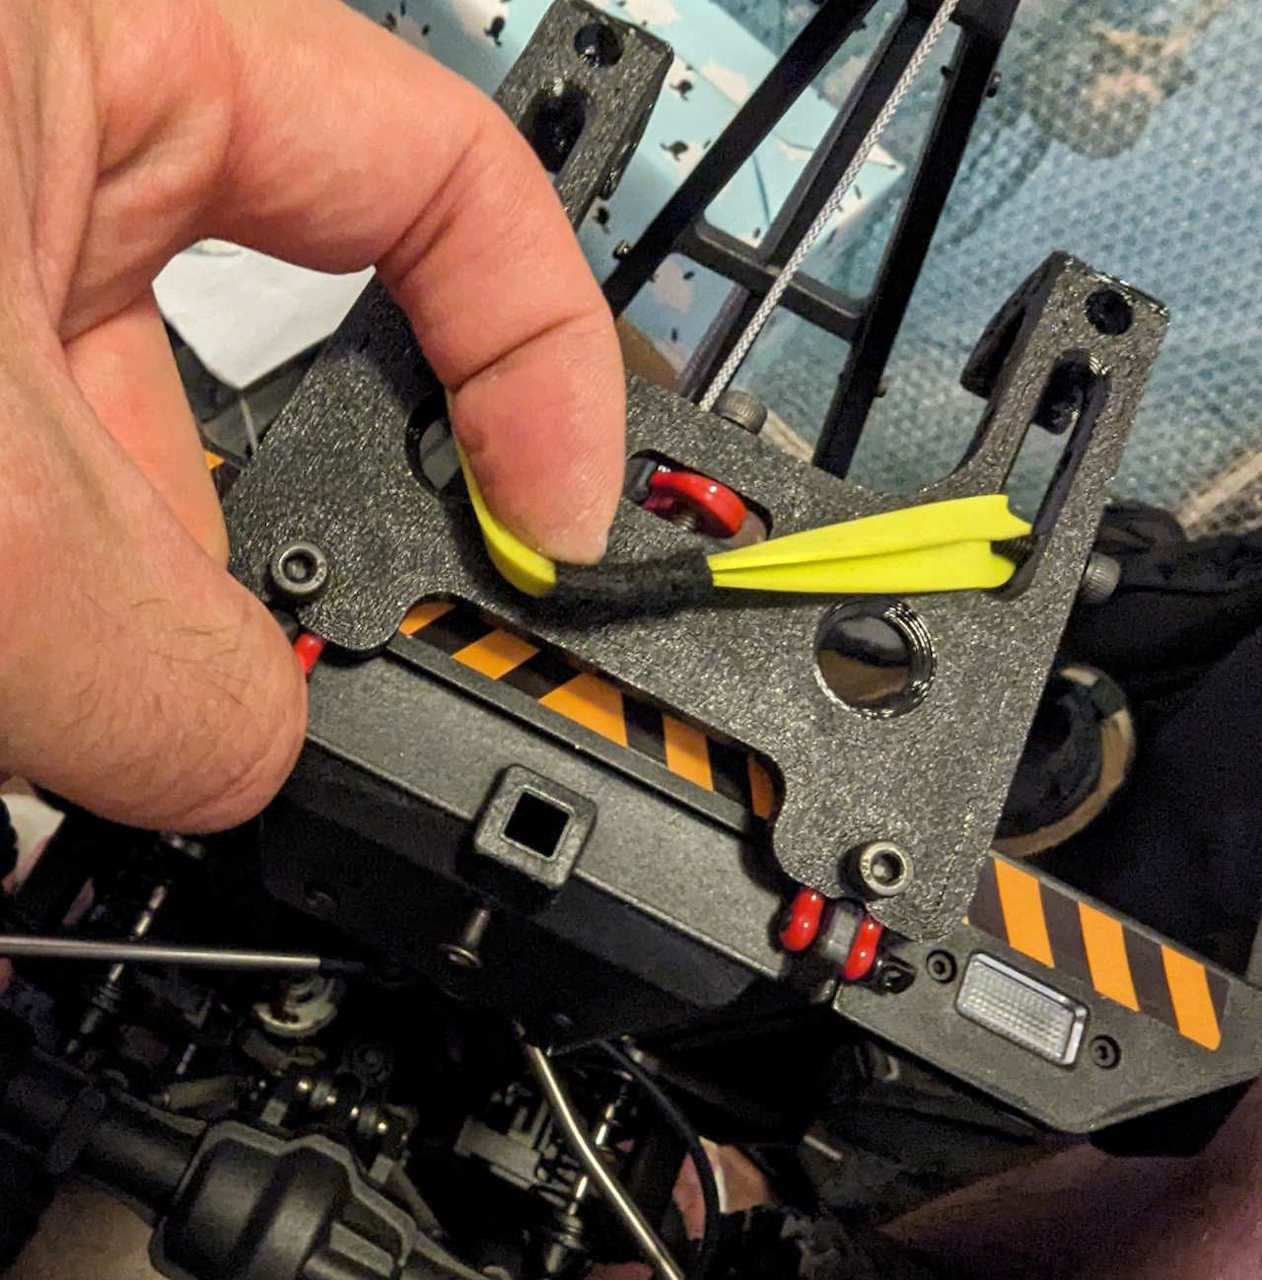
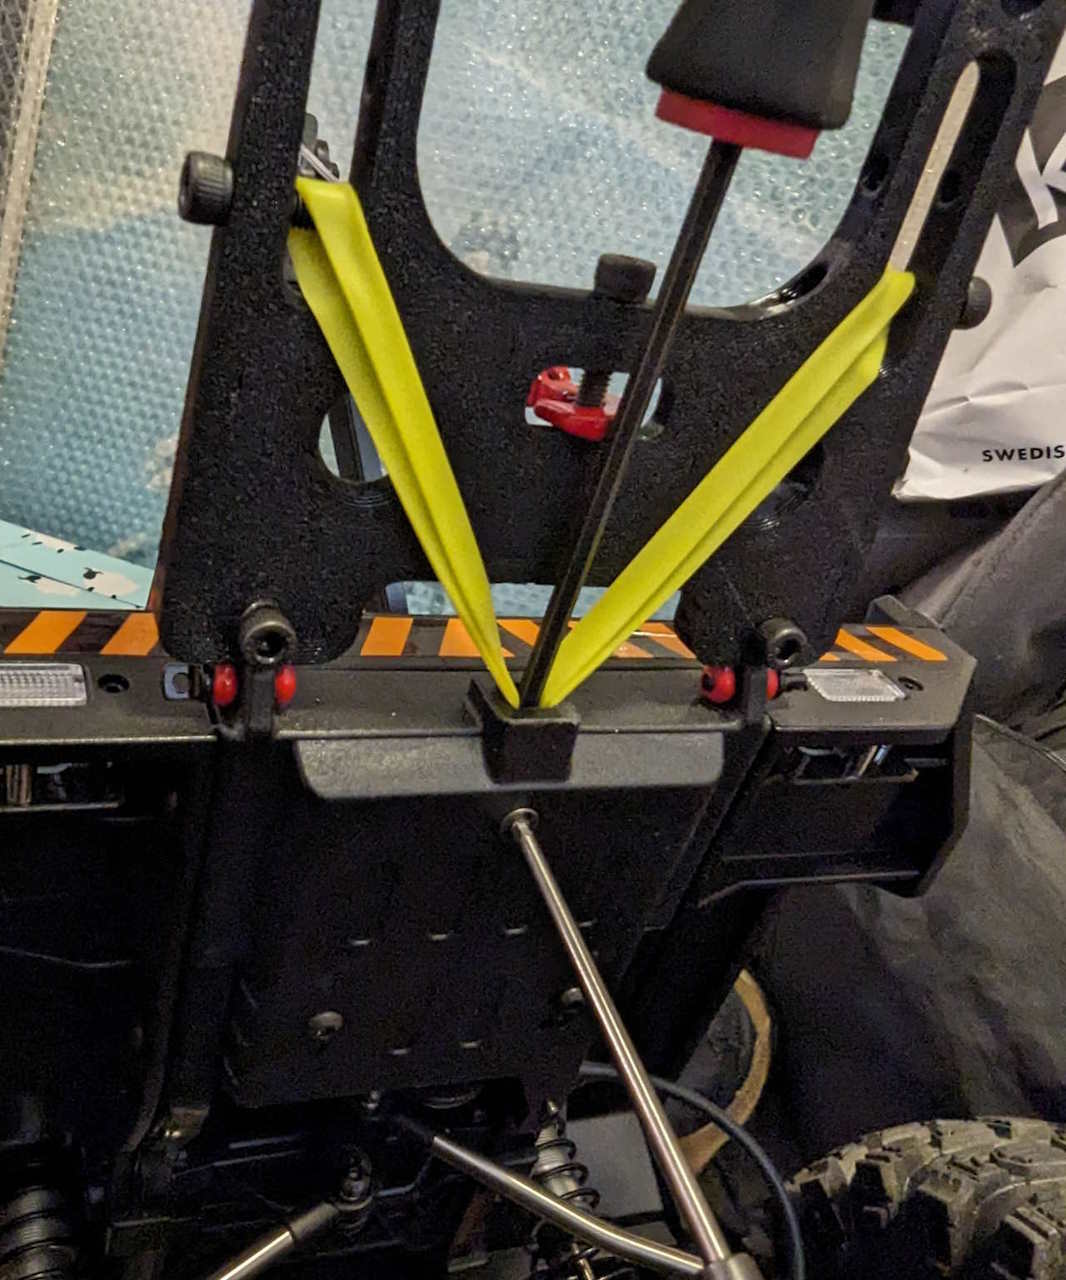
So, this bracket is one solution. to the problem. This bracket will allow you to fit a micro servo (like the Power HD TR4 or jxServo micro) to operate both diff locks at once, no cutting required. So much easier! Just be sure to use a strong servo!

From AsiaTees: jxServo HV1151MG

From Amazon: PowerHD TR4

Cross RC UT4 Pro Brackets

What’s Included

The zip file below contains:

  • RC-TNT Micro Servo Bracket for UT4 Pro.stl – 3D-printable STL file for the bracket to fit a micro servo;
  • Installing servo.jpg;
  • Print Orientation.jpg;
  • Read Me.txt
Bracket Print Orientation

How to Print

I printed in PLA+, though PLA, PETG and other rigid filaments should be fine. I’d suggest these settings:

– 0.4mm nozzle (or bigger)
– 0.24mm layer size (I used 0.3mm with my 0.6mm nozzle)
– 3 to 6 wall width (or wall or shell layers)
– 20% infill, cubic (10% minimum)
– Supports on base only, 7% angle. Only need to support the flat parts where the servo ‘wings’ mate to the bracket.

Installation

  • Print per the above settings.

  • Install servo into the bracket.

  • Place into the UT4 diff lock servo area.

  • Ensure you use the two extra triangular plastic mounts Cross RC supplies with the kit.

  • This bracket is designed to screw into those as well as the other end of the mount plate.

  • Continue with setup per manual for a single servo to do both diff locks at once.

Terms of Use

These files are provided for your personal use and enjoyment only. Please don’t print and sell them, nor the stl files (if you see them for sale in the wild, do me a solid and let me know!)

Please also don’t upload these to any of the online 3D printable sites. I’ve chosen not to do that and would appreciate you respecting that choice, as I’ve freely shared the files with you to print here on RC-TNT.com.

Thank you and please enjoy!

Craig Veness

Craig Veness

RC-TNT

Craig has been into radio control since the 90s and into RC crawling since about 2010, when a Losi MRC started the obsession! Now it's all rocks this and crawl that and upgrade all the things! ...You know how it is, right? Welcome home 🙂

Weight Plate Bracket for RC4WD Intimidator

Weight Plate Bracket for RC4WD Intimidator

Weight Plate Bracket for RC4WD Intimidator Pulling Sled

What This Is

This is a weight plate bracket for the RC4WD Intimidator pulling sled. It’s a two-piece, printable design that’s made to let you use standard or olympic weight plates with your RC pulling sled.

Select the bracket to suit your available weight plates, olympic or standard, and then choose whether to print the 4-plate or 6-plate height. Print the two pieces and assemble with some bolts, and you’re ready to tow!

Sendero HD pulls RC4WD Intimidator

What’s Included

The zip file below contains:

  • Files for 4 variants of the bracket:
    • Olympic 4-plate, A & B;
    • Olympic 6-plate, A & B;
    • Standard 4-plate, A & B;
    • Standard 6-plate, A & B;
  • RC-TNT Plate Brackets – Plated.png – a picture of the brackets plated for printing;
  • RC-TNT Plate Brackets for RC4WD Intimidator.png – a picture of how the brackets go together with hardware;
  • Read Me.txt
RC-TNT Plate Brackets for RC4WD Intimidator

How to Print

I printed in PLA+, though PLA, PETG and other rigid filaments should be fine. I’d suggest these settings:

– 0.4mm nozzle (or bigger)
– 0.24mm layer size (I used 0.3mm with my 0.6mm nozzle)
– 4 to 6 wall width (or wall or shell layers)
– 20% infill, cubic (10% minimum)
– No supports, brim or other helpers. Just print both parts flat on their backs, per the picture.
– You’ll also need hardware: 8x M3 16mm screws for 6-plate variants and 7x of the same for 4-plate variants.

Buy screws here: https://amzn.to/3OFuVk1
(A handy kit of M3 assorted socket heads for reasonable money)

RC-TNT Plate Brackets - Plated

Installation

  • Select the bracket to print. You’ll need both the A and B parts.
  • Print per the above settings.
  • Assemble with screws.

Place into the Intimidator’s tray and add your plates. You’ll want to put 1.25kg plates on for the first couple, so that they clear the sides of the ‘box’ the bracket sits in. Subsequent plates will clear the borders.

RC4WD Intimidator with Plates

Terms of Use

These files are provided for your personal use and enjoyment only. Please don’t print and sell them, nor the stl files (if you see them for sale in the wild, do me a solid and let me know!)

Please also don’t upload these to any of the online 3D printable sites. I’ve chosen not to do that and would appreciate you respecting that choice, as I’ve freely shared the files with you to print here on RC-TNT.com.

Thank you and please enjoy!

Craig Veness

Craig Veness

RC-TNT

Craig has been into radio control since the 90s and into RC crawling since about 2010, when a Losi MRC started the obsession! Now it's all rocks this and crawl that and upgrade all the things! ...You know how it is, right? Welcome home 🙂
Cross Brace for 560 Motor in FMS FCX10

Cross Brace for 560 Motor in FMS FCX10

Long Motor Cross Brace for FMS FCX10

Long Motor Cross Brace for FMS FCX10

What This Is

This is a one-piece cross-brace that’s designed to replace the stock piece in the FMS FCX10 K5 Blazer. It sits between the motor and the servo and provides chassis rigidity and receiver holes for the shock hoop screws.

Print this tray and install it using the hardware that came with the car. You’ll have more room for your longer motor with no loss in rigidity or strength. Win-win!

Cross Brace for FMS FCX10 Installed

What’s Included

The zip file below contains:

  • RC-TNT Cross Brace for FMS FCX10.stl
  • Read Me.txt
Cross Brace for FMS FCX10 Top-Down

How to Print

I printed in PLA+, though PLA, PETG and other rigid filaments should be fine. I’d suggest these settings:

– 0.4mm nozzle (or bigger)
– 0.24mm layer size (I used 0.3mm with my 0.6mm nozzle)
– 4 to 6 wall width (or wall or shell layers)
– 60% infill, cubic (25% minimum)
– No supports, brim or other helpers. Just print it flat and you’re done.

Cross Brace for FMS FCX10 Underside

Installation

Simply remove the stock cross-brace that sits between the motor and the servo in your FMS FCX10. Install this one, with the deeper gap at the back. There’s a small arrow on the top surface that points to the front of the chassis.

Now you have 6mm more room for a 560 sized motor, or for whatever other crazy thing you’re trying to run in the car.


FMS FCX10 K5 Blazer

Terms of Use

These files are provided for your personal use and enjoyment only. Please don’t print and sell them, nor the stl files (if you see them for sale in the wild, do me a solid and let me know!)

Please also don’t upload these to any of the online 3D printable sites. I’ve chosen not to do that and would appreciate you respecting that choice, as I’ve freely shared the files with you to print here on RC-TNT.com.

Thank you and please enjoy!

Craig Veness

Craig Veness

RC-TNT

Craig has been into radio control since the 90s and into RC crawling since about 2010, when a Losi MRC started the obsession! Now it's all rocks this and crawl that and upgrade all the things! ...You know how it is, right? Welcome home 🙂
Tray Fix for Furitek FX-118

Tray Fix for Furitek FX-118

Battery Tray for FuriTek FX118 Fury Wagon

FX118 on Rock

What This Is

This is a one-piece battery & electronics tray that is designed to move the weight forward on the Furitek FX-118 Fury Wagon. In stock form, the model has too much rear weight and struggles when crawling.

Print this tray and install it using the hardware that came with the car. You’ll have a more capable rig, even if you do nothing else!

FX118 RHS Chassis

What’s Included

The zip file below contains:

  • RC-TNT CoG Fix for FX-118.stl
  • Read Me.txt
FX118 Front LHS

How to Print

I strongly suggest PLA+ or other impact-resistant filaments. I’d suggest these settings:

– 0.4mm nozzle (or bigger)
– 0.24mm layer size (I used 0.3mm with my 0.6mm nozzle)
– 6 wall width (or wall or shell layers)
– 60% infill, cubic (40% minimum)
– supports needed (tree recommended at 35 degrees)


FX118 Tray Print Setup

Installation

Once printed, install the tray with the screws from the front mount (OEM piece removed) and two of the four screws from the battery tray mounts (in the rearward of the front screw holes). Also, remove the locknuts from the front shocks and screw those same screws into the side-hoops of this tray.

Use one of the two rubber bands to secure the battery up front, and fresh double-sided tape to stick down the ESC and Receiver on the rear of the tray. See my video and/or photos on the website for specifics, or just make it up yourself. There’s no one way to do it – fit the modules how you want to 🙂

FX118 Top-Down Tray
FX118 RHS Chassis with Tray

Terms of Use

These files are provided for your personal use and enjoyment only. Please don’t print and sell them, nor the stl files (if you see them for sale in the wild, do me a solid and let me know!)

Please also don’t upload these to any of the online 3D printable sites. I’ve chosen not to do that and would appreciate you respecting that choice, as I’ve freely shared the files with you to print here on RC-TNT.com.

Thank you and please enjoy!

Craig Veness

Craig Veness

RC-TNT

Craig has been into radio control since the 90s and into RC crawling since about 2010, when a Losi MRC started the obsession! Now it's all rocks this and crawl that and upgrade all the things! ...You know how it is, right? Welcome home 🙂
Custom Body for Losi LMT Mega Trucks

Custom Body for Losi LMT Mega Trucks

Custom Body for Losi LMT Mega Trucks

Modified Losi LMT Mega Front-RHS

What This Is

These are my custom parts to help complete the project started by redbeard_ron on Thingiverse some time back. I’ve included a hood piece that helps secure the polycarbonate interior, and a pair of rear panels to help complete the rear of the cage.

My parts are sized to fit the Losi LMT Mega Truck rather than the Losi LMT, but they’re actually fairly close. Have a play with them and see what you think!

Other Useful Parts for LMT

Bull bar & axle brace: https://www.thingiverse.com/thing:4823186
Kingpin braces: https://www.thingiverse.com/thing:4838068
redbeard_ron’s panels: https://www.thingiverse.com/thing:4929088

Printing Hood Piece

What’s Included

The zip file below contains:

  • Hood Piece V2.stl
  • Rear Panel v3.stl
  • Read Me.txt
  • identifying parts.jpg
redbeard_ron's Original Panels

How to Print

I strongly suggest PLA+ or other impact-resistant filaments. I’d suggest these settings:

– 0.4mm nozzle (or bigger)
– 0.24mm layer size (I used 0.3mm with my 0.6mm nozzle)
– 6 wall width (or wall or shell layers)
– 60% infill, cubic (40% minimum)
– no supports needed
– mirror the rear panel so you have a Left and Right side

To get the triangular patterns and multi colors on my prints, I ‘painted’ the shapes using Bambu Studio and printed with my P1S with AMS. Printing in a single color is fine, of course.


Modified Losi LMT Mega Front-LHS

Terms of Use

These files are provided for your personal use and enjoyment only. Please don’t print and sell them, nor the stl files (if you see them for sale in the wild, do me a solid and let me know!)

Please also don’t upload these to any of the online 3D printable sites. I’ve chosen not to do that and would appreciate you respecting that choice, as I’ve freely shared the files with you to print here on RC-TNT.com.

Thank you and please enjoy!

Craig Veness

Craig Veness

RC-TNT

Craig has been into radio control since the 90s and into RC crawling since about 2010, when a Losi MRC started the obsession! Now it's all rocks this and crawl that and upgrade all the things! ...You know how it is, right? Welcome home 🙂