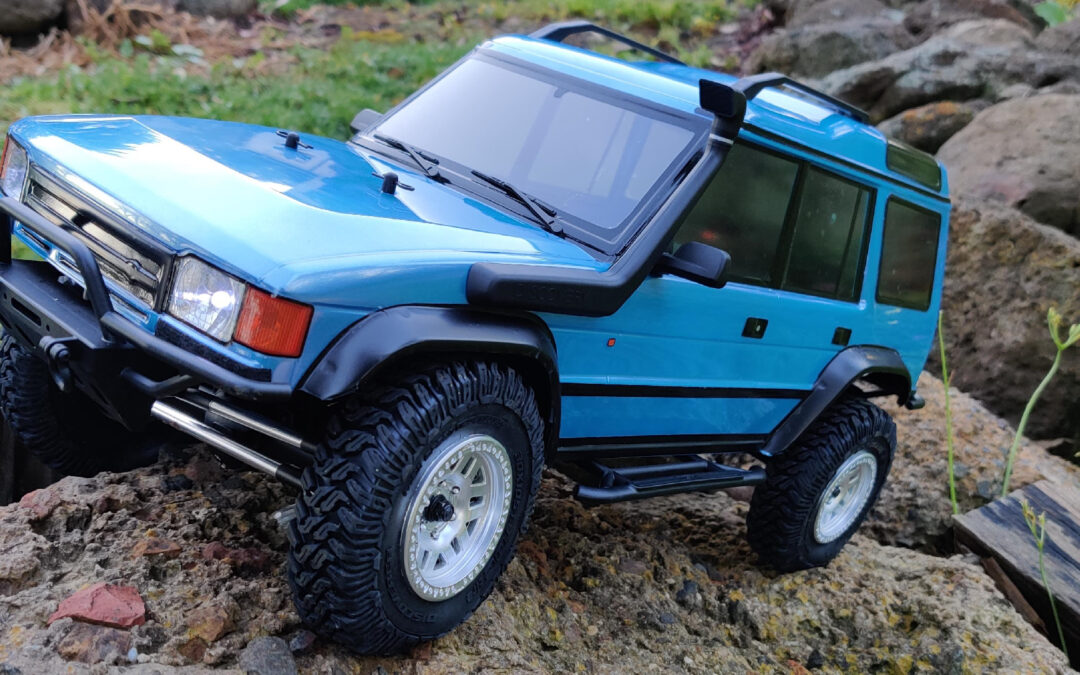
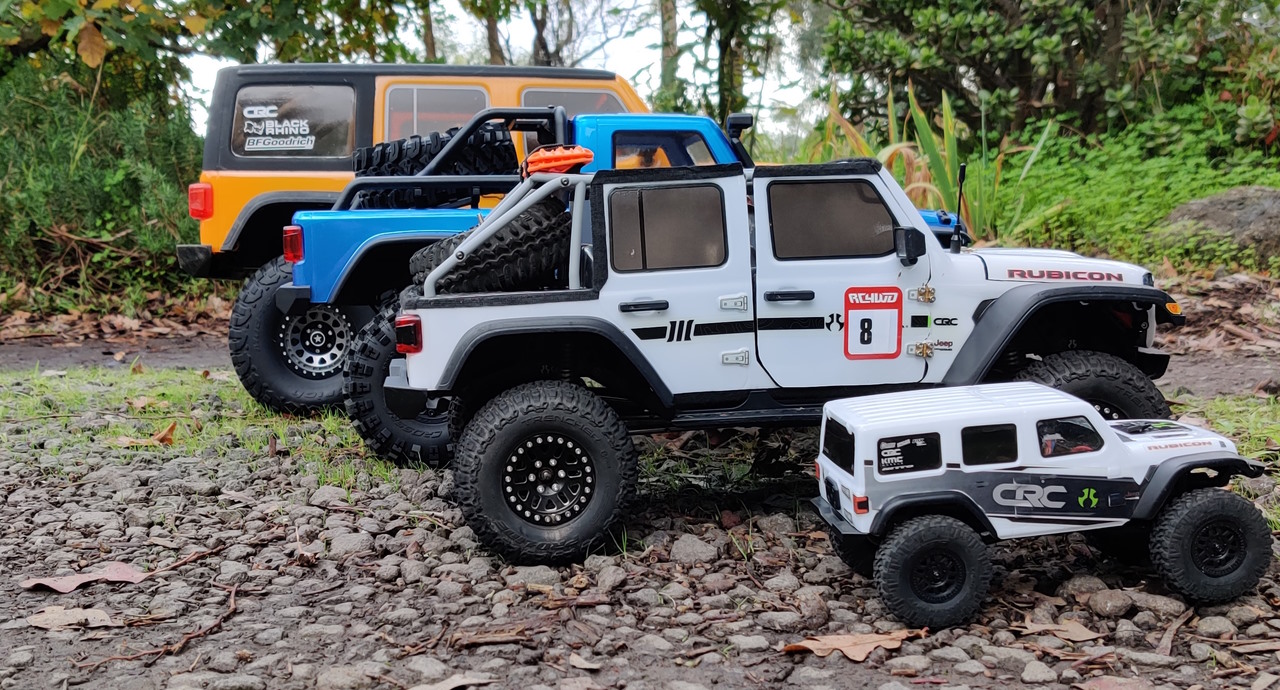
When I first heard about the MST DC1 – a new RC rock crawler from MST with a 1/10 scale Land Rover Discovery body – I instantly joined the wait-list! I already like the CFX models and the CFX-WS is something new. For once, it wasn’t a Jeep and it wasn’t some retro, American-bodied SUV or pickup truck. Rather, the good old Land Rover Disco would be available in 1/10 scale. Shut up and take my money!
That was in July 2021. The model was released in October 2021 and I got my Australian hands on it in early November.
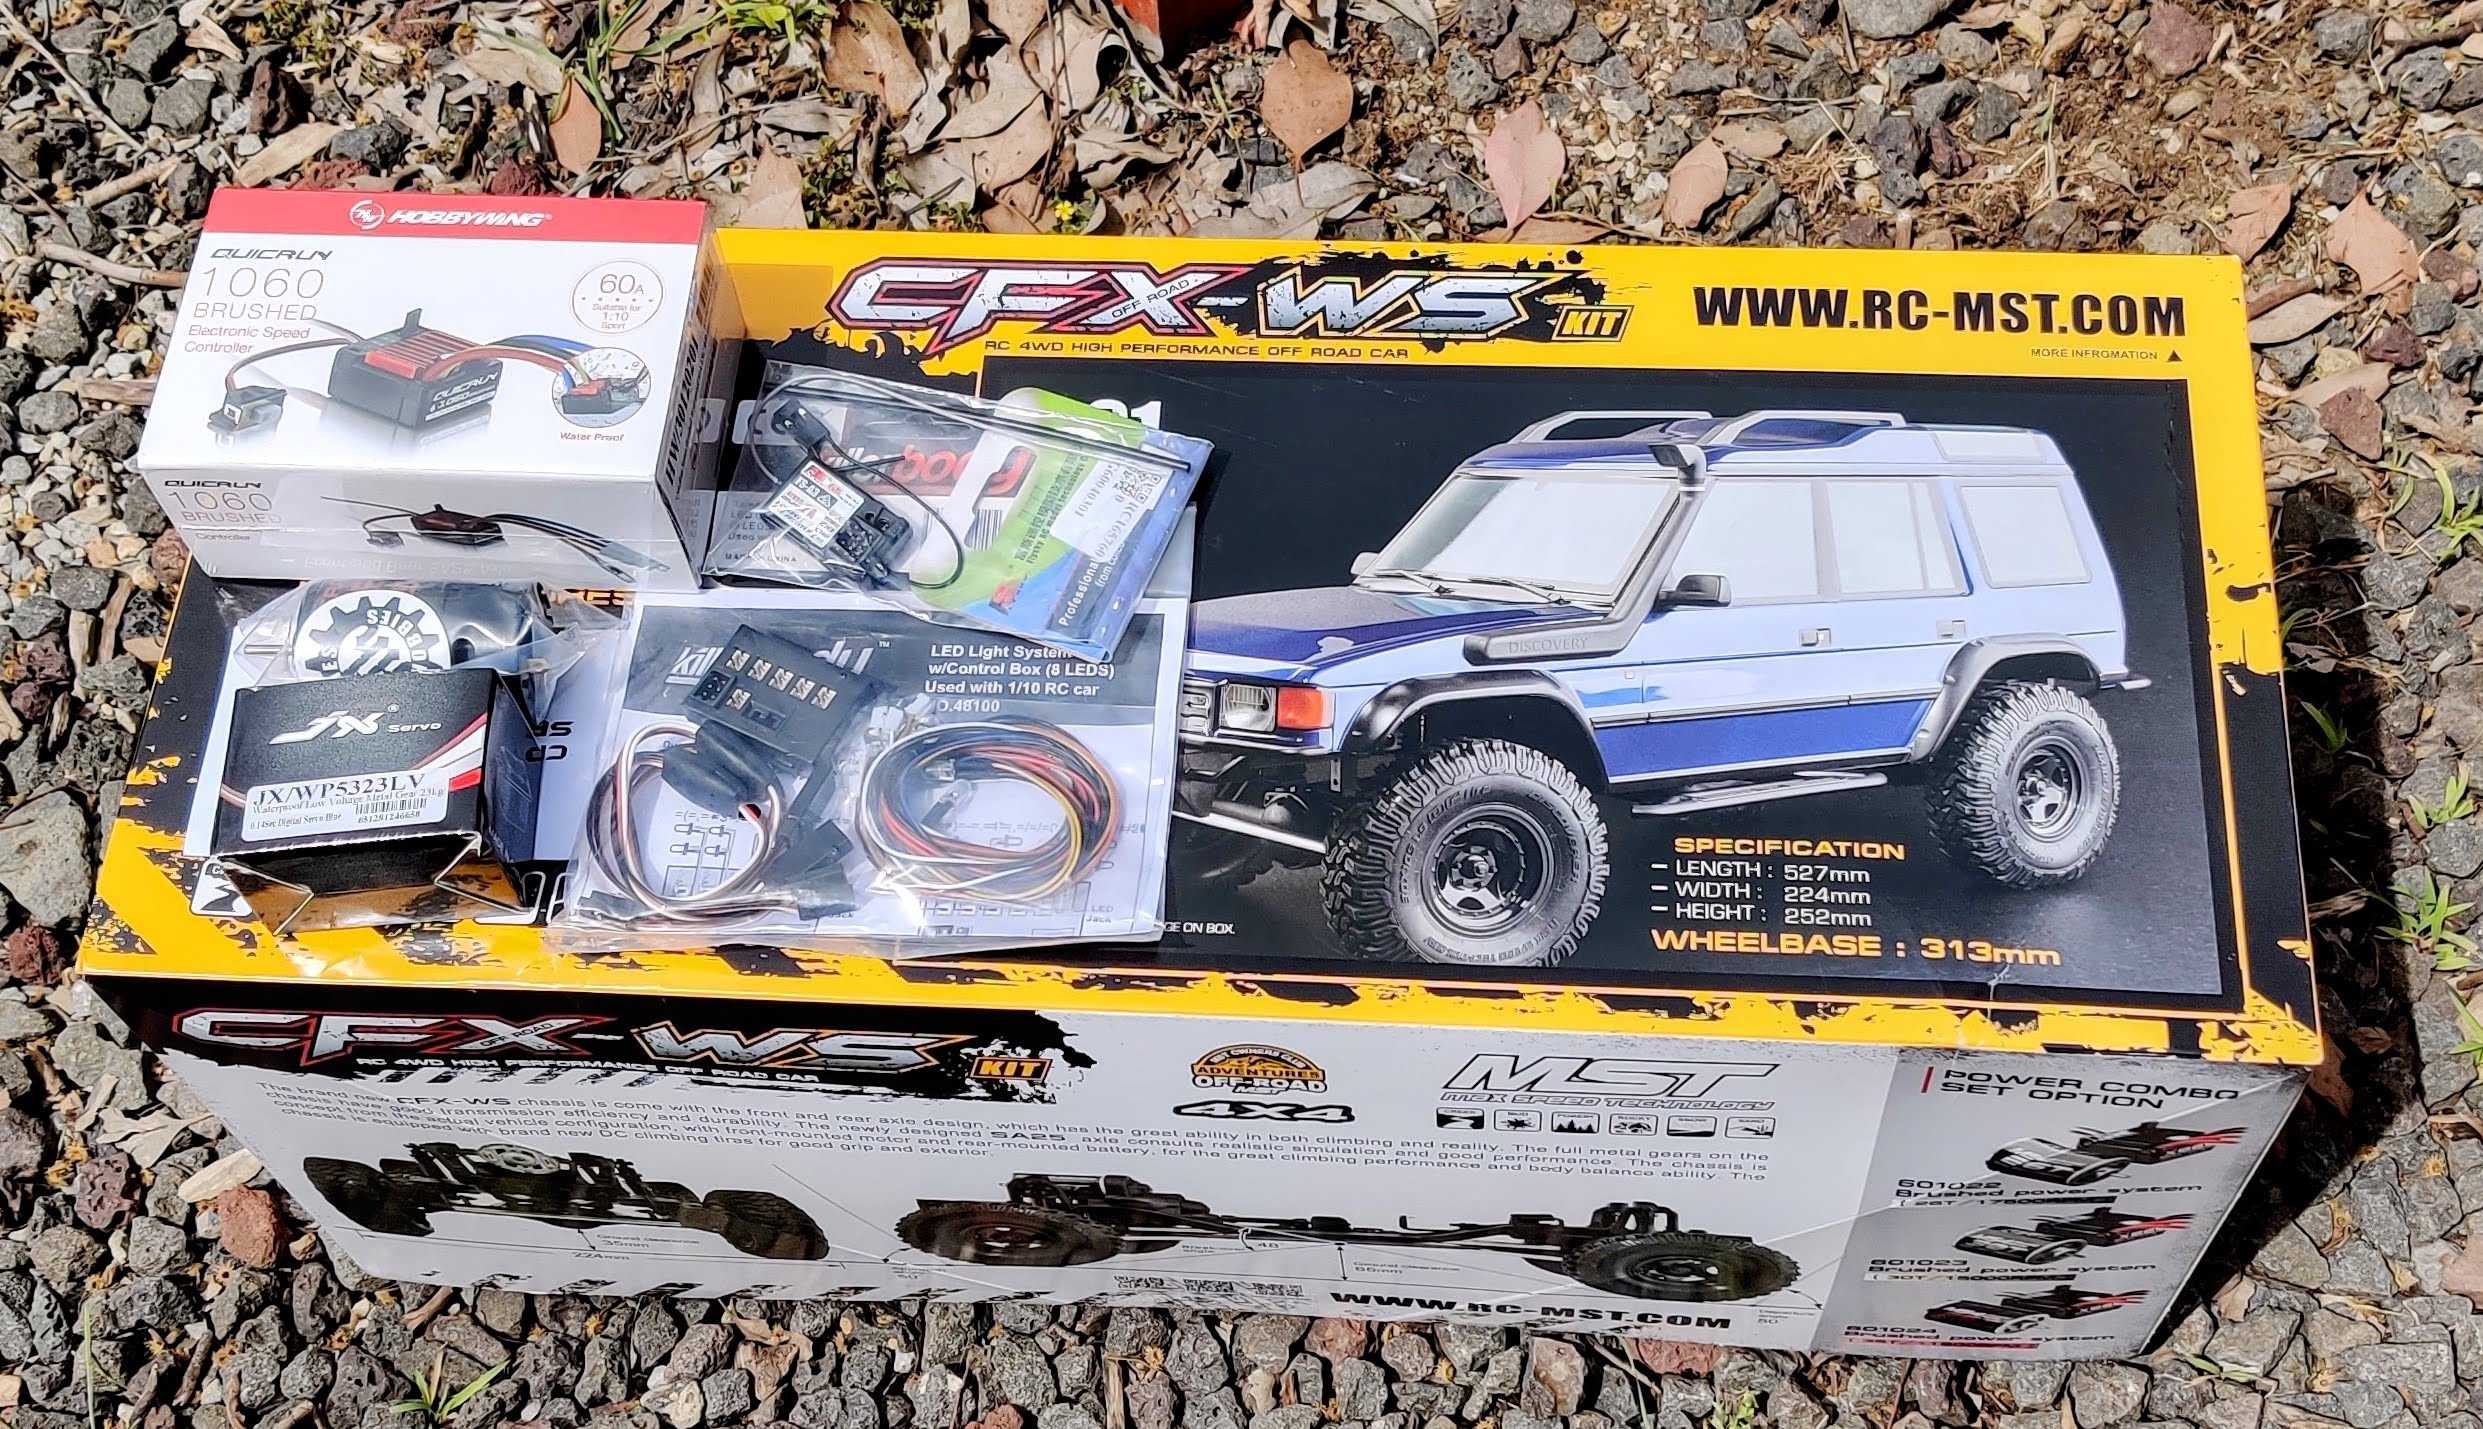
MST DC1 Unboxing
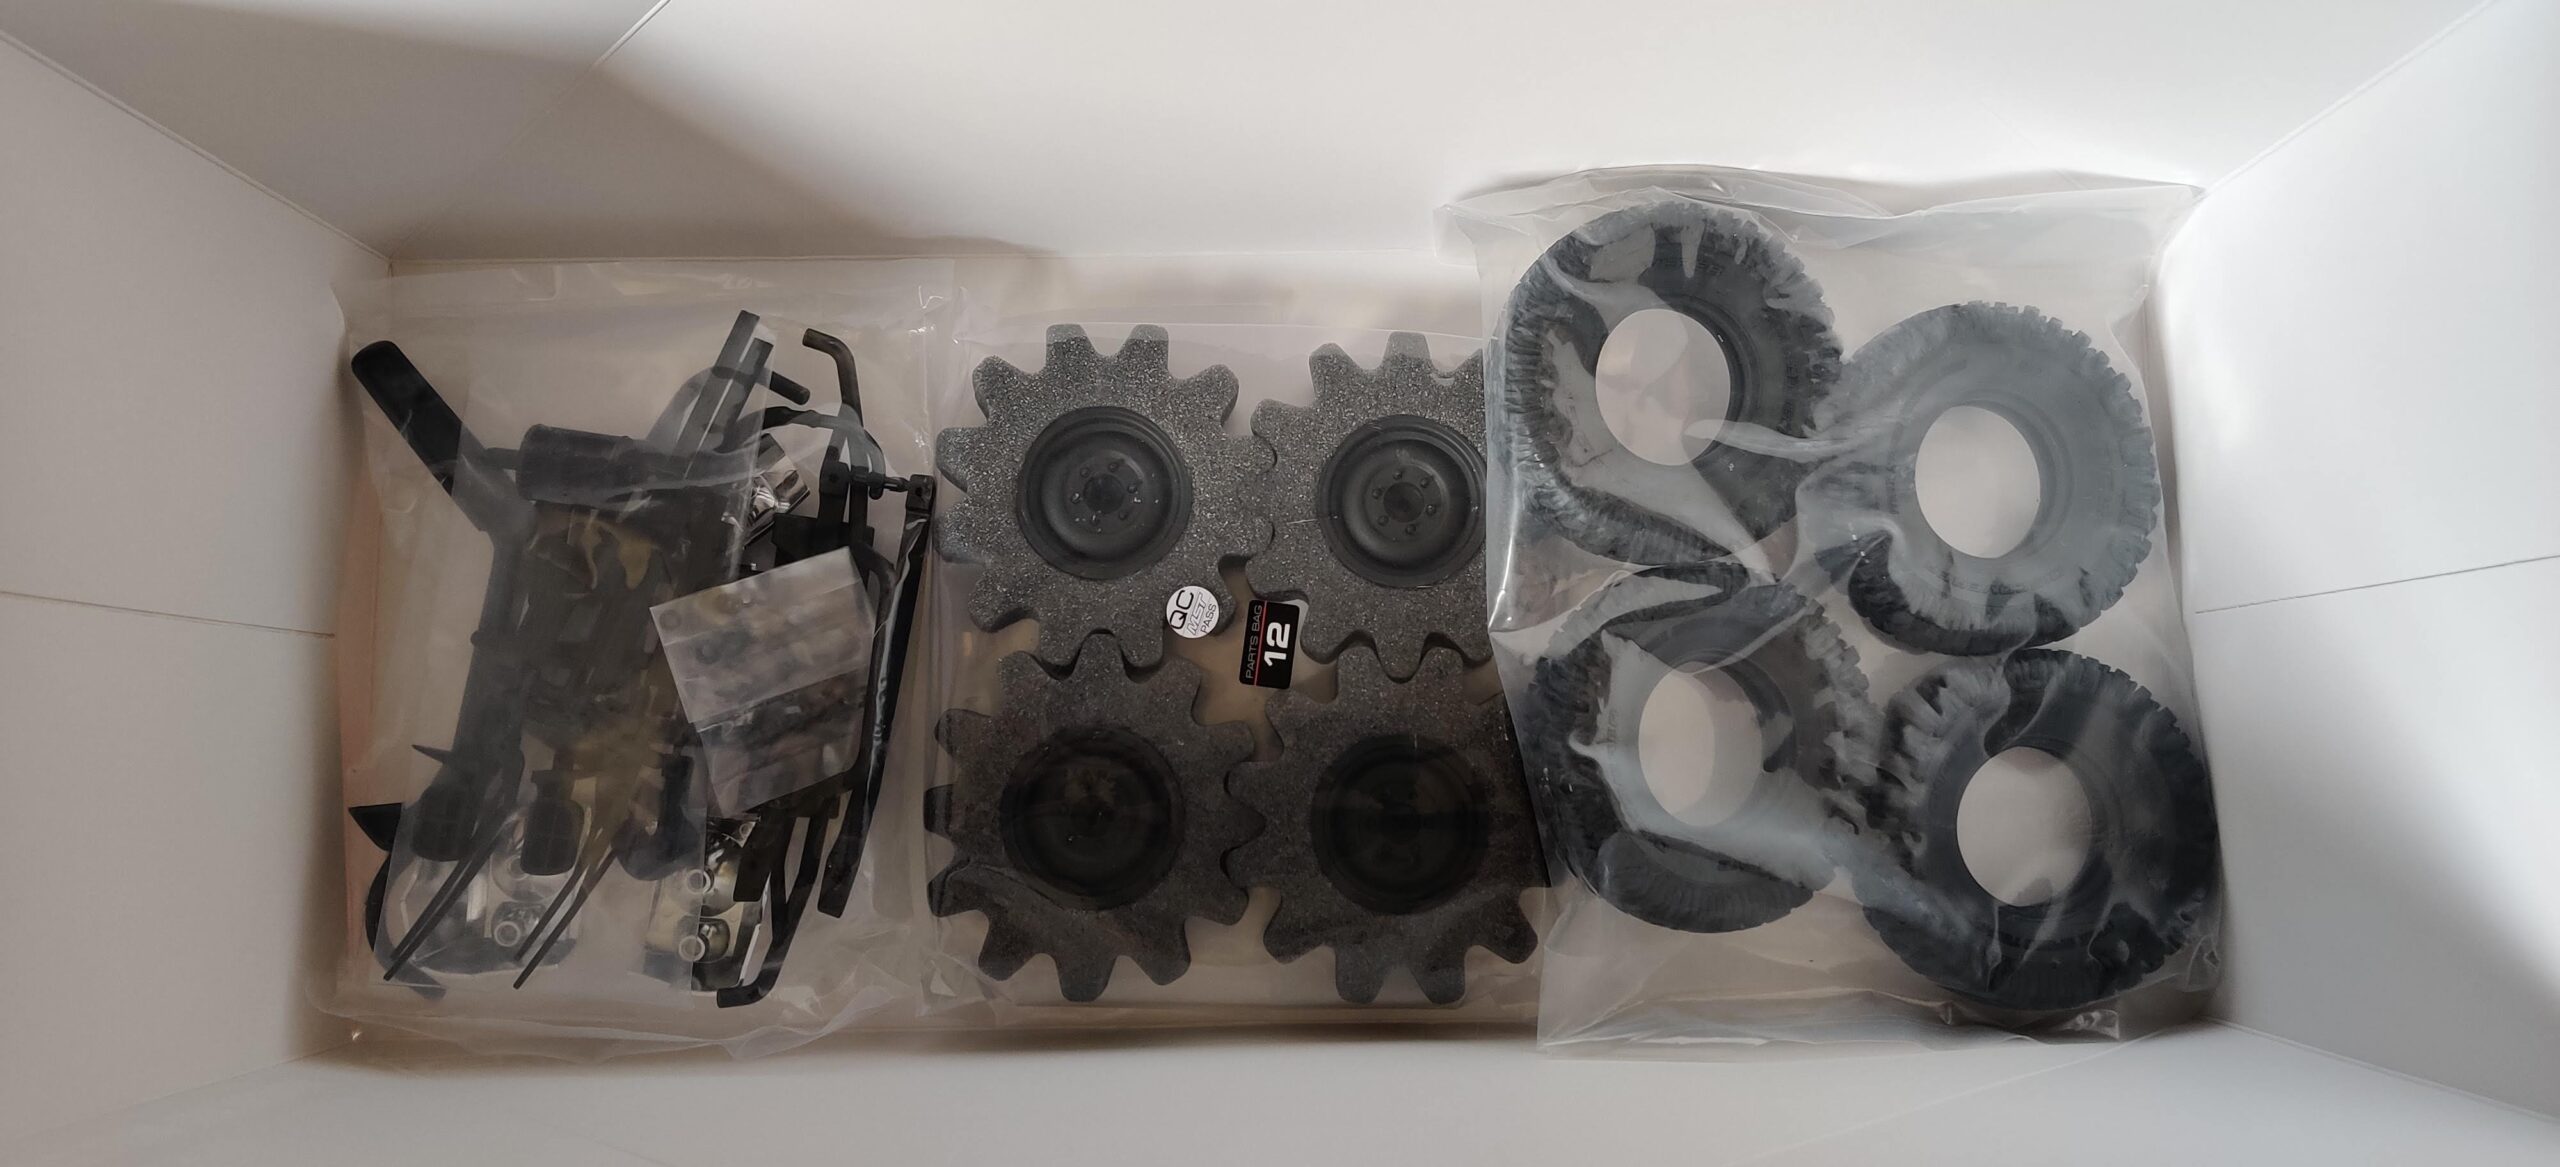
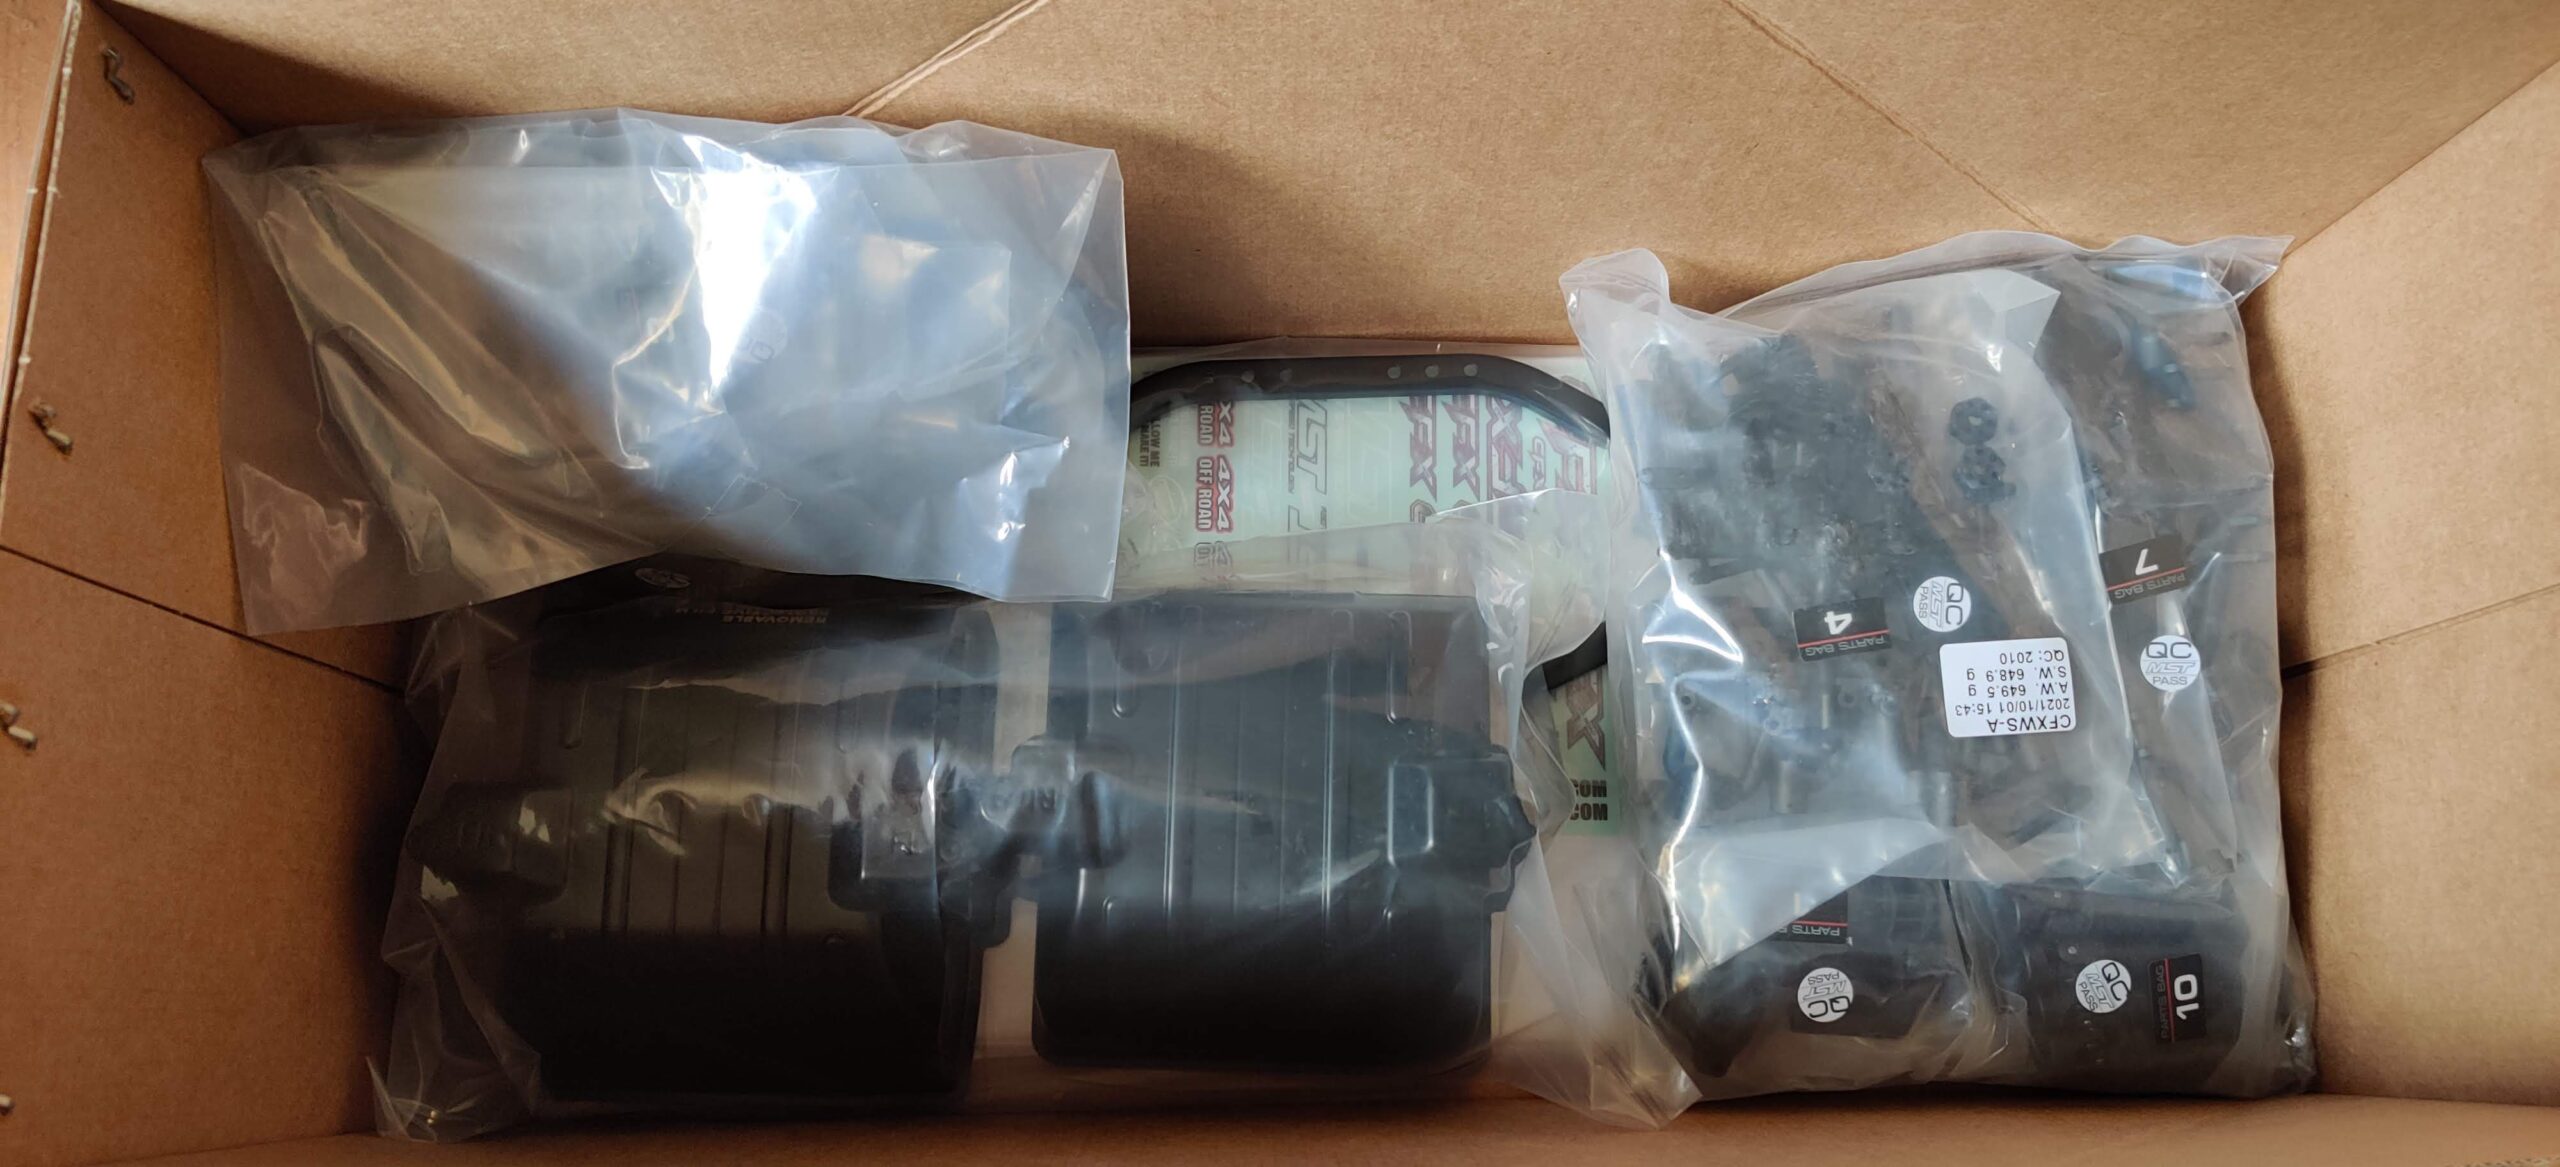
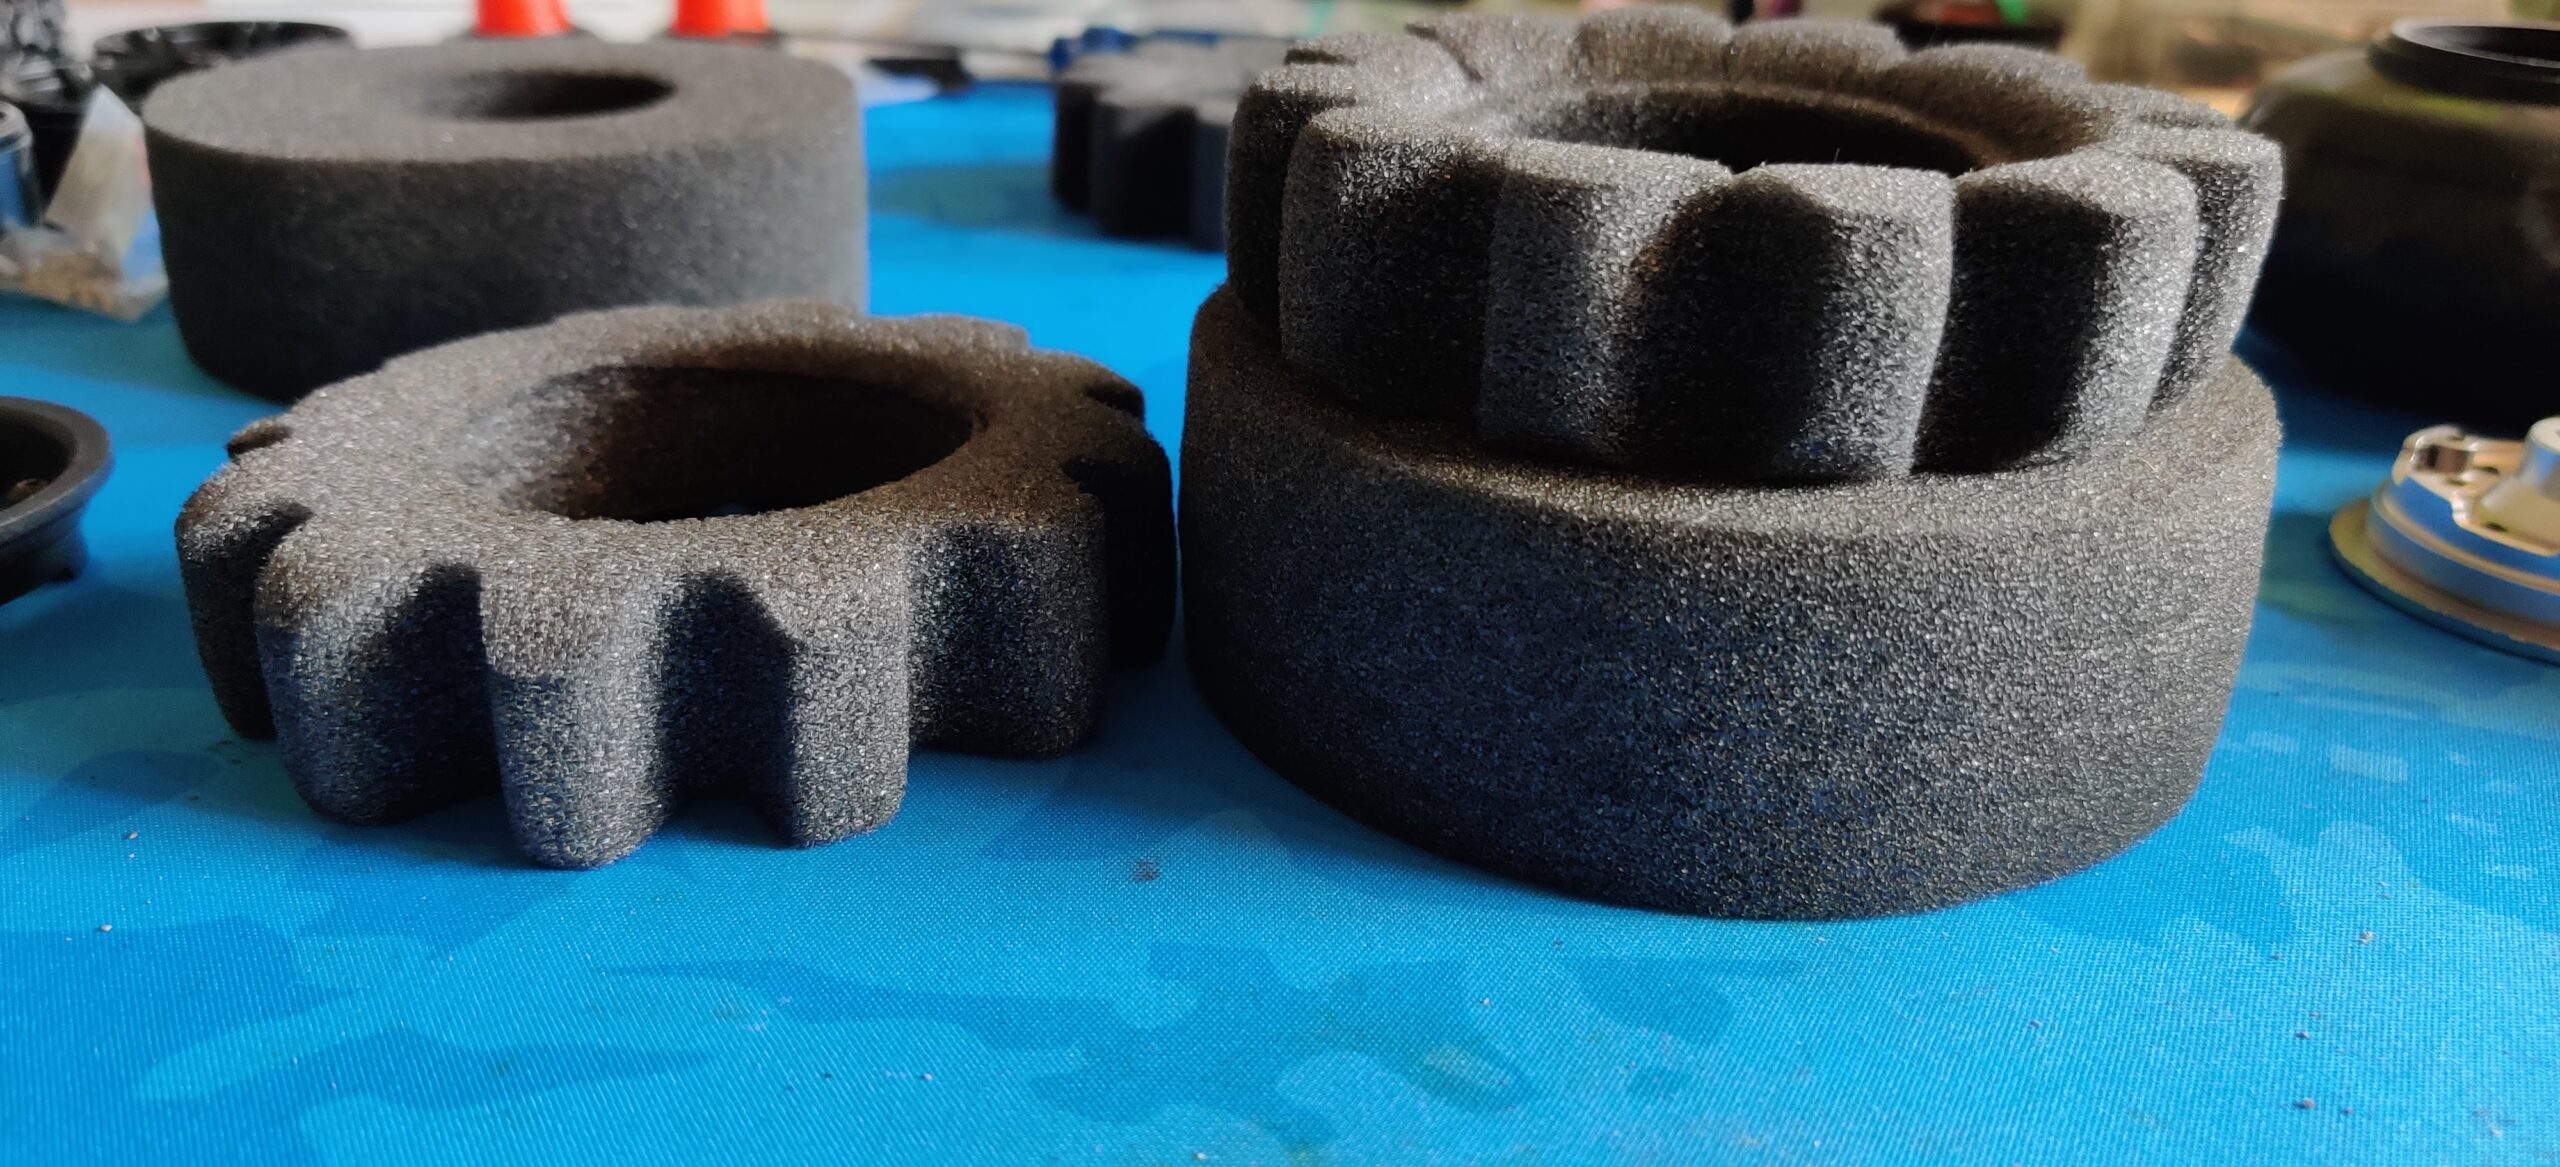
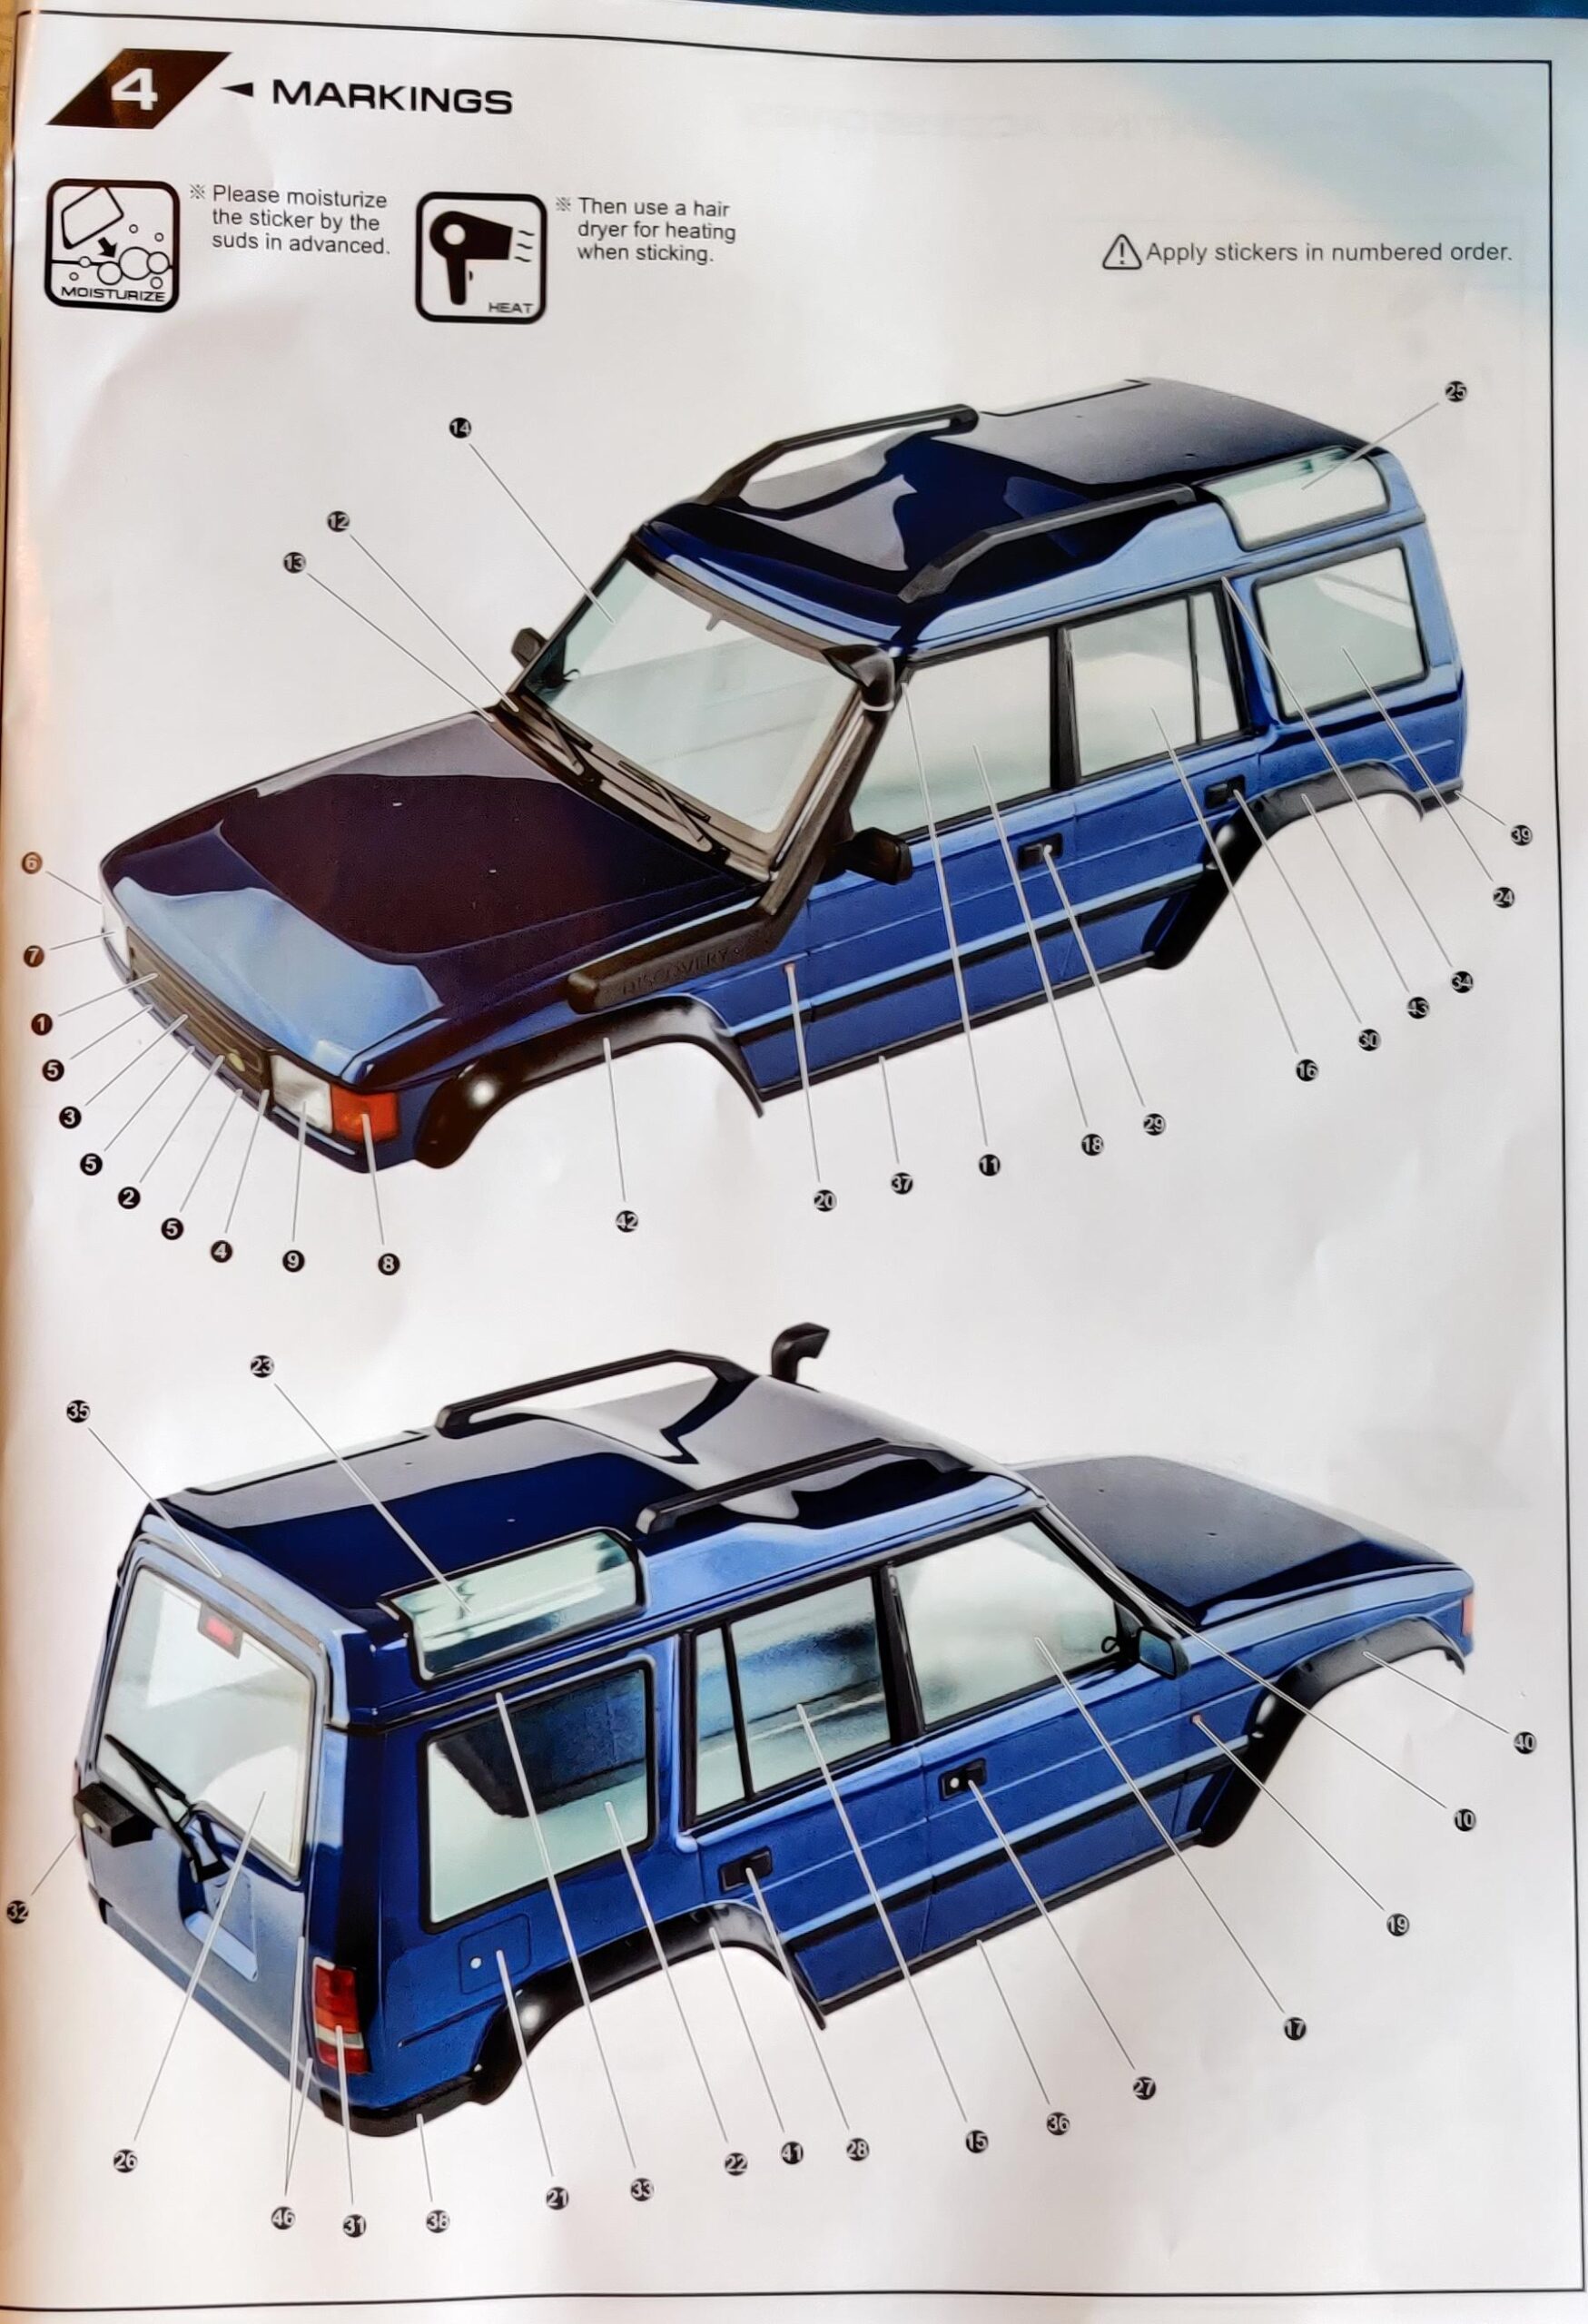
In the box is the clear, polycarbonate MST DC1 body, ready for paint. There are some weird, cut foams (more on them later) and all the normal stuff you’d expect in a kit. The sticker sheet was pretty comprehensive, as was the body window mask sheet – including sections for all glass and lights. This is good to see.
Going further, there was also a bunch of extra plastic body trim parts trees, which form the very detailed – but not licenced – Land Rover Defender scale body. It was good to see pre-painted, polycarbonate wheel wells, too – all models should have these in 2021!
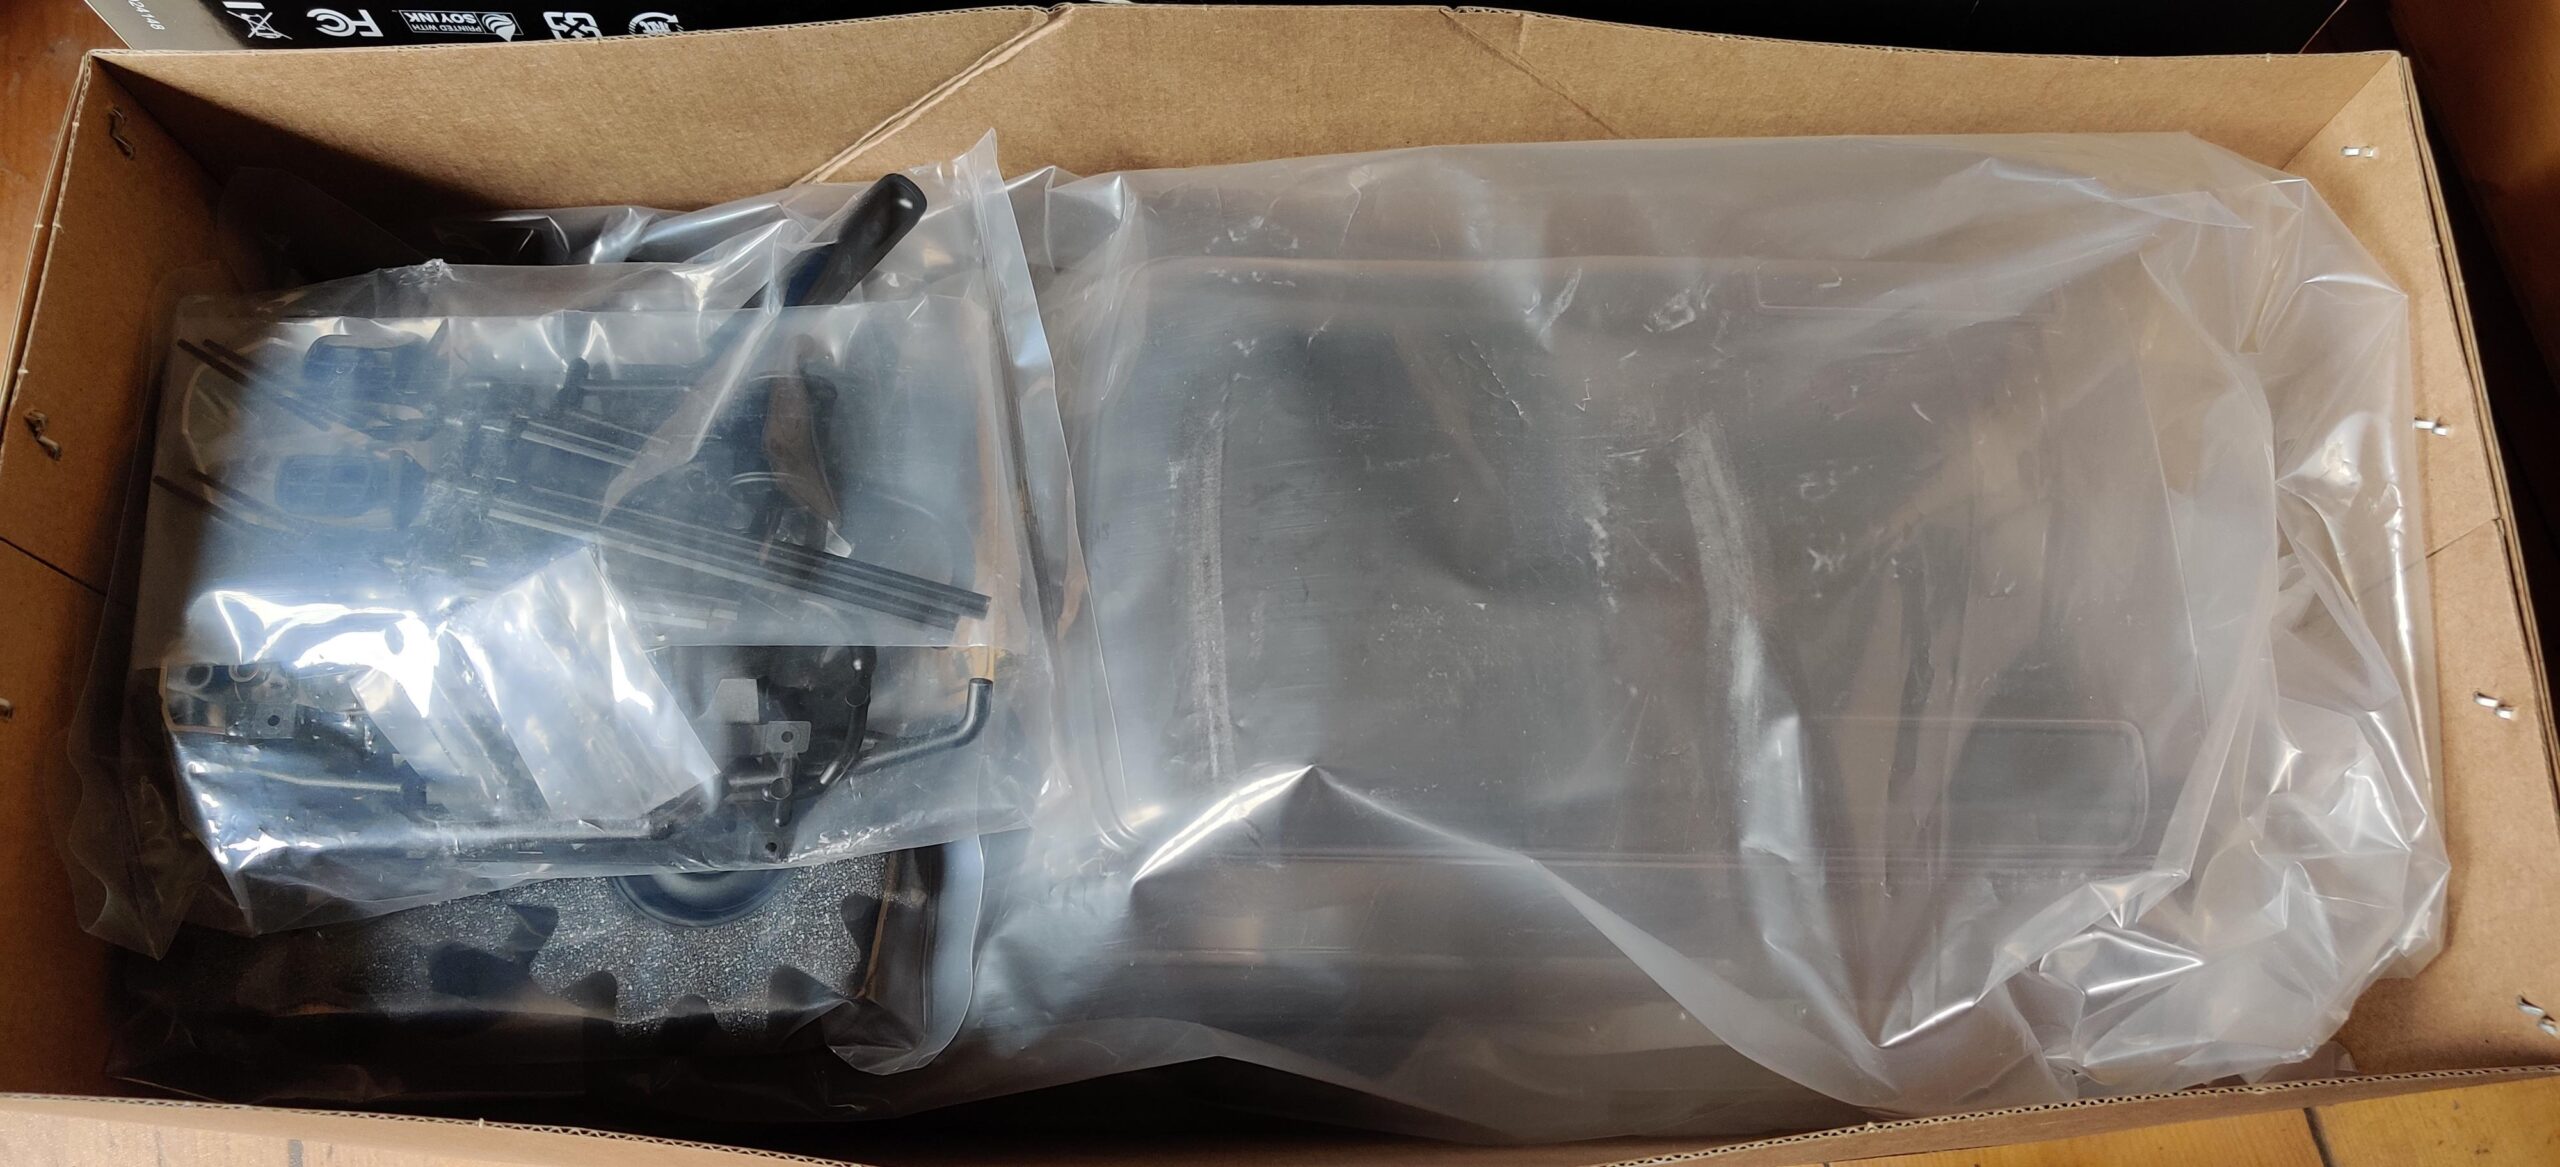
MST DC1 Manual
I began the build the same way I start most models – by reading through the manual. I’ve built MST components before (axle sets for comp crawlers), but never an MST model. My prior experience with their manuals was positive and the MST DC1 proved no different.
Instructions were clear, albeit printed in monochrome (I think the Traxxas TRX-4 Sport manual may be the gold-standard, with photo-quality diagrams on every page!). Also welcome is the 1:1 part references for relevant bits and pieces on each page, as you go. The pages are Landscape-oriented. This allows you to have the book open, notebook-style, as you progress with the build.
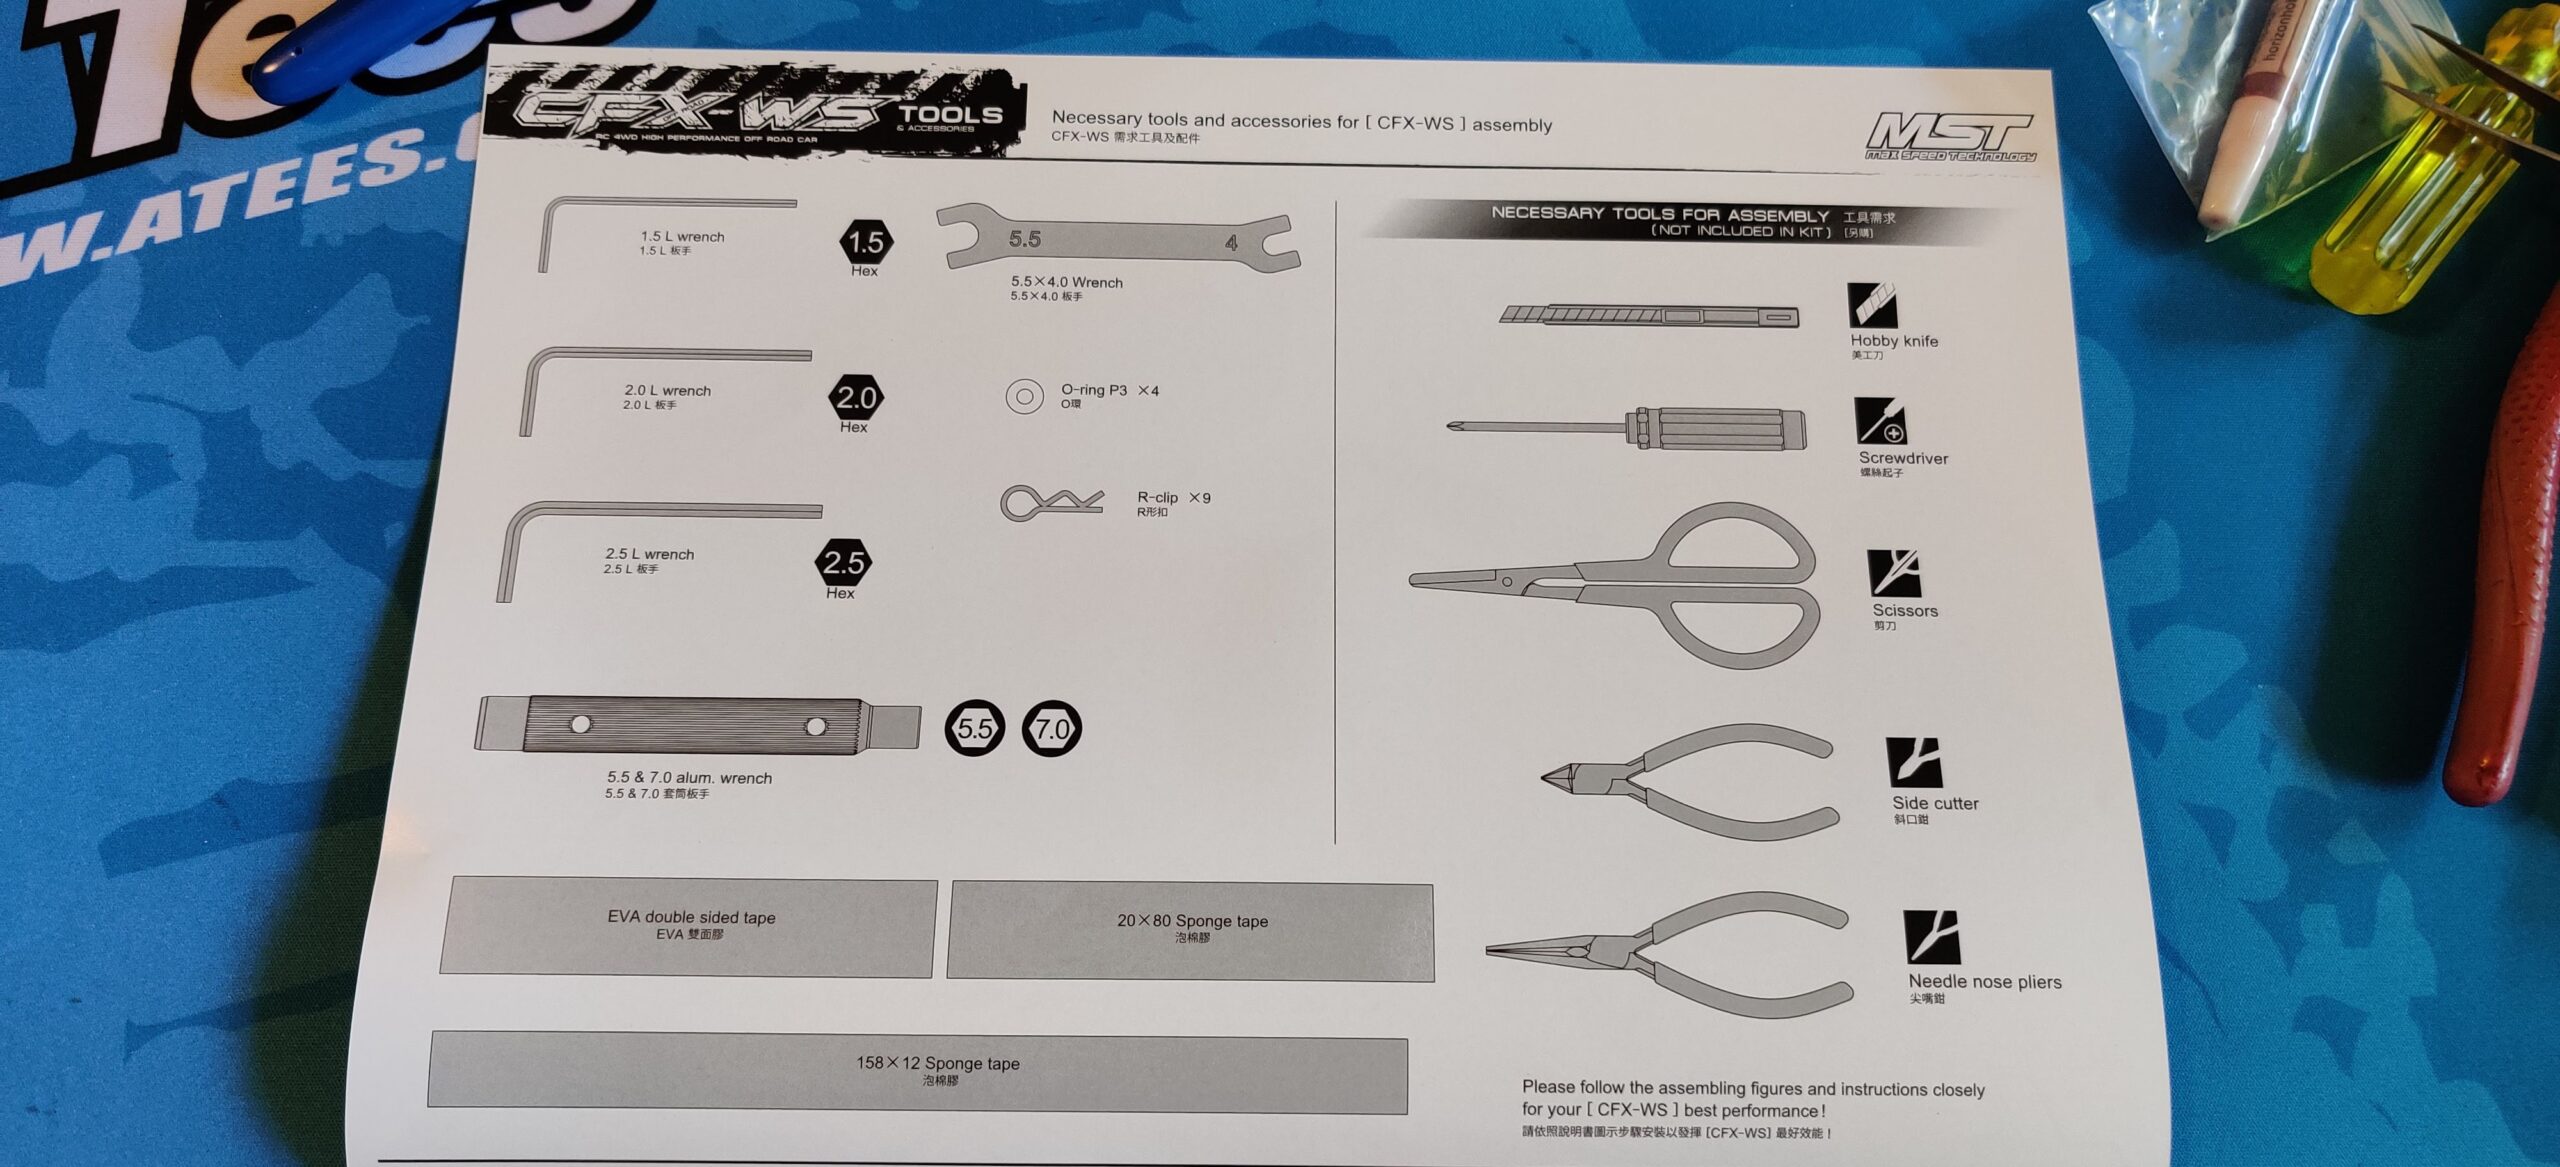
I was pleased to find tools included with the kit, but I didn’t use them – mostly. I did find the socket wrench of a high enough quality that I’ve added it to my field kit. It’s really nice.

MST DC1 Gearbox & Transfer Case
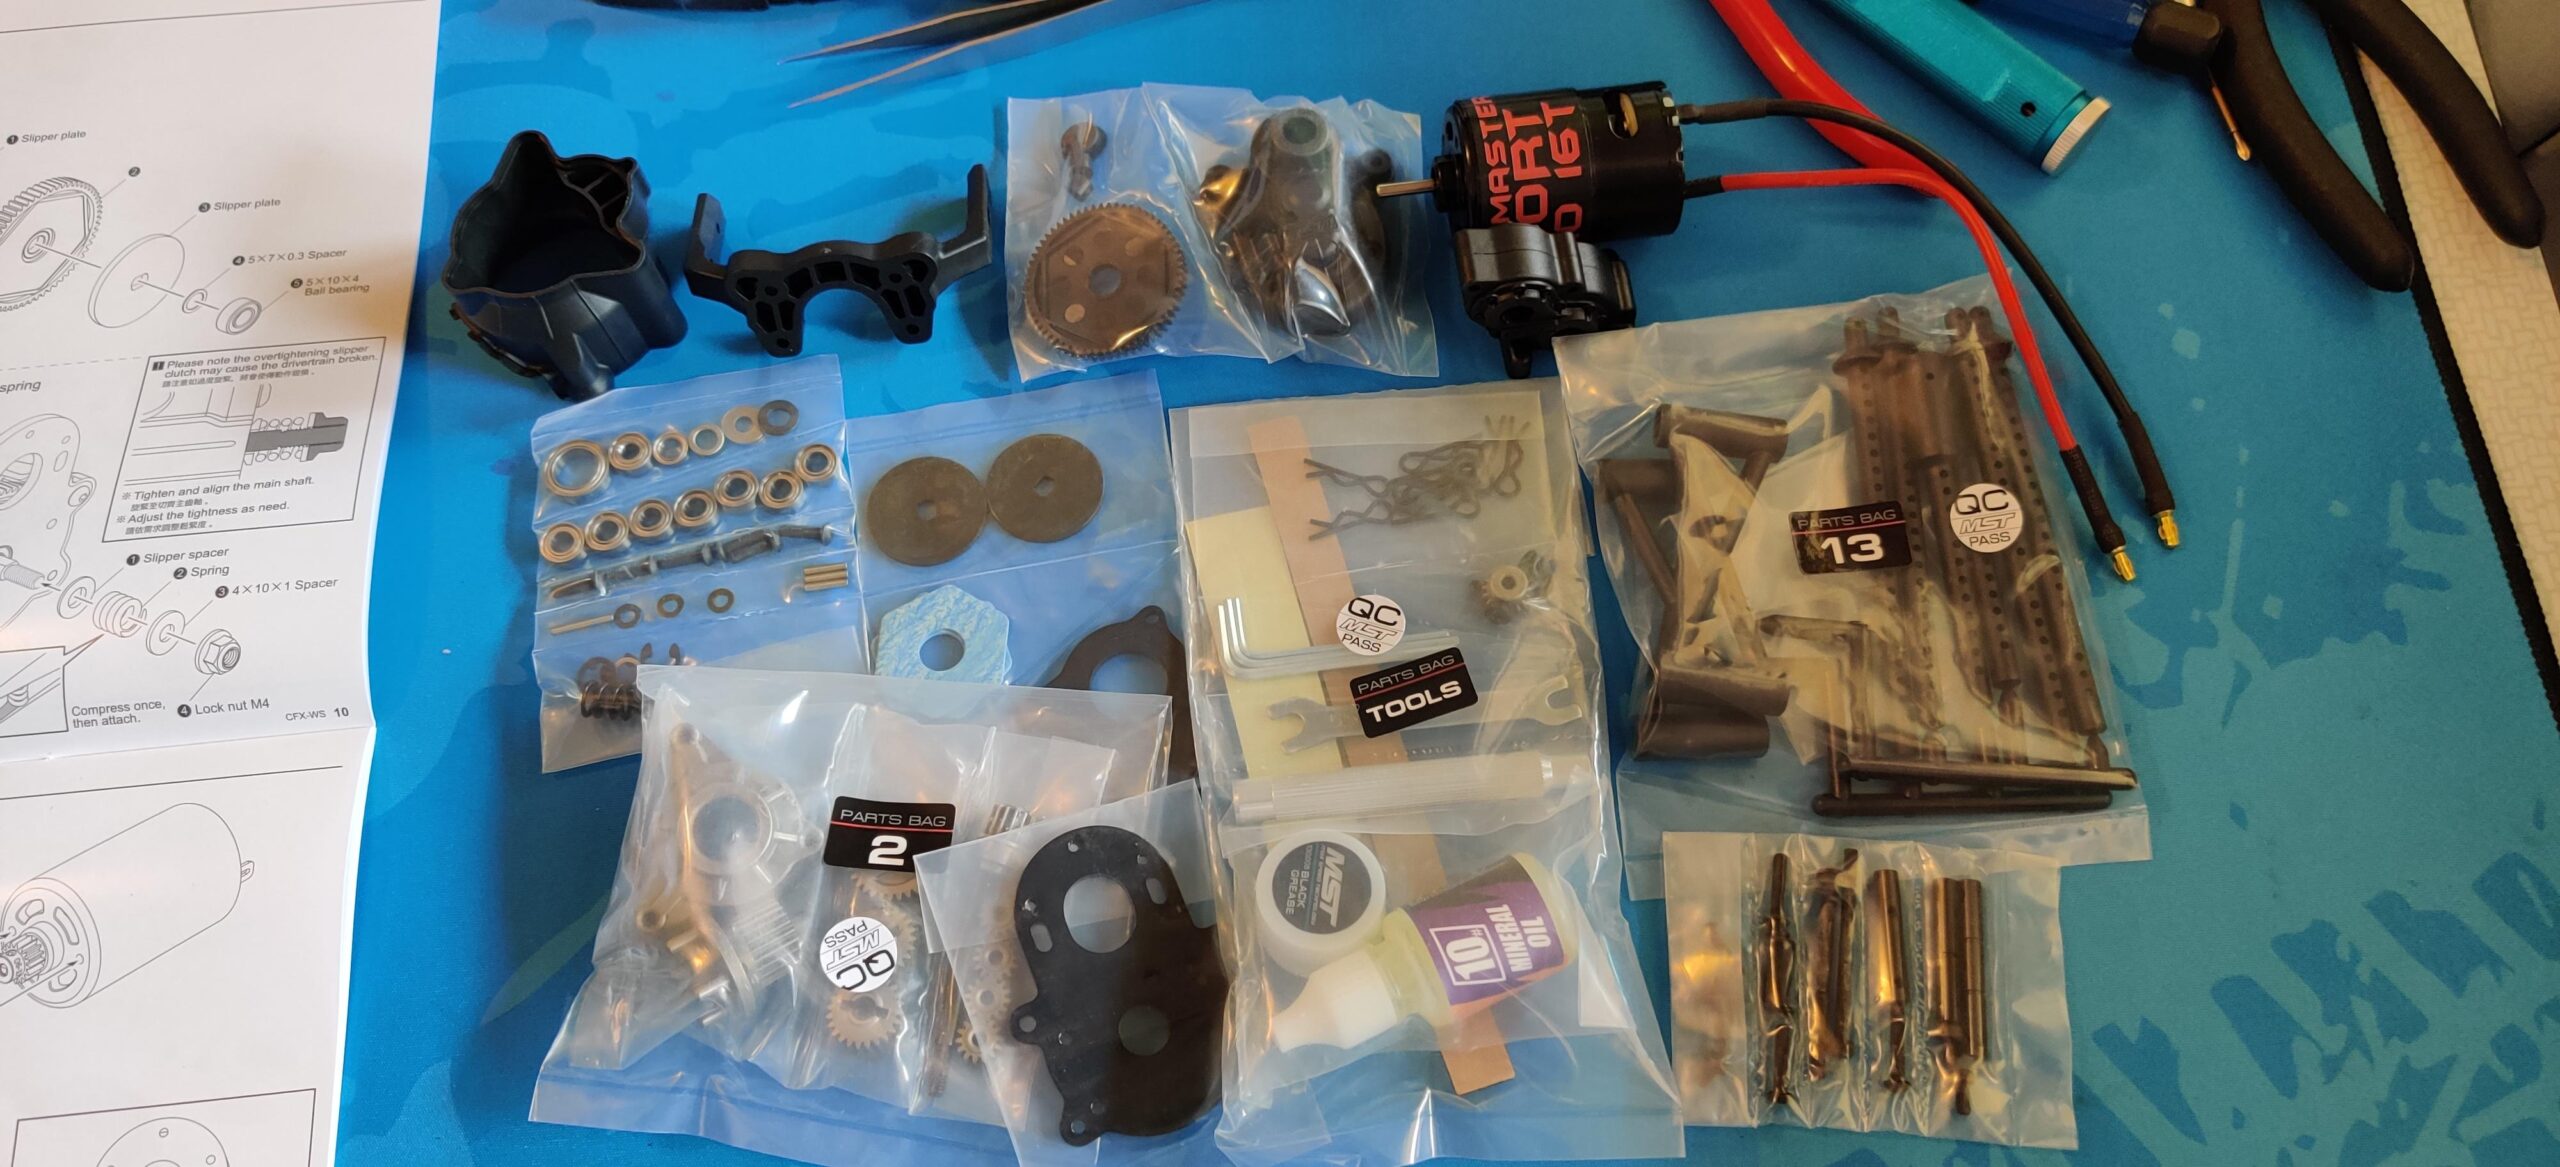
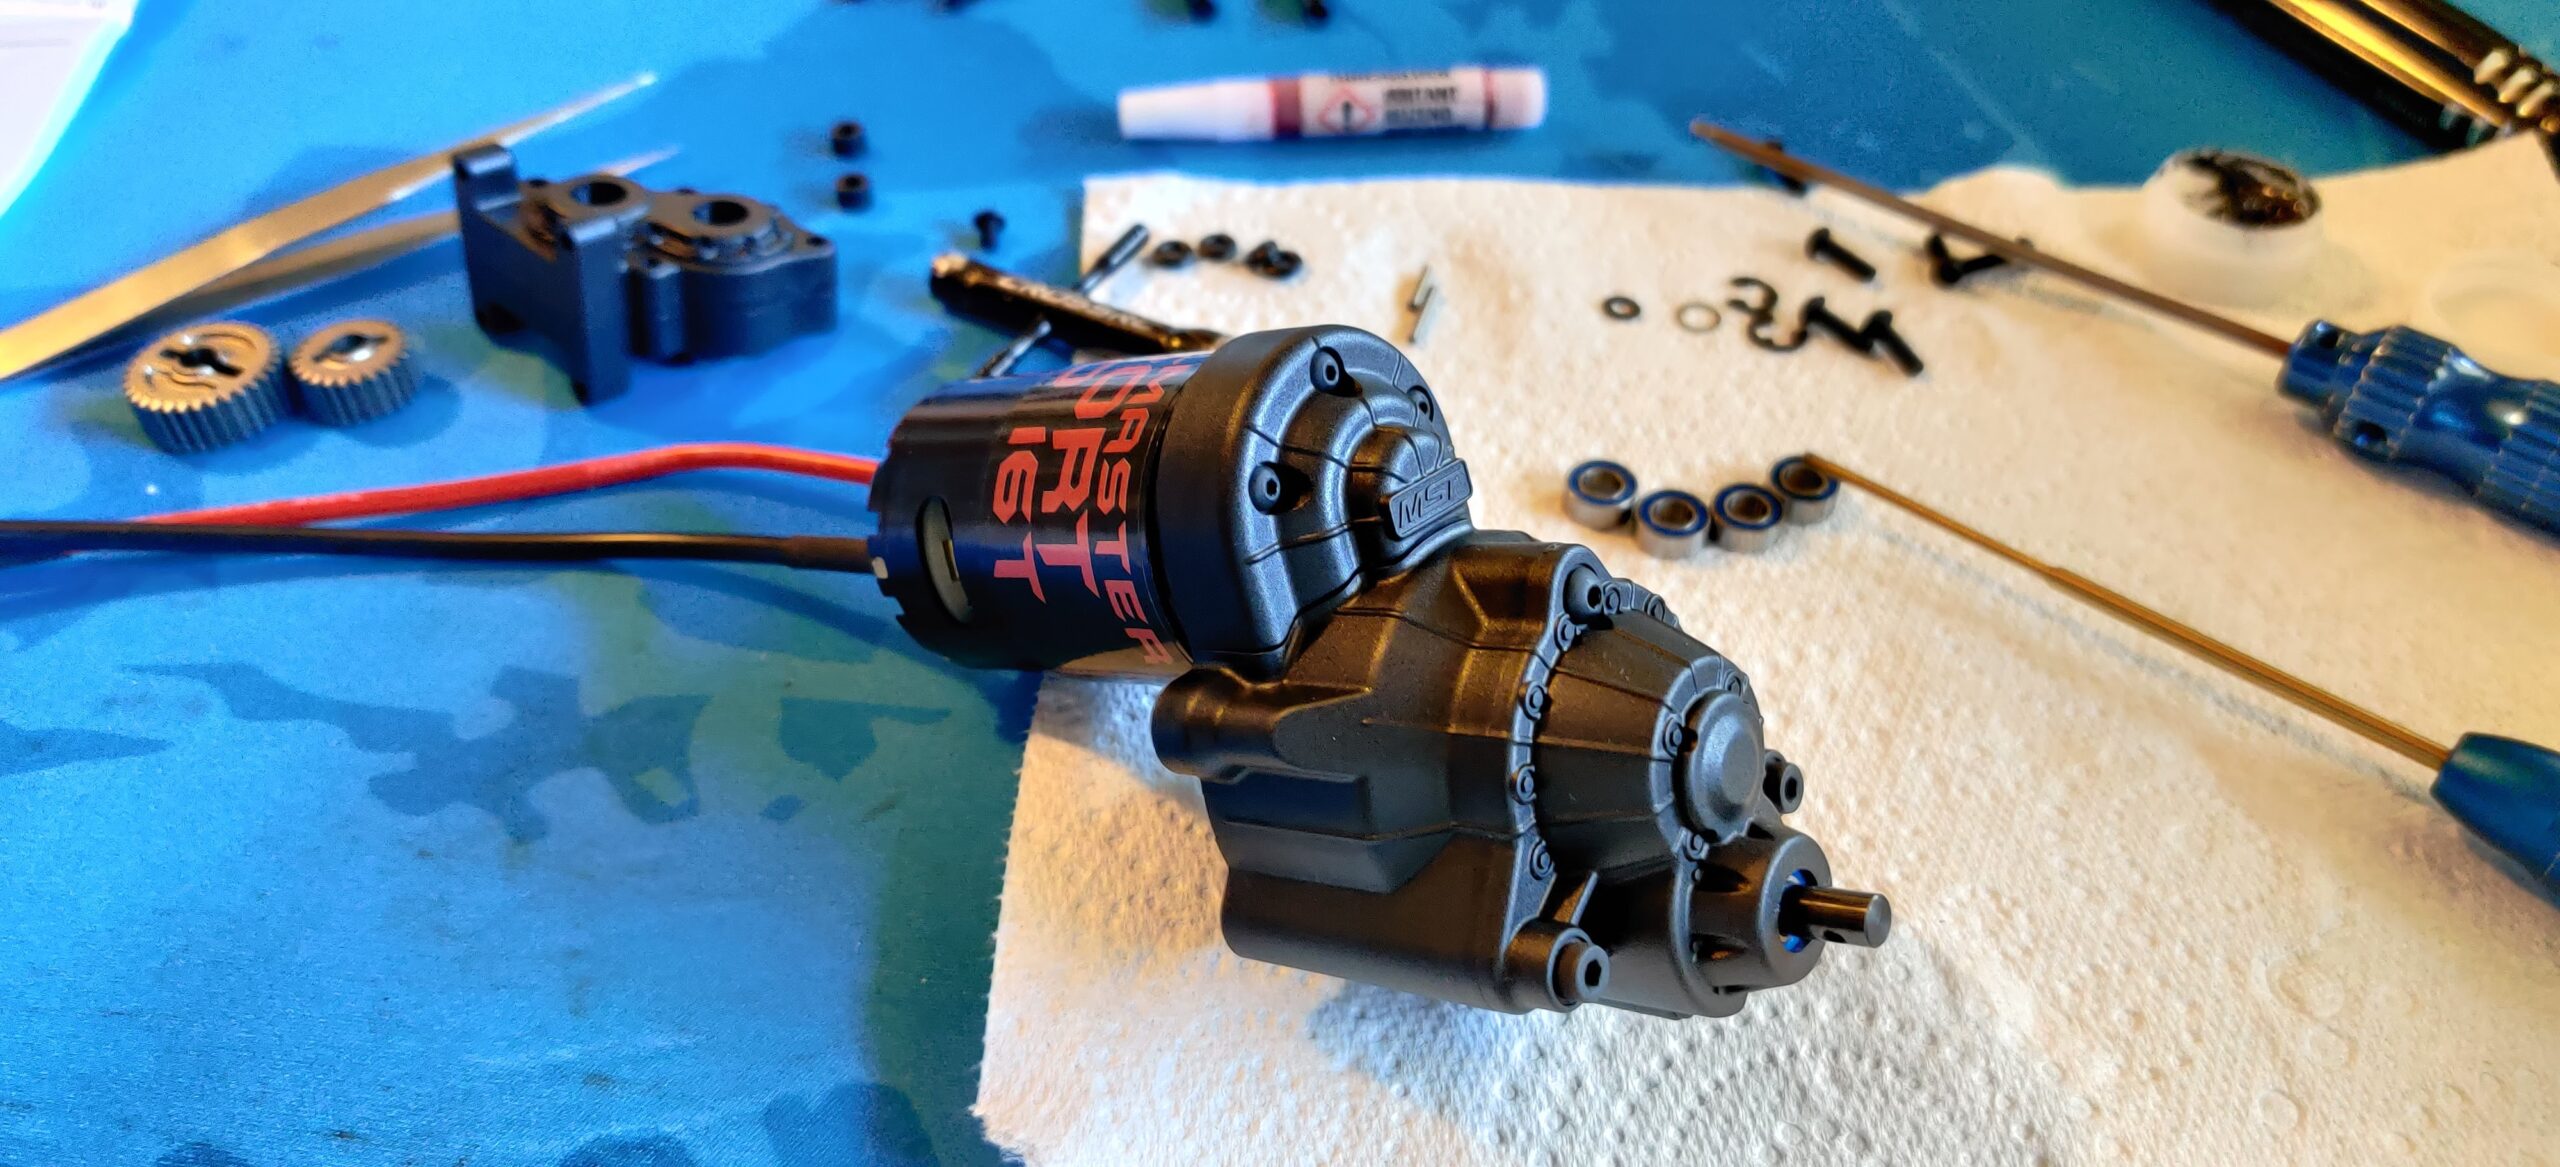
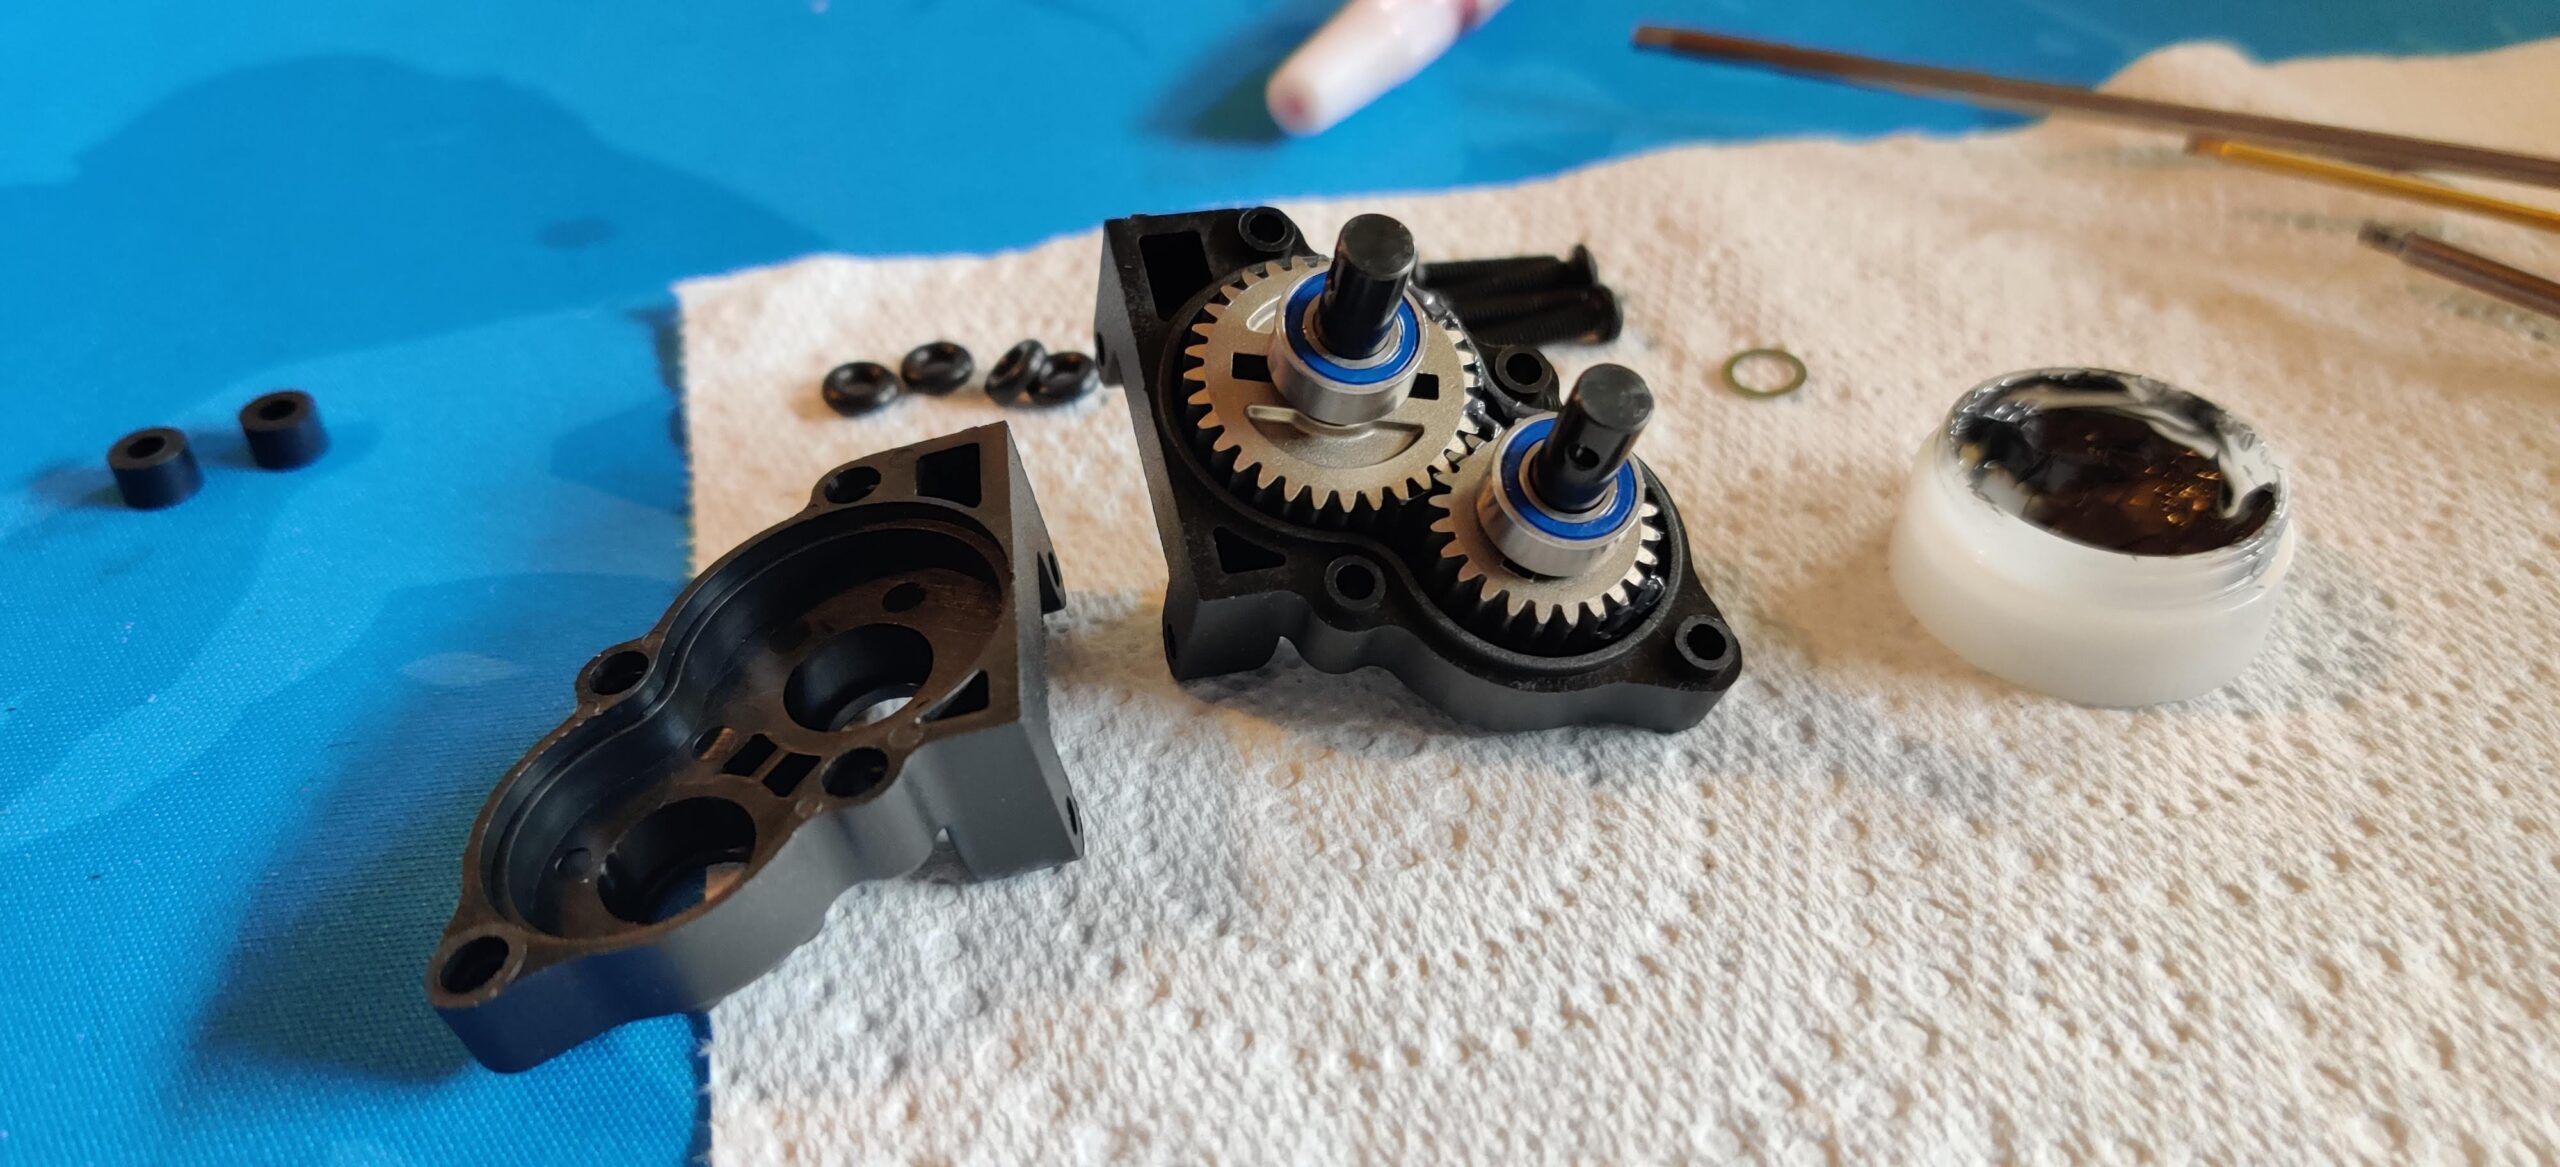
First in the build was the power-plant. The gears are of a high quality and all grease and bearings make for a snug fit. I was disappointed to see the bearings weren’t sealed, so while I replaced mine with sealed units I had on-hand, if you’re building this with the stock bearings, keep this model away from dust and water!
Everything went together nicely and the thoughtful design of the gear carriers and transfer case is clear. This will be a durable and long-lived unit – as long as you replace those bearings or keep the model away from, well, the outdoors. I did mention I was disappointed to see unshielded bearings, didn’t I? Make this your first stop if you’re considering driving this thing on anything other than dry, clean rock!
The slipper clutch is solid and as long as you don’t overpower this model with pretty much anything brushless, everything should hold together well. I went with a 16-turn, 5-pole 540 motor. This motor will have the torque of a 35 to 40 turn 3-pole but be buttery-smooth at low revs and lower on punch, which is what this model really needs for longevity.
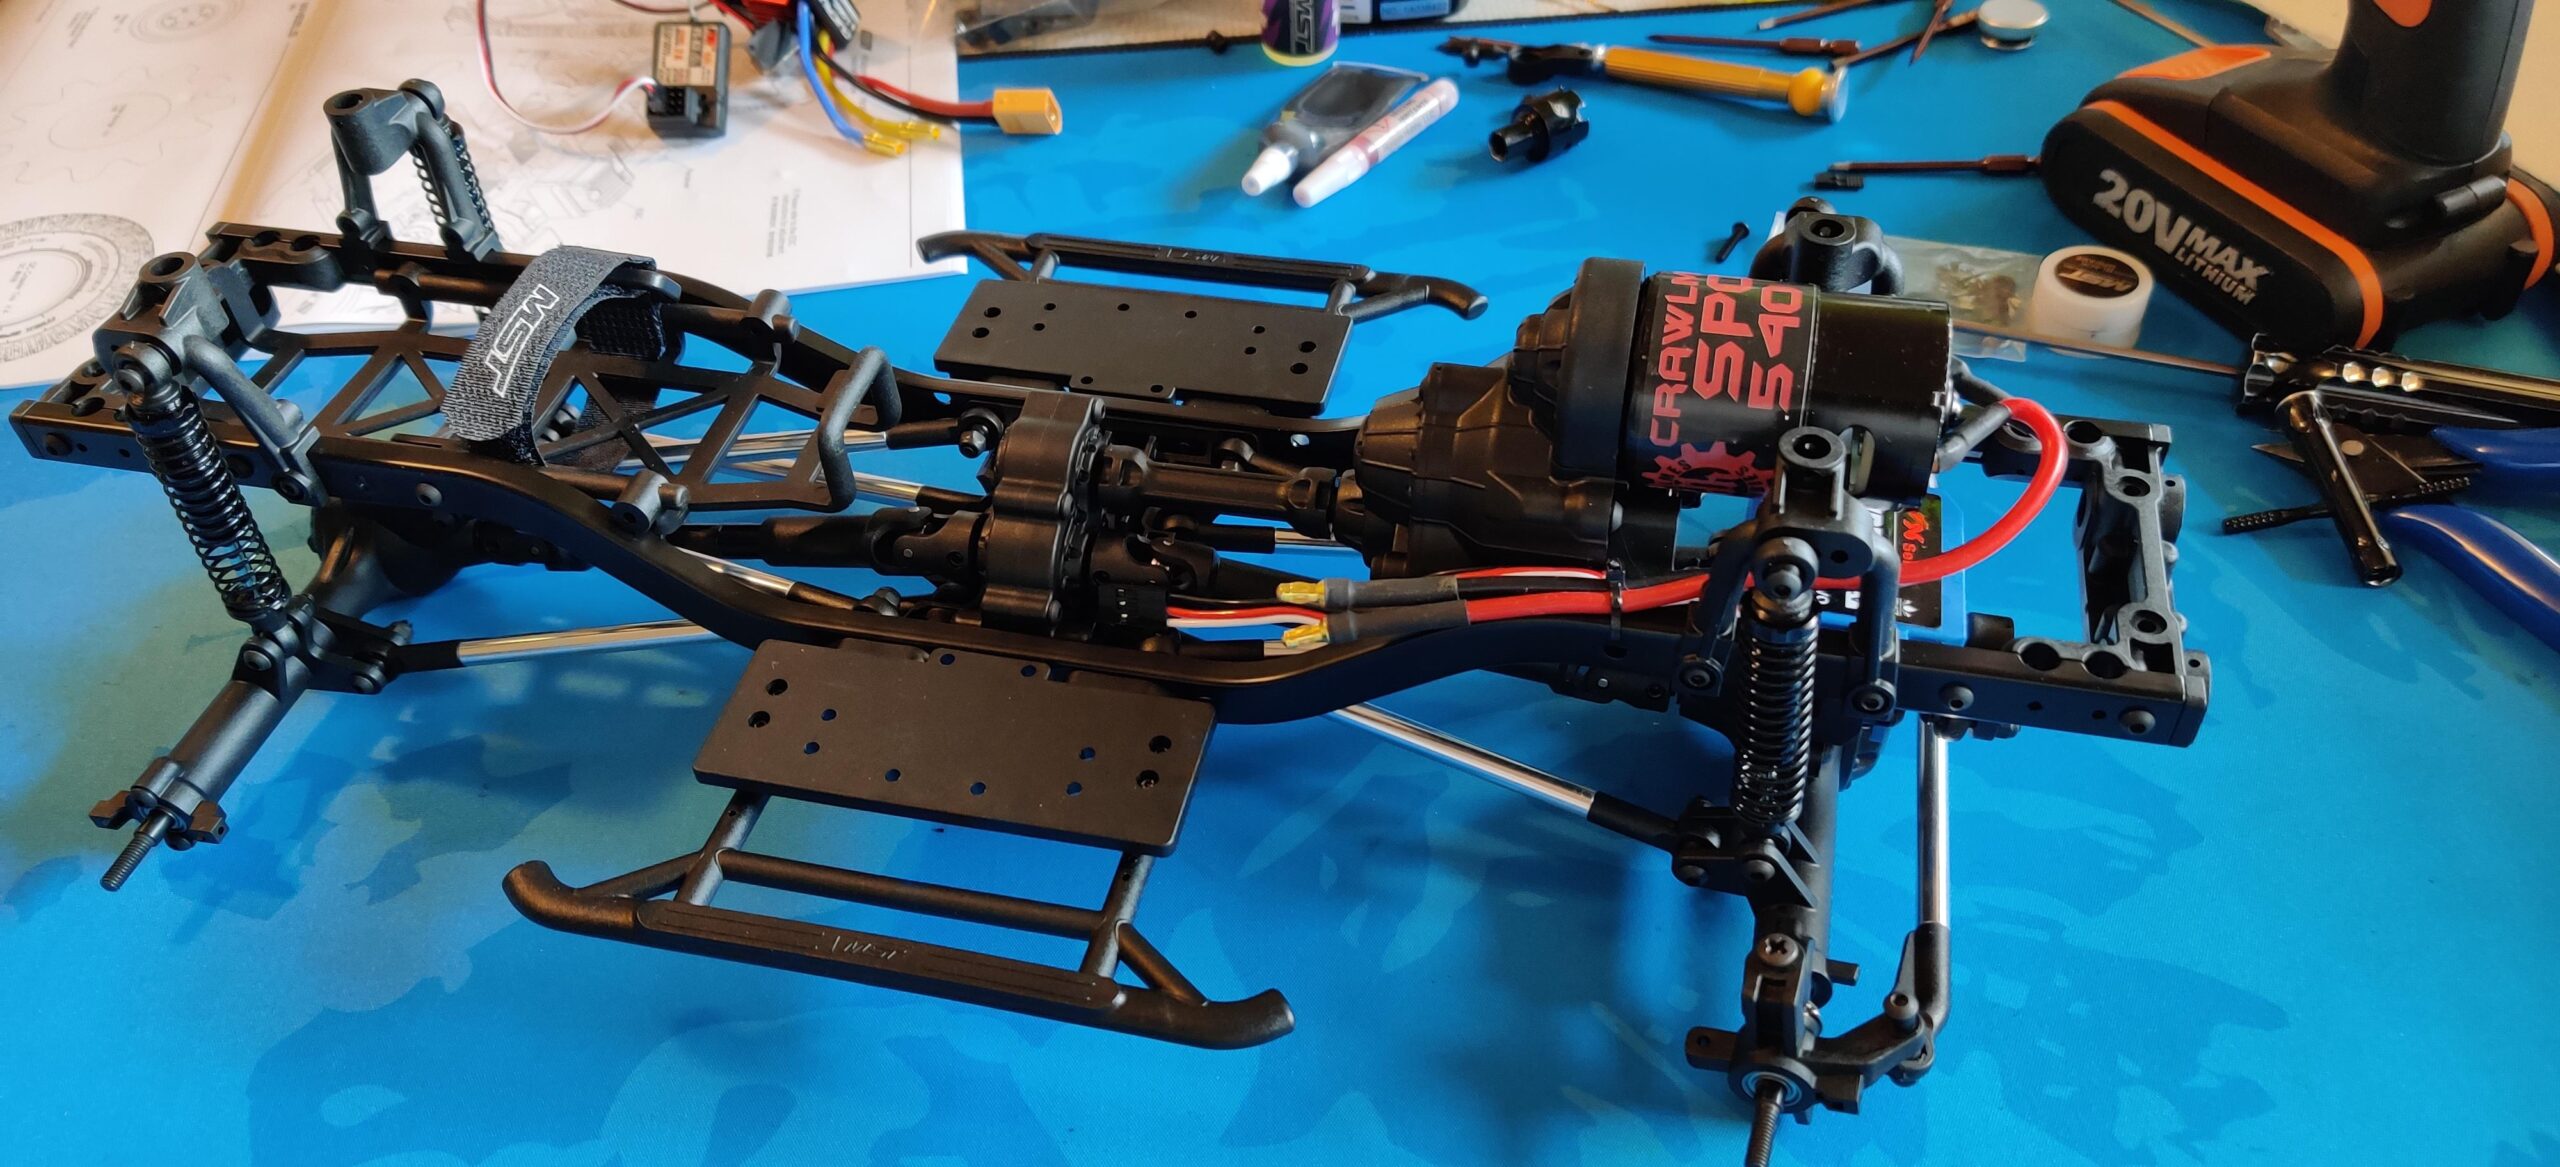
MST DC1 Chassis & Skid
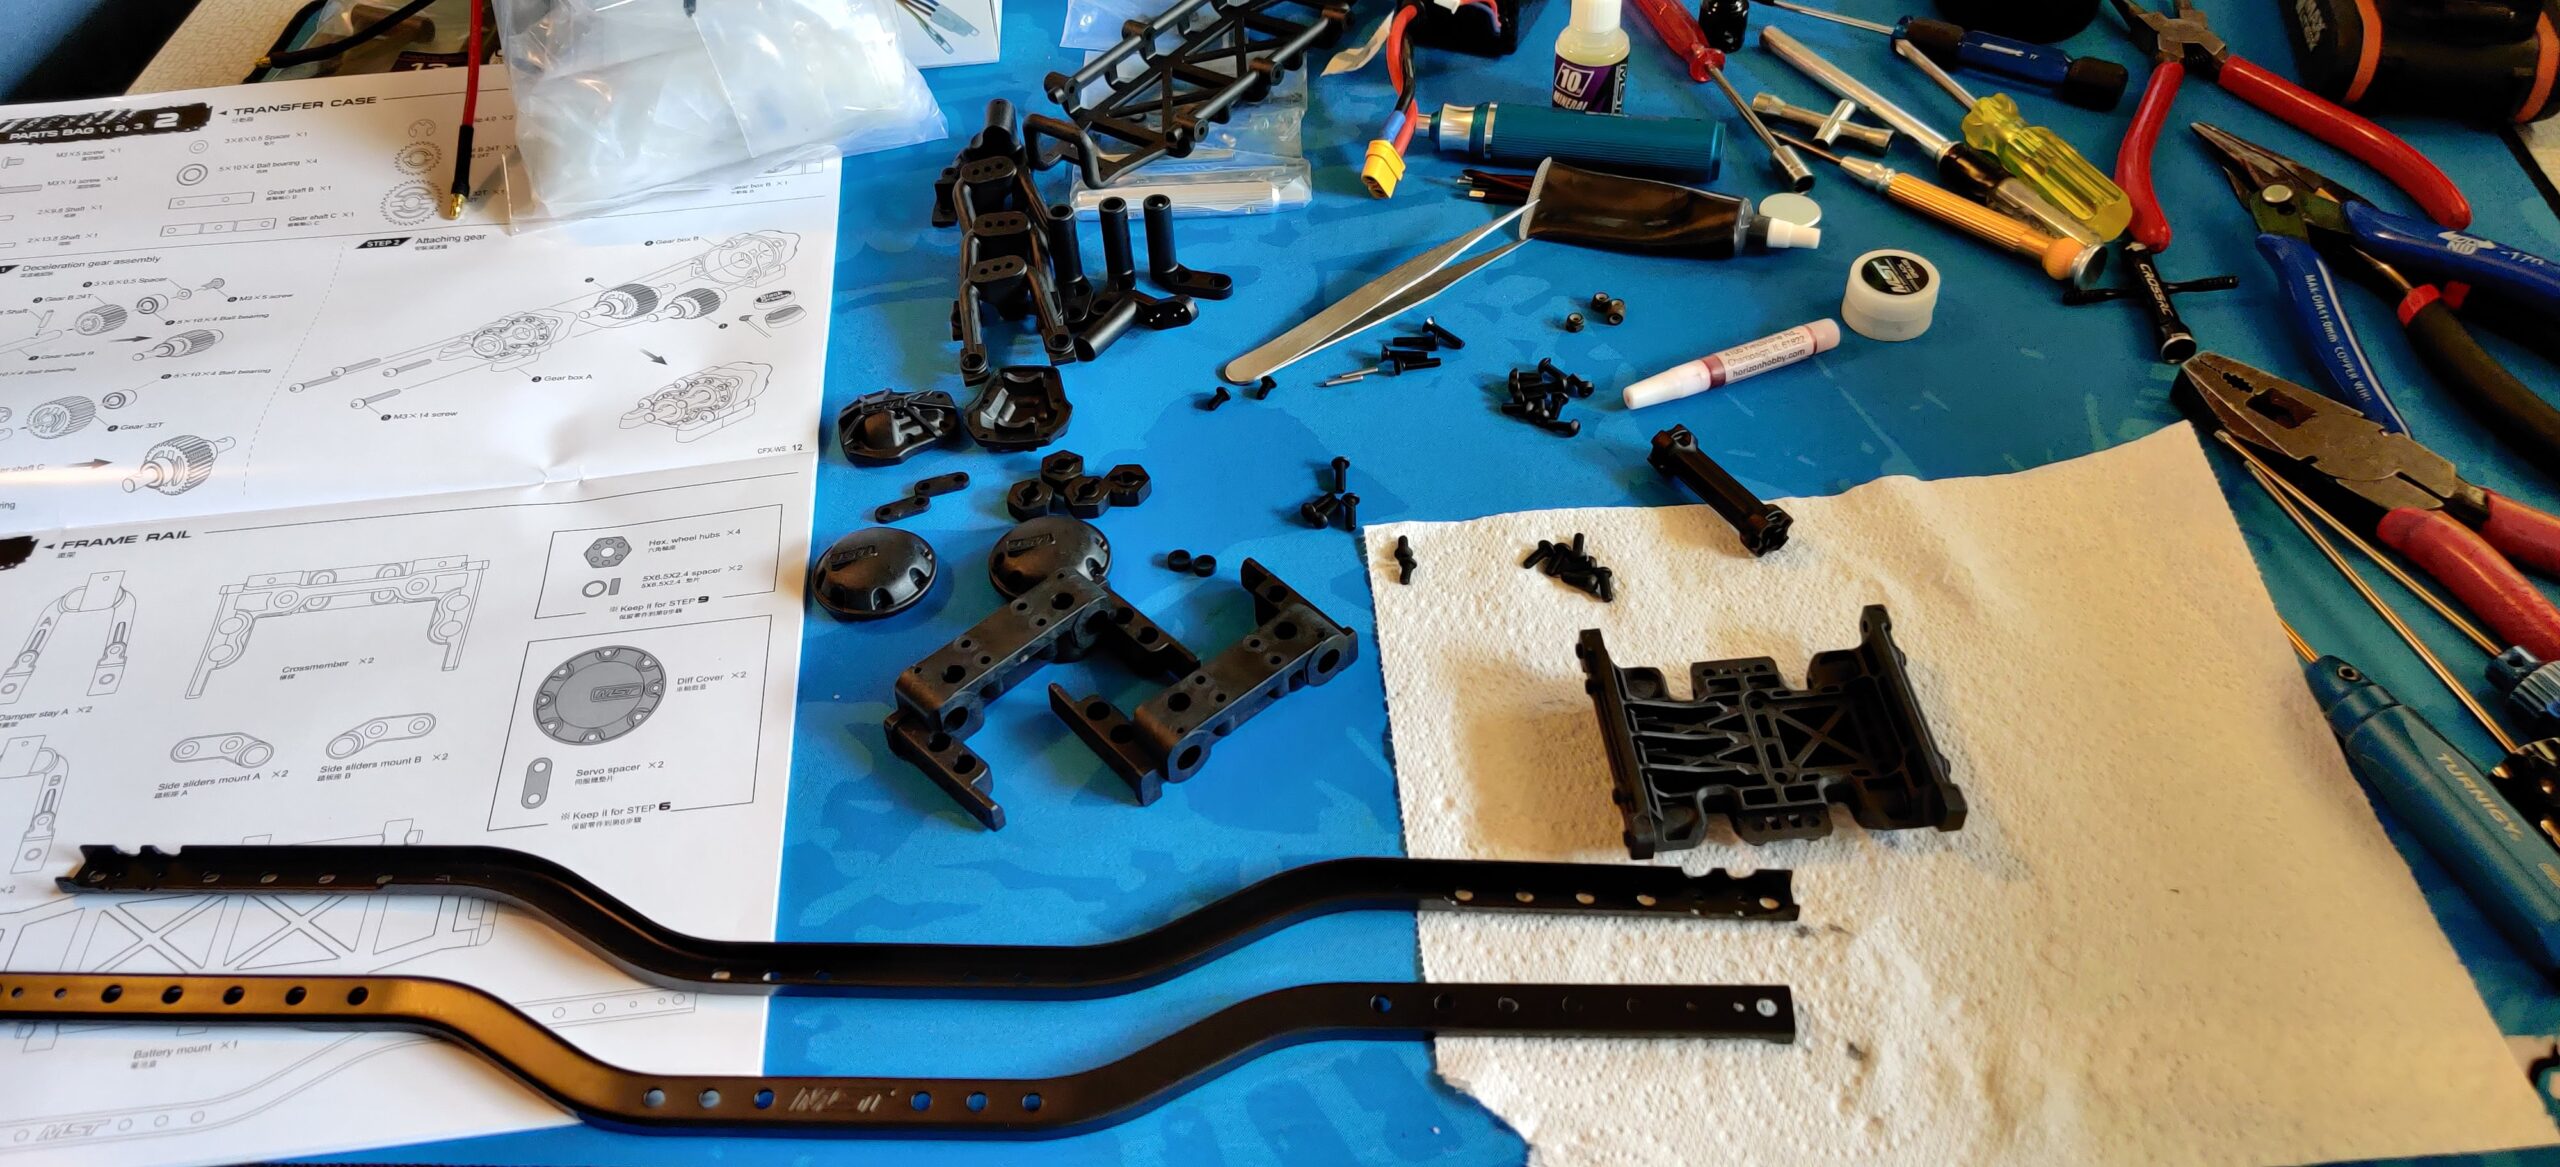
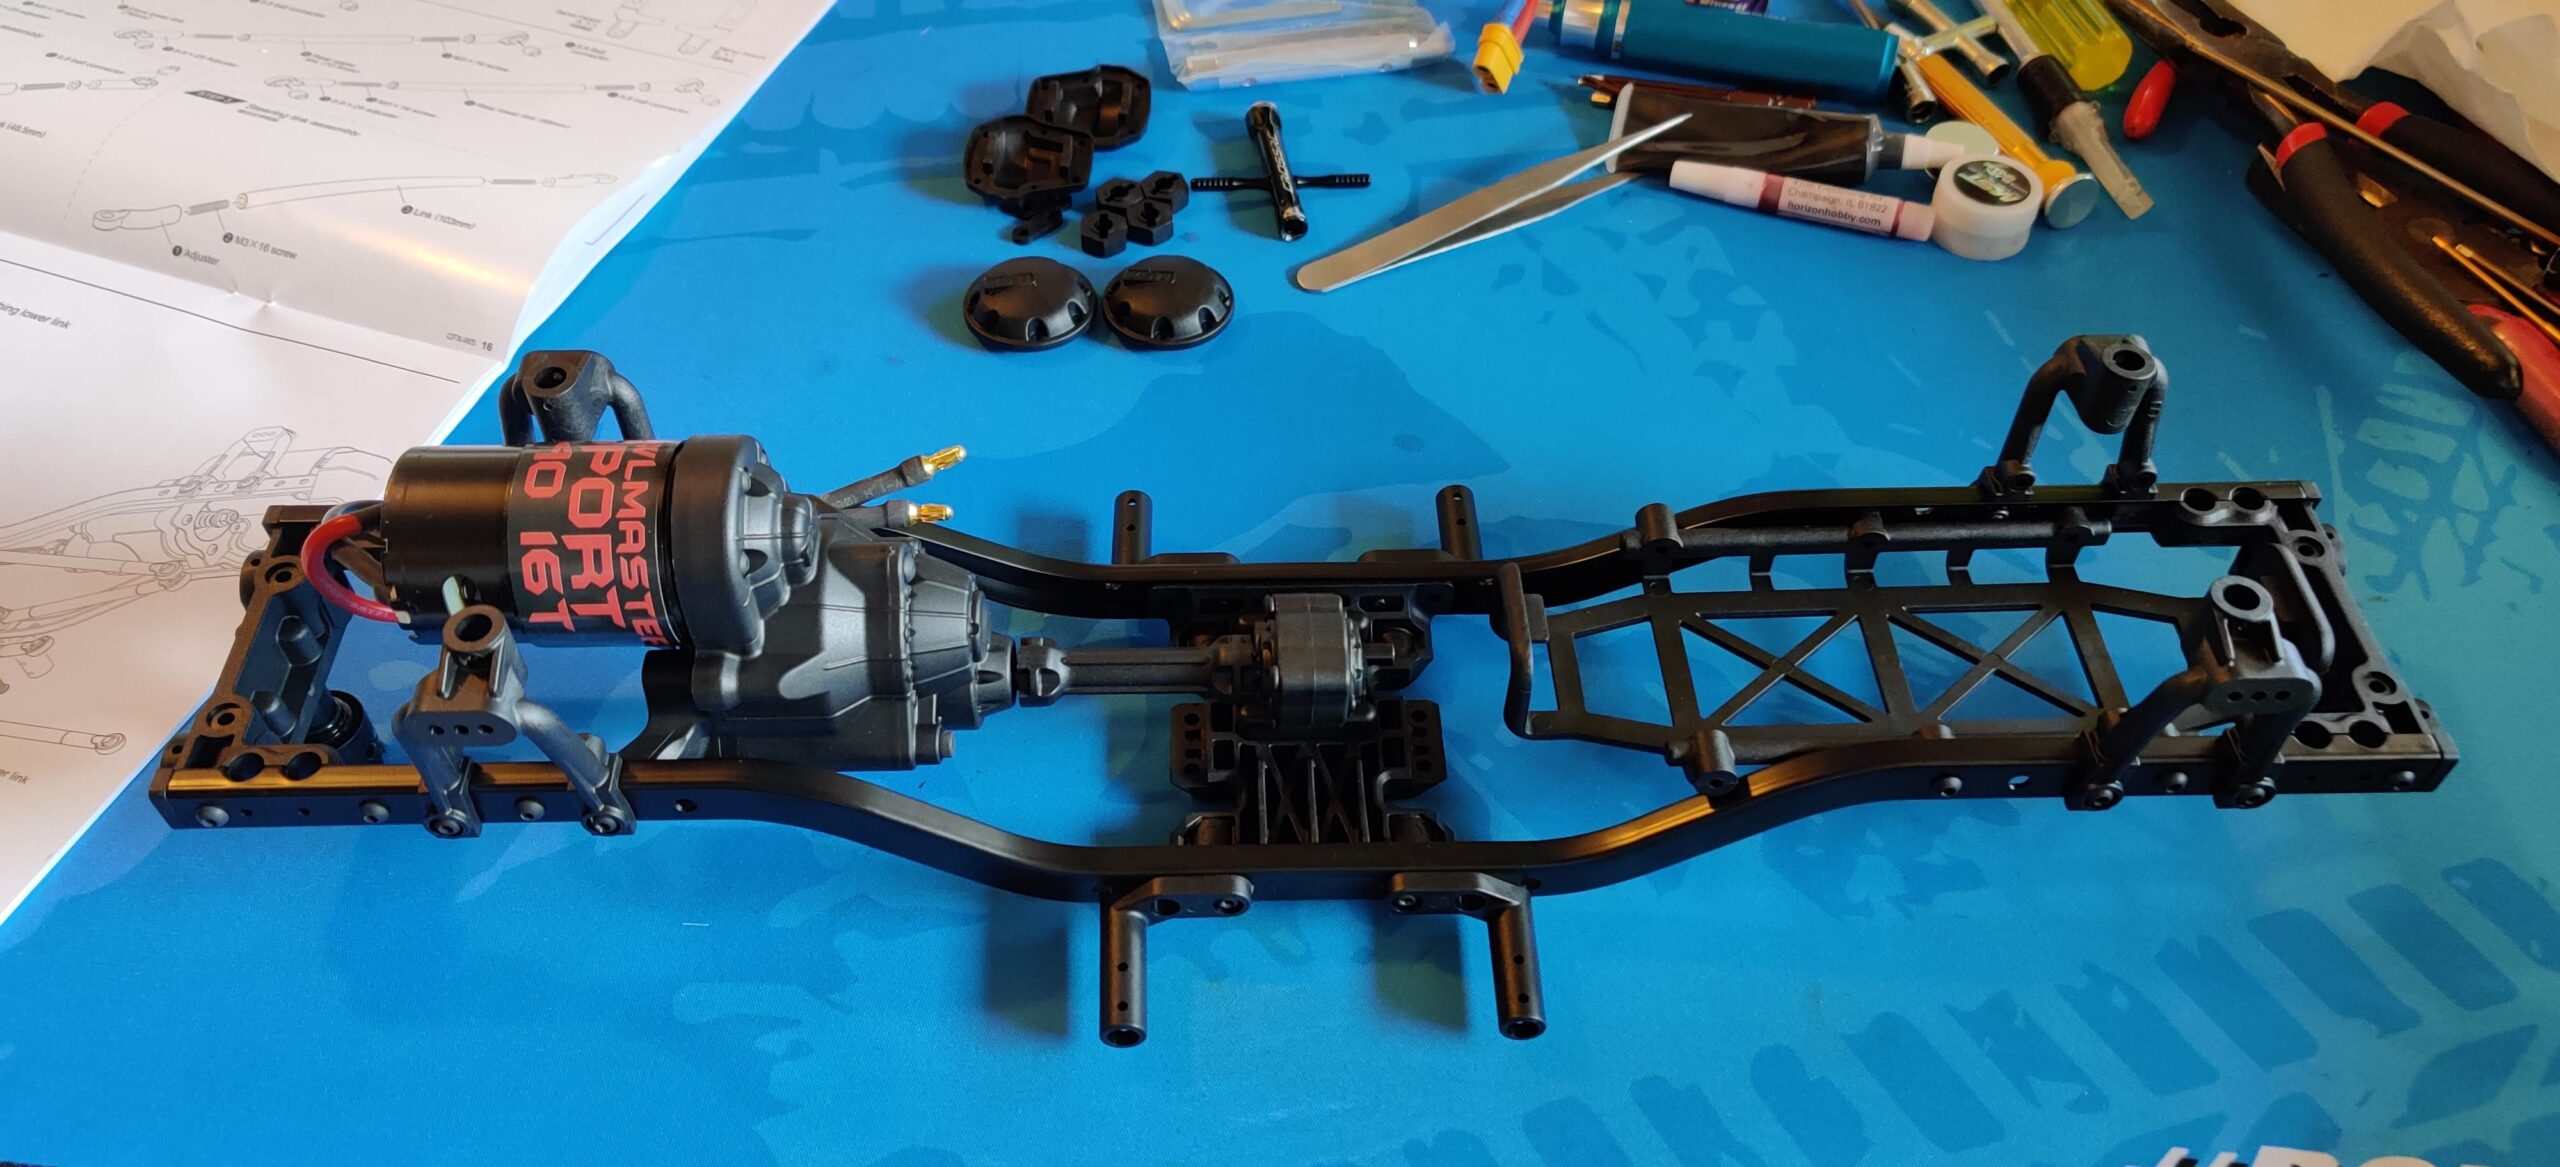
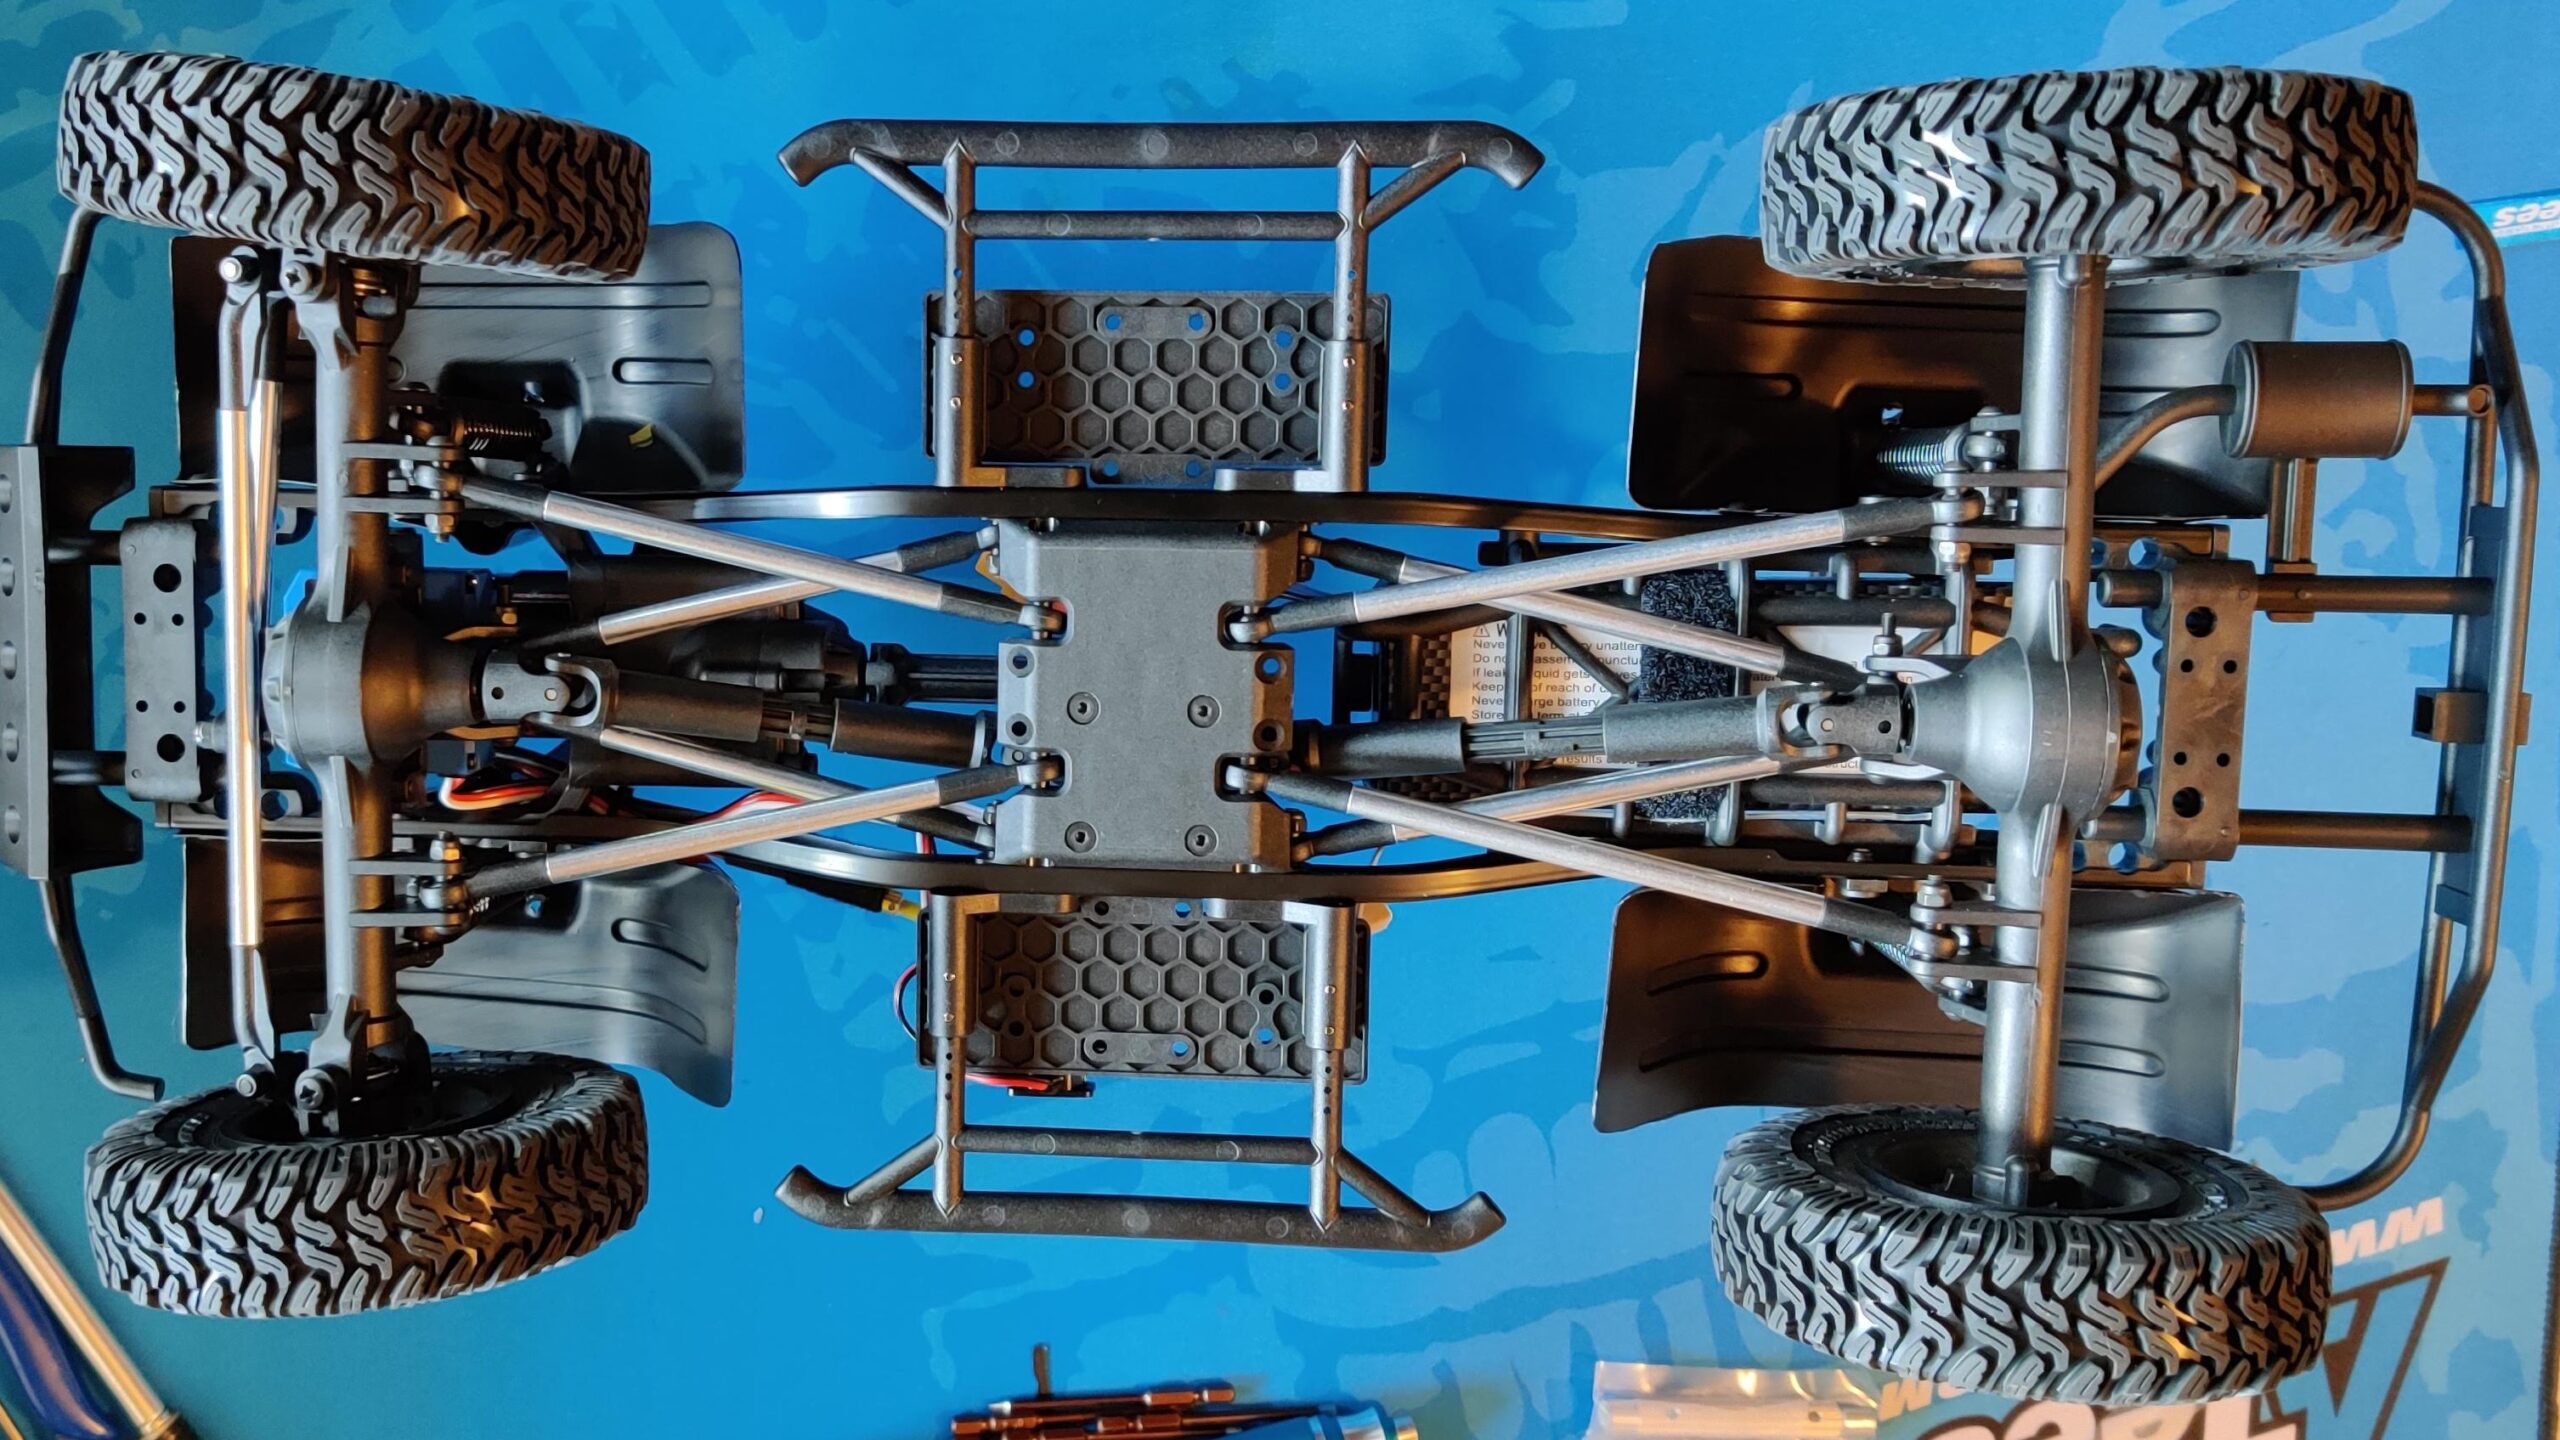
The chassis and skid plate assembly came next. The rails are the standard, C-channel, steel pieces that are typical of 1/10 RC rock crawlers. The skid plate is a fibre-infused, injection-molded plastic piece that should be durable and smooth for those belly-scrapes – which will be common, with these little tires!
The gearbox and transfer case went on without any issue and the whole thing was reasonably rigid. There’s a little flex in the frame but it’s pretty firm, overall. Spoiler: this won’t make any difference to the performance of this scale model, as this is more of a looker than a driver. More on that later!
MST DC1 Links
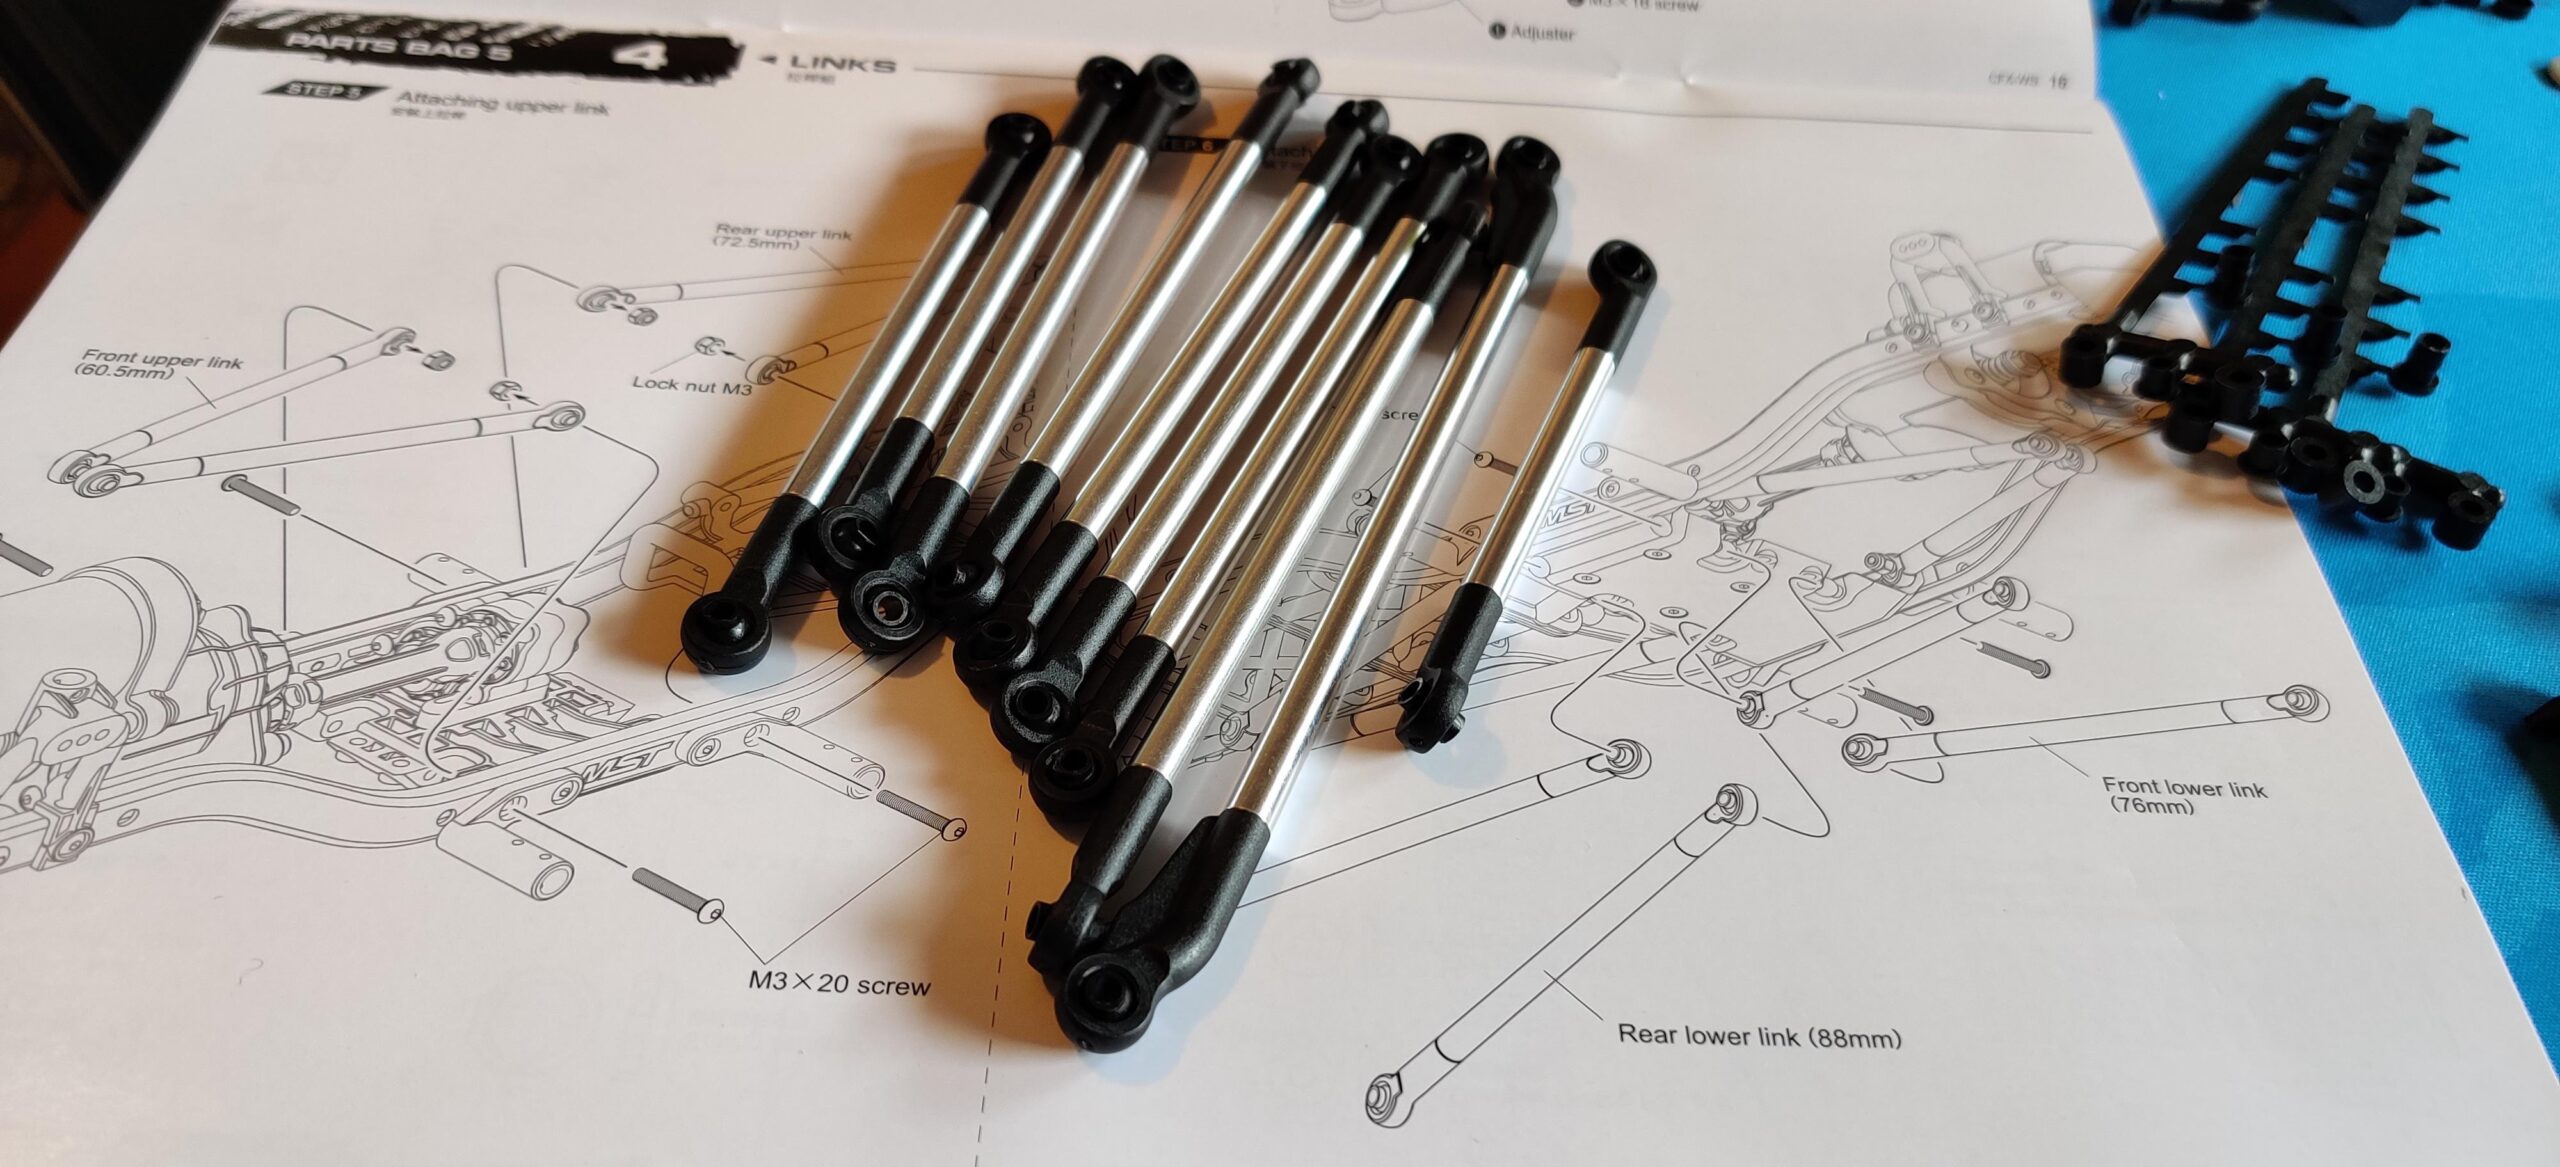
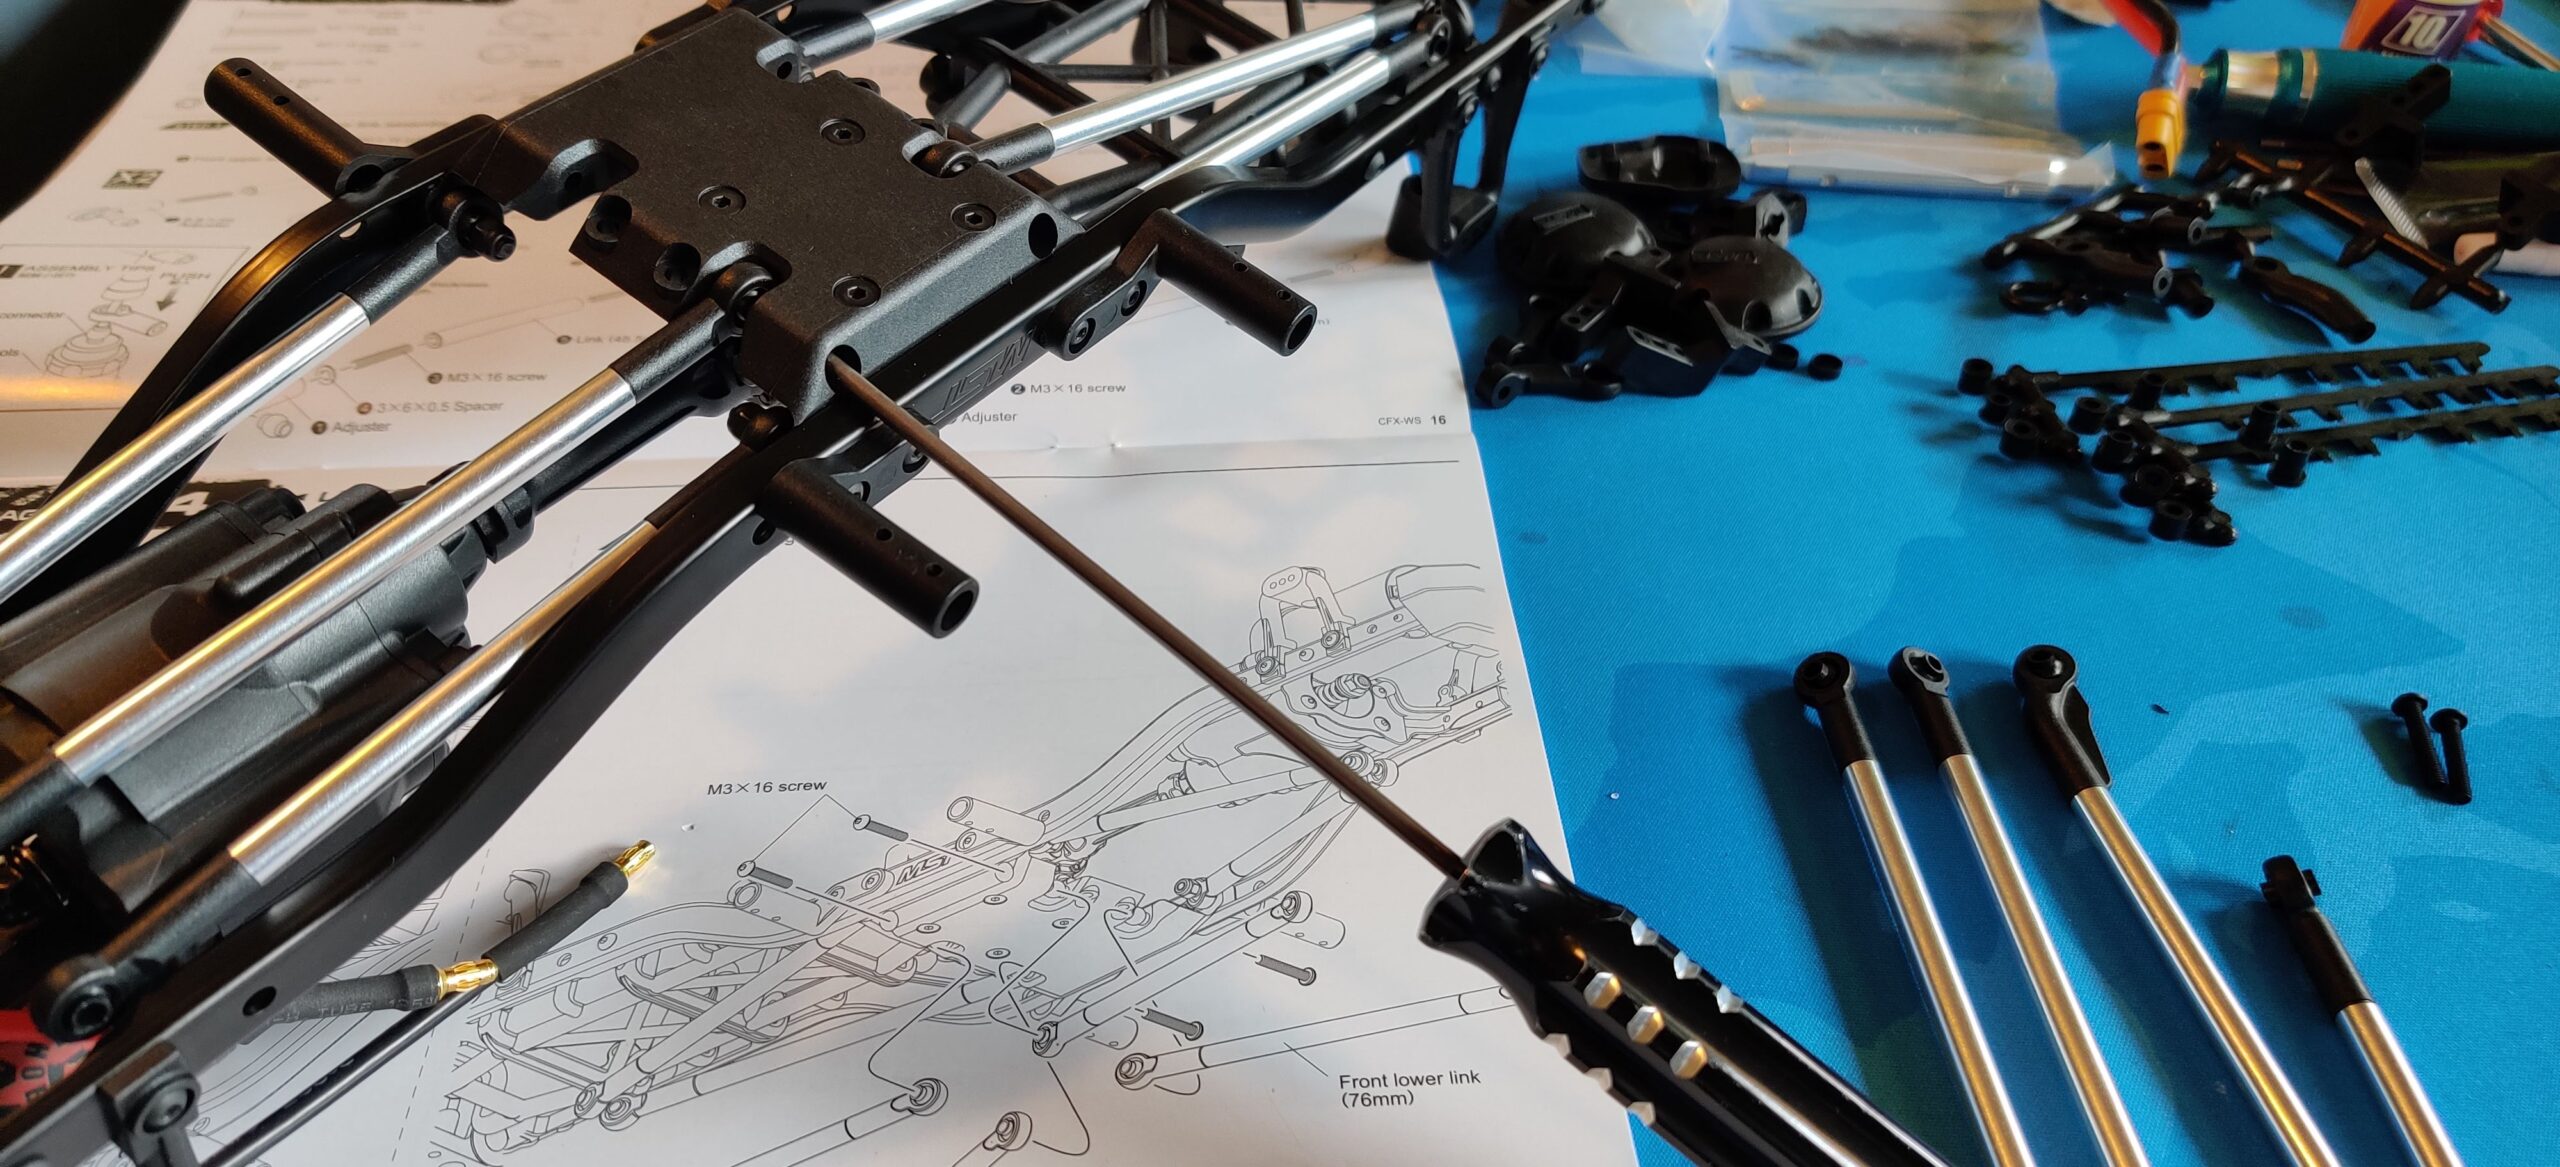
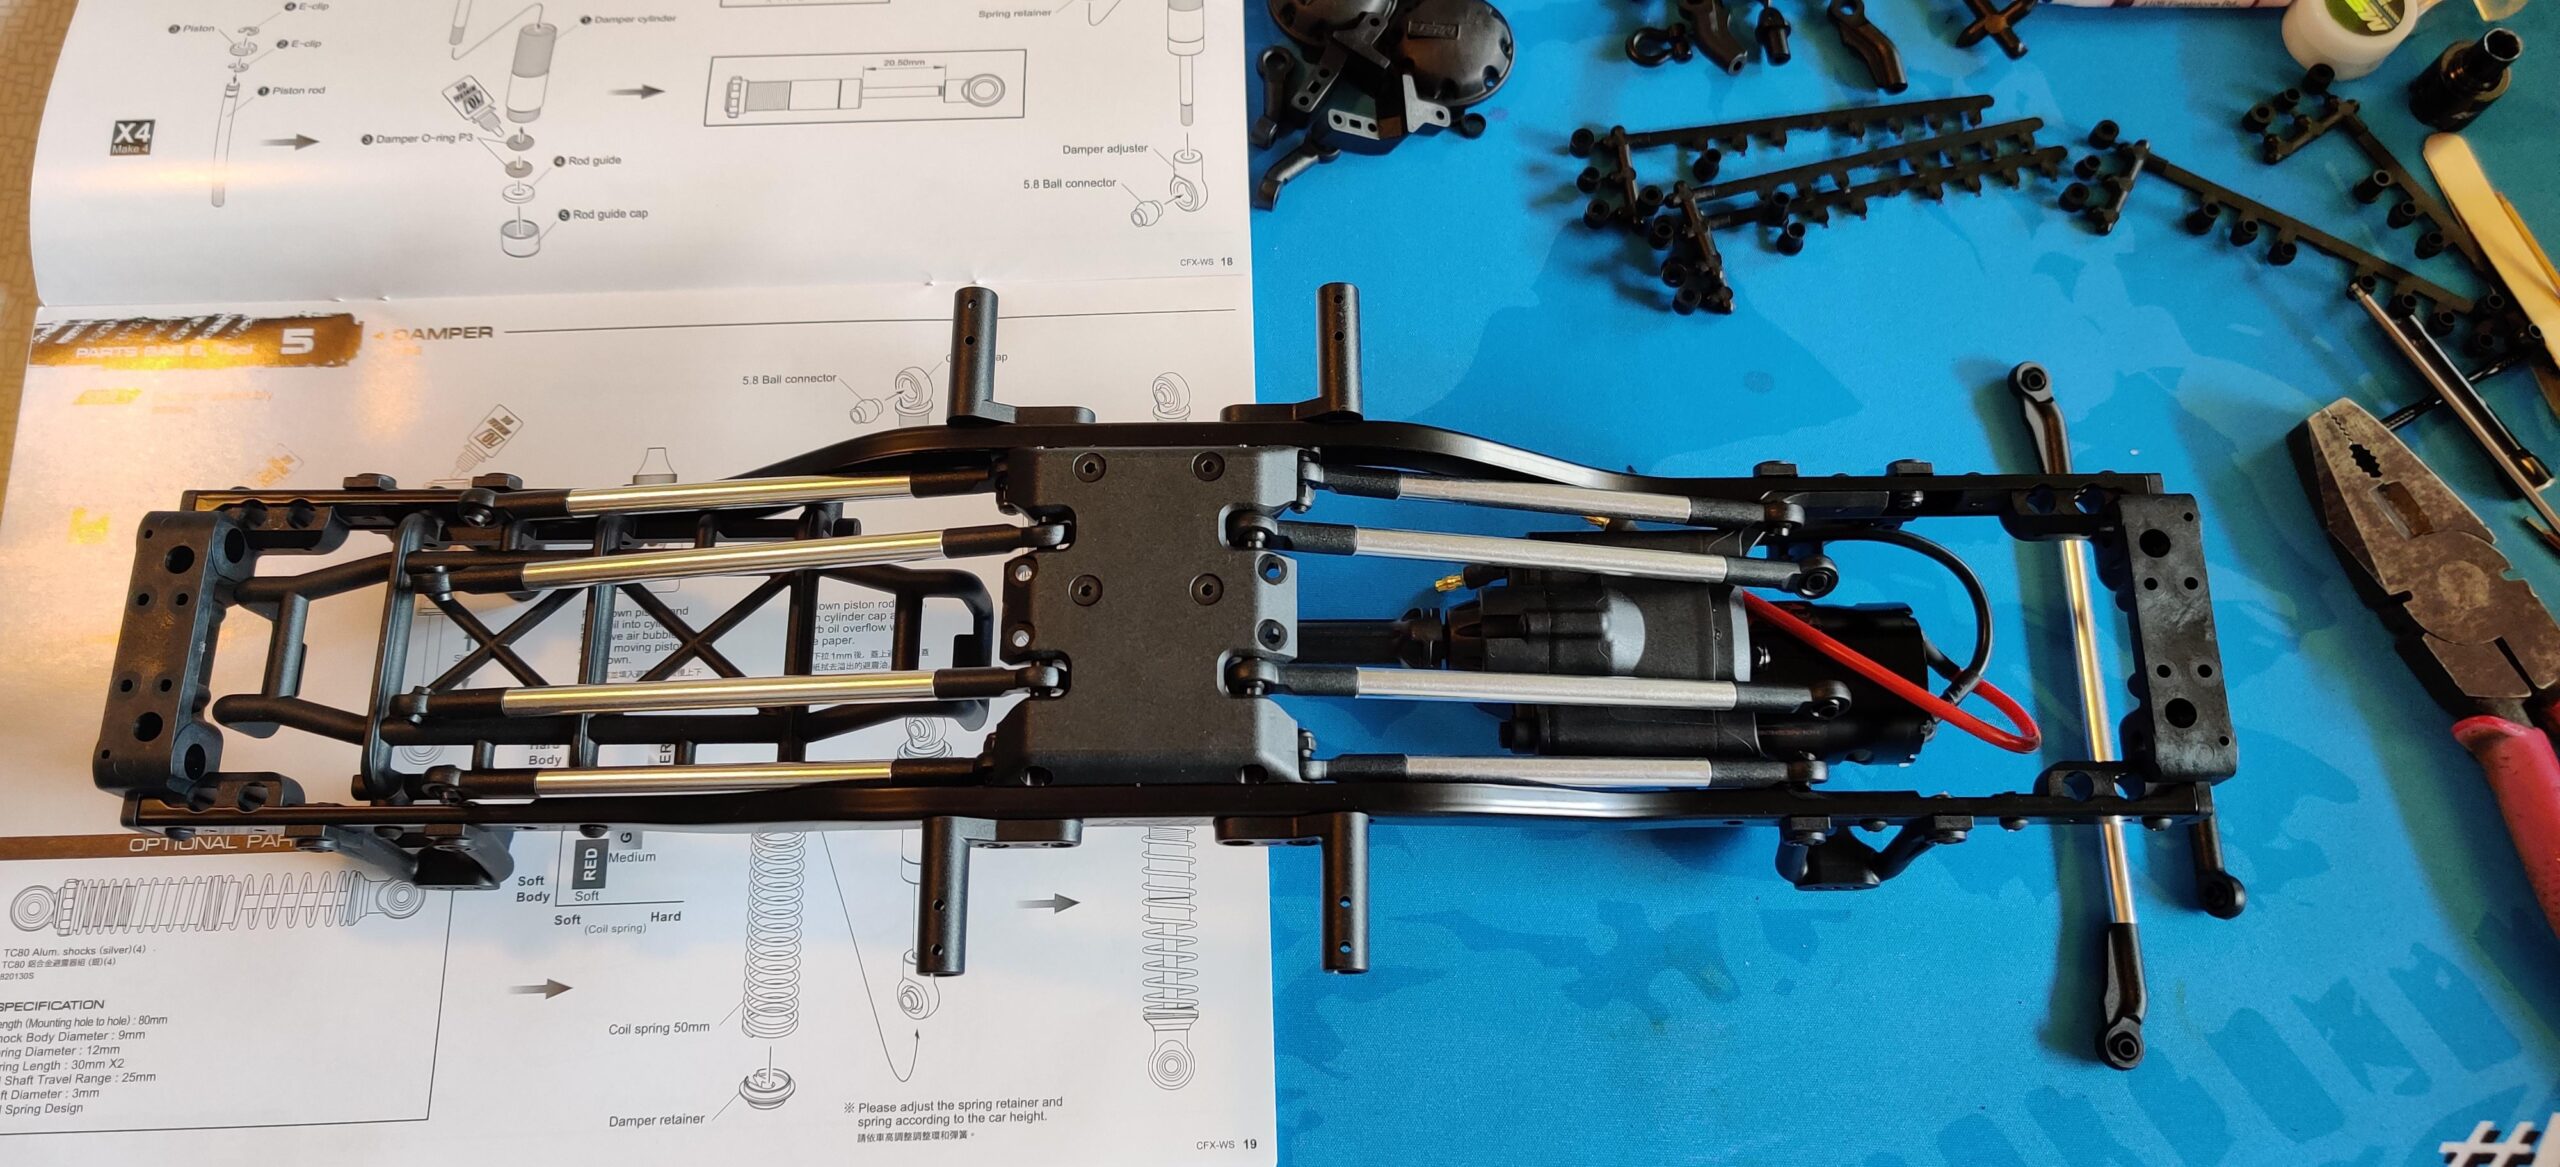
The links are a mixed-bag, as far as quality is concerned. It’s good that they’re 4mm stainless steel shafts. It’s good that the rod ends are of a durable, delrin-feeling (or at least, ABS) plastic that should last. However, the ball ends are plastic. These will wear out before other components if you plan on driving this thing more than occasionally.
Not a huge deal, but a small thing to note. The lengths were all pre-set by design and easily identified. They went onto the chassis smoothly and given we have an axle-mounted steering servo, it’s a standard, 4-link affair at each end. Nothing exciting here, but solid and functional, plastic ball ends aside. ‘Good enough’ for this type of vehicle, I think.
Shockingly Simple
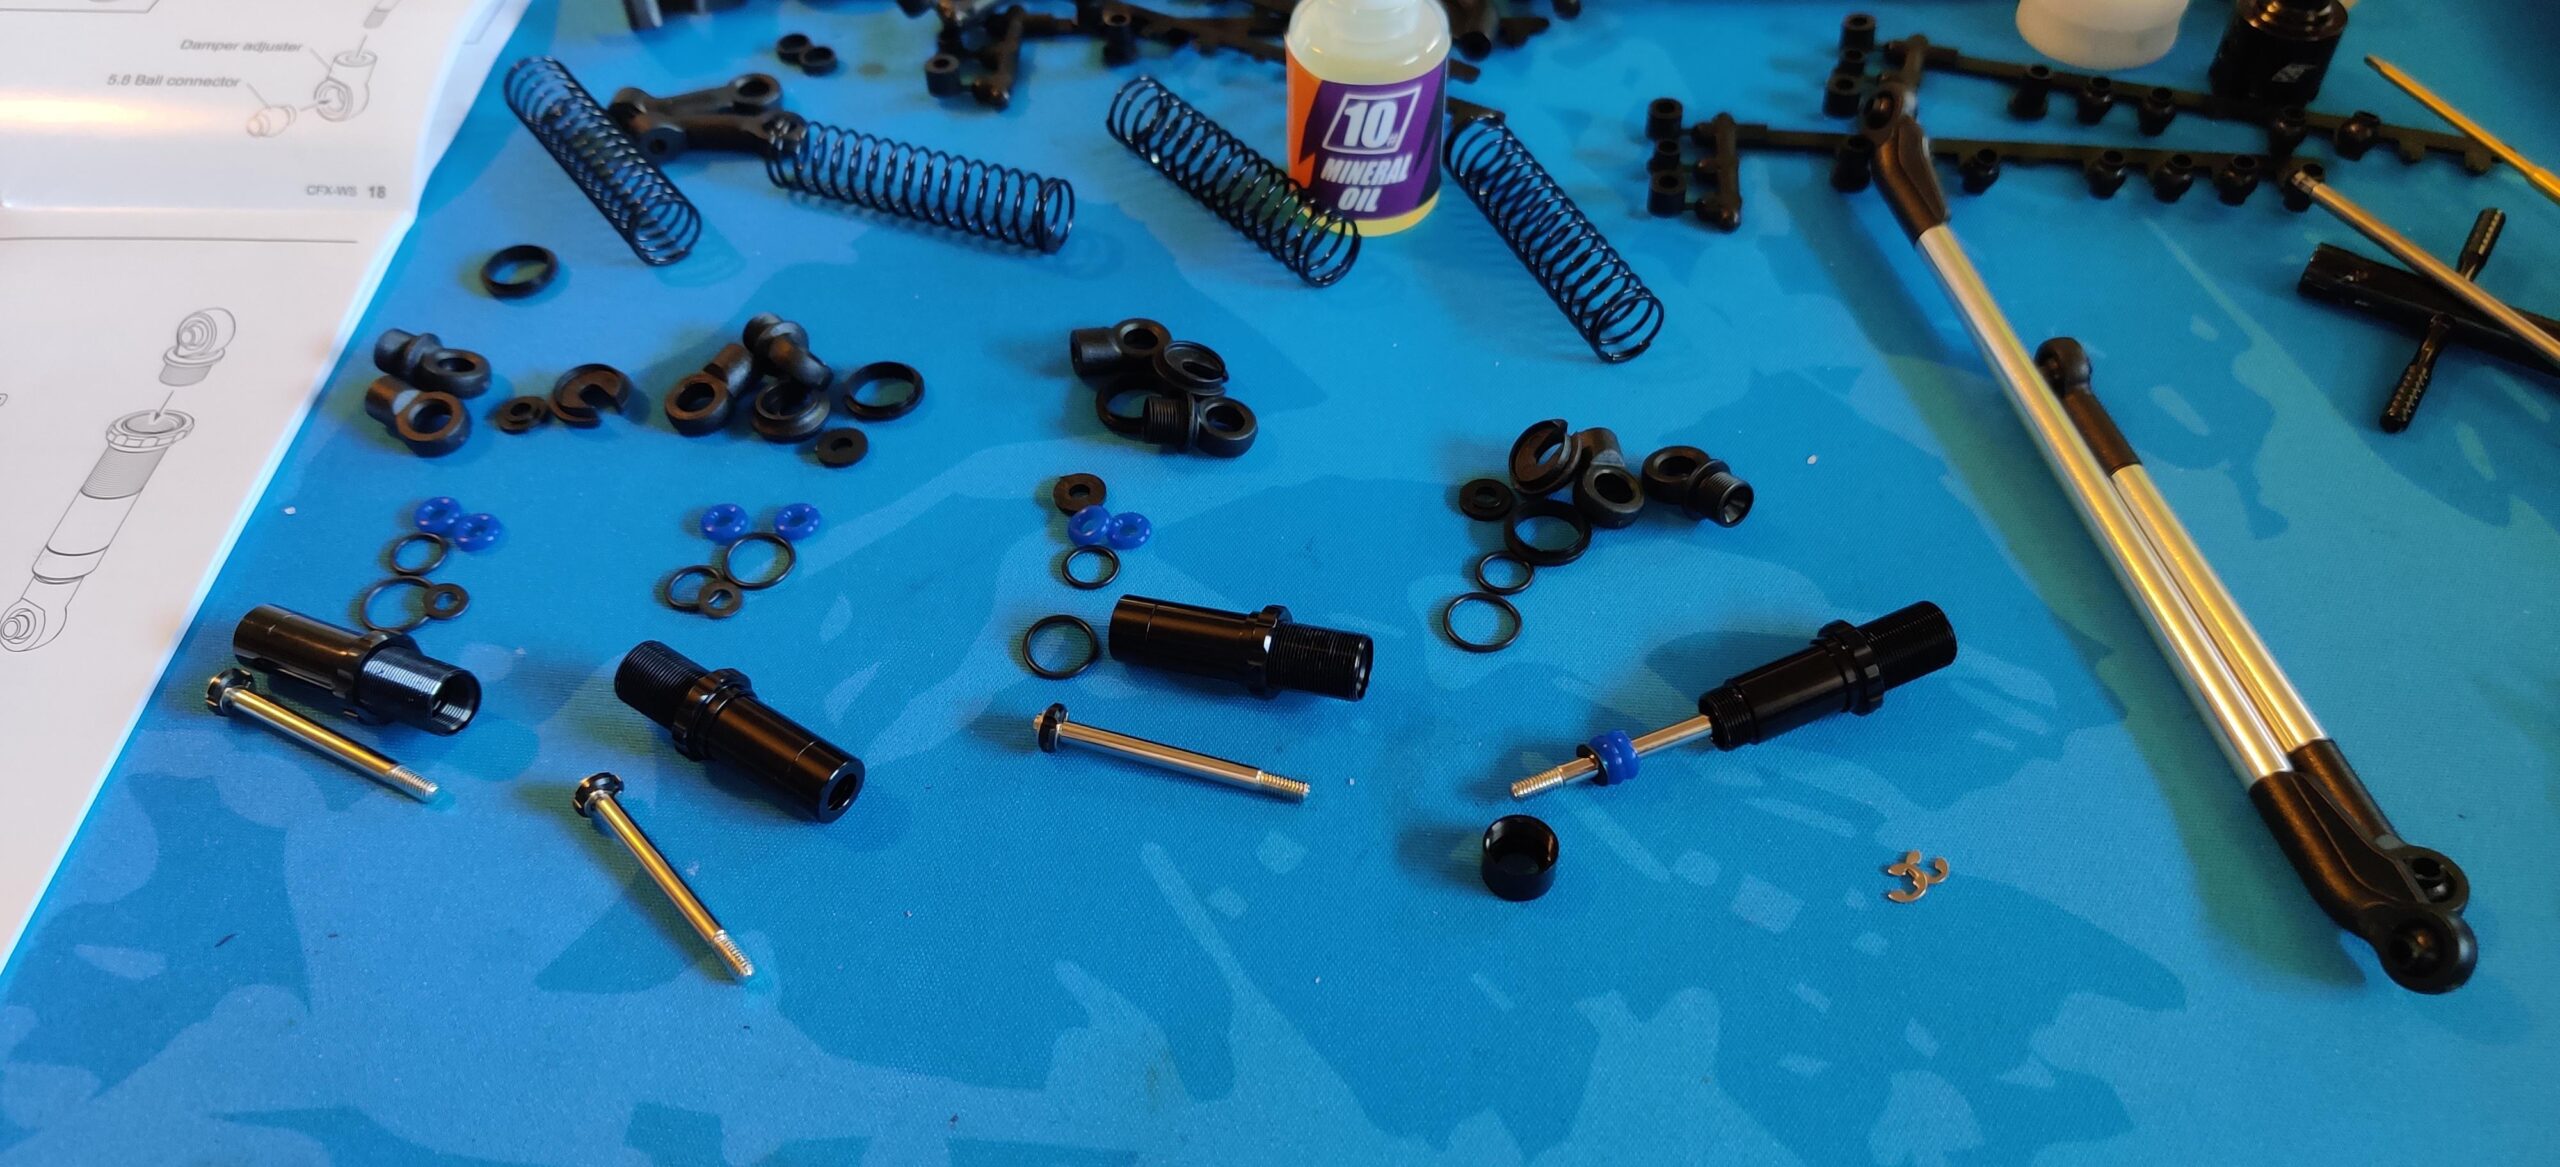
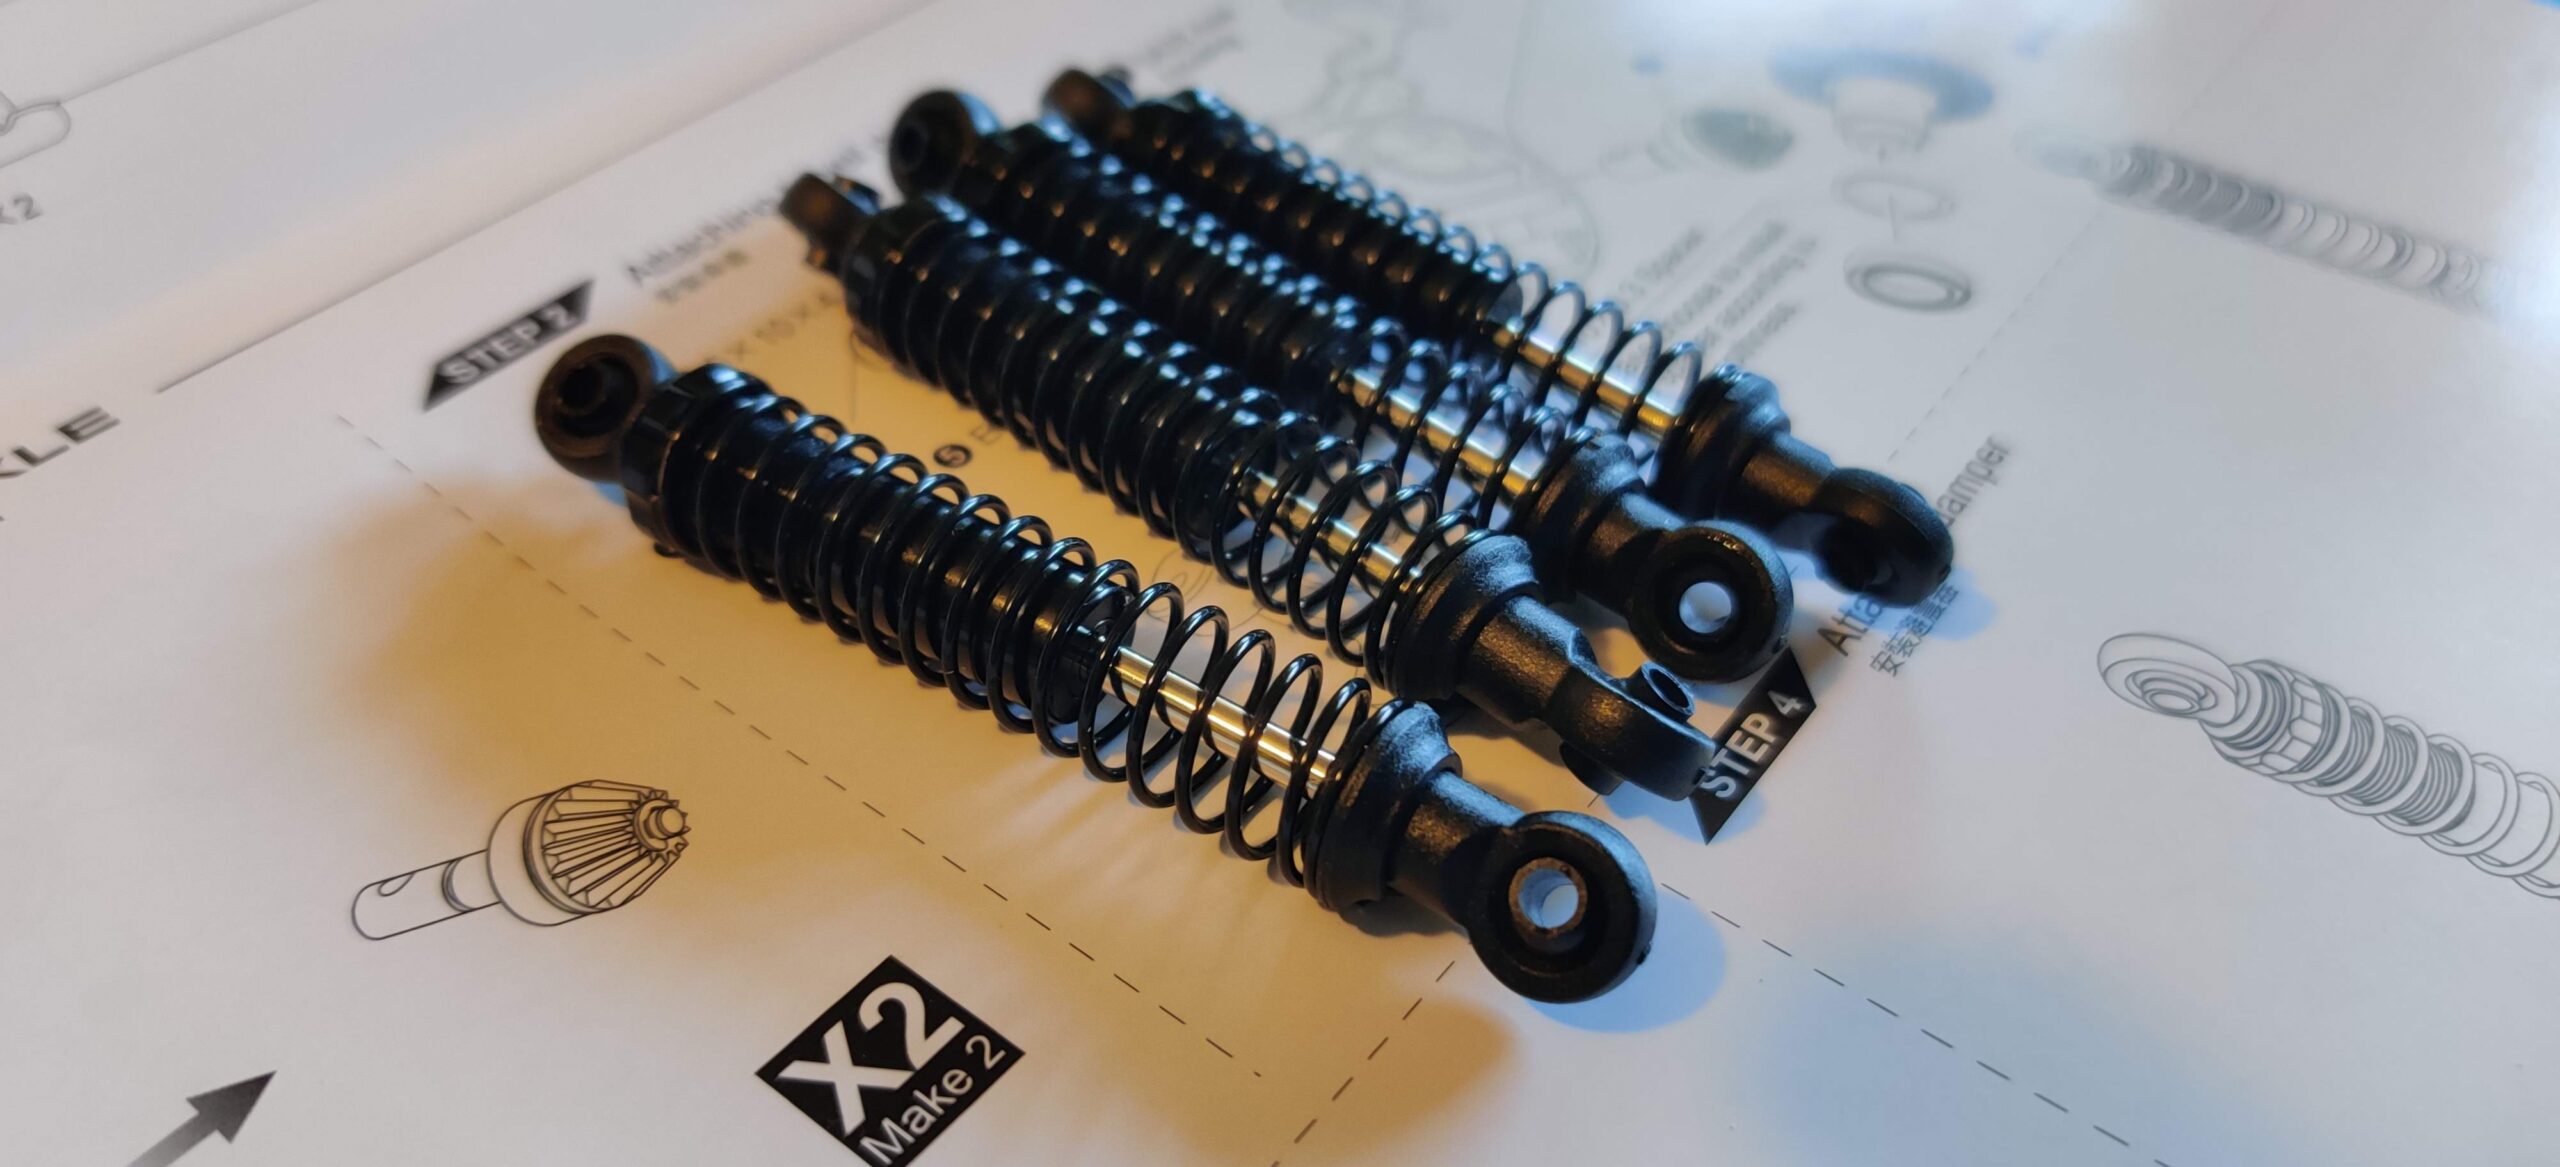
The shocks are decent, basic units. There’s an aluminium body with the common, finger-adjustable pre-damping feature. The shafts themselves are stainless steel, with plastic caps and ends rounding out each unit.
I was pleased to find double o-rings and a spacer in the bottom end of each, with additional o-rings for the caps at each end of the alu body. Overall this is a pretty secure design and unless you let the cleaning slide, these shocks will remain serviceable for the life of the model without leaking.
The supplied shock oil was a 10wt mineral oil rather than the more common 20 to 40wt silicone oil you’d expect these days. The viscosity isn’t a problem and for this vehicle in particular, I think 10wt will be just fine. I like these shocks, they’re a strong point of this model.
MST DC1 Axles
The diff gears are made by casting rather than being cut from hardened steel. In high-power models, this can be a pain point. For this model, it will be just fine. Even on 3S power, as long as you’re running a relatively low-power motor (such as the 16-turn 5-pole I’ve chosen), you’ll never need to replace these gears.
The axles are adjustable with included shims of varying widths, if needed. My units had the perfect mesh without any shimming required – that’s a win!
Not so good was the inclusion of unshielded bearings. If you’re going to cheap out on the bearings, the first place to put shielded ones is in the axles, even if you’re leaving the unshielded ones in the gearbox and transfer case. It’s the axle ends and diffs that will suffer water ingress first. These need some protection! I put shielded ones in my axles, but if you stick with the stock units, be sure to keep this model out of dust and water.
This minor issue aside, I like the axles, which have been redesigned for this model. I’ve assembled other MST axles in the past for various comp crawler builds and I liked them then. The plastics are good and the axles are decent quality. These units feel a little cheaper as far as materials go, but I think they’ll be up to the task if power is limited.
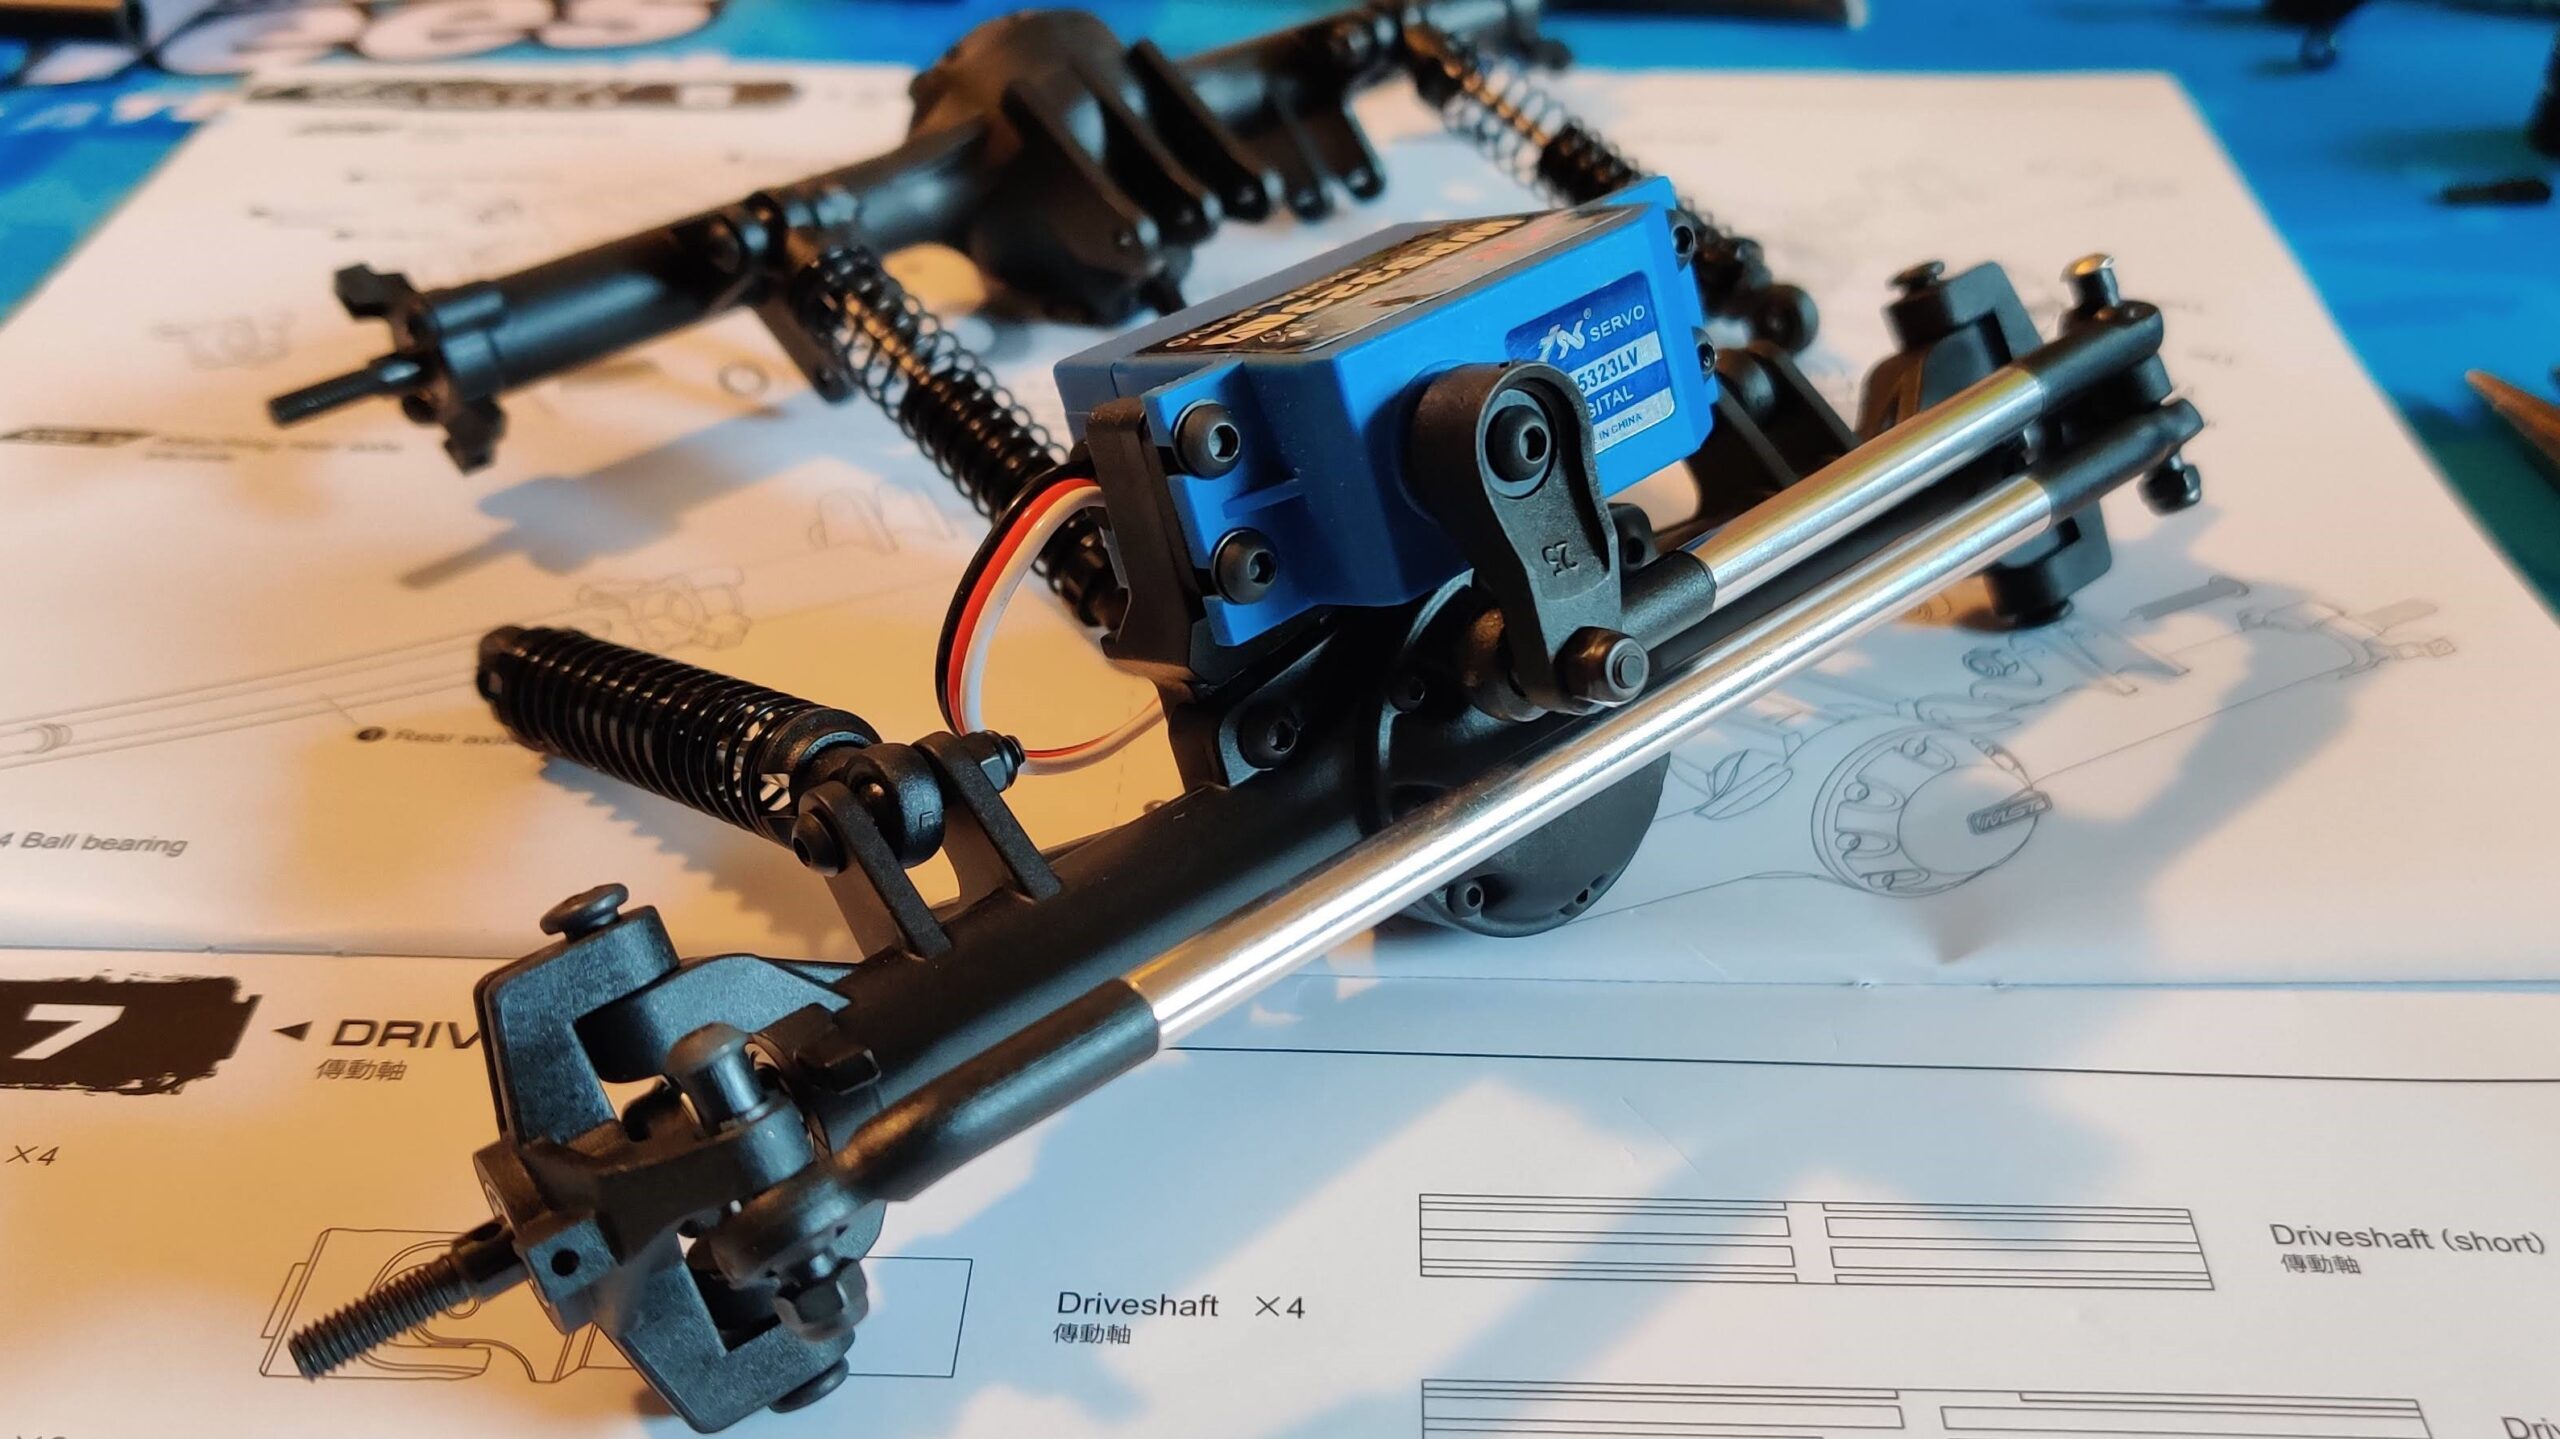
Axle-Mounted Servo
As you’ll hear in my video review, it’s a little baffling to see an axle-mounted servo on a scale crawler like the MST DC1. With such a pretty, scale body, why MST chose not to implement a CMS (Chassis Mounted Servo) with a panhard arrangement is a mystery to me.
In theory, you’ll enjoy better steering action with an axle-mounted servo over a CMS, but the gain is a small one and with these pencil-thin tires, I don’t think it’ll be a worthwhile exchange for the loss in scale appearance.
Well, it is what it is, so I dutifully installed it and continued with the build!

MST DC1 Wheels & Tires
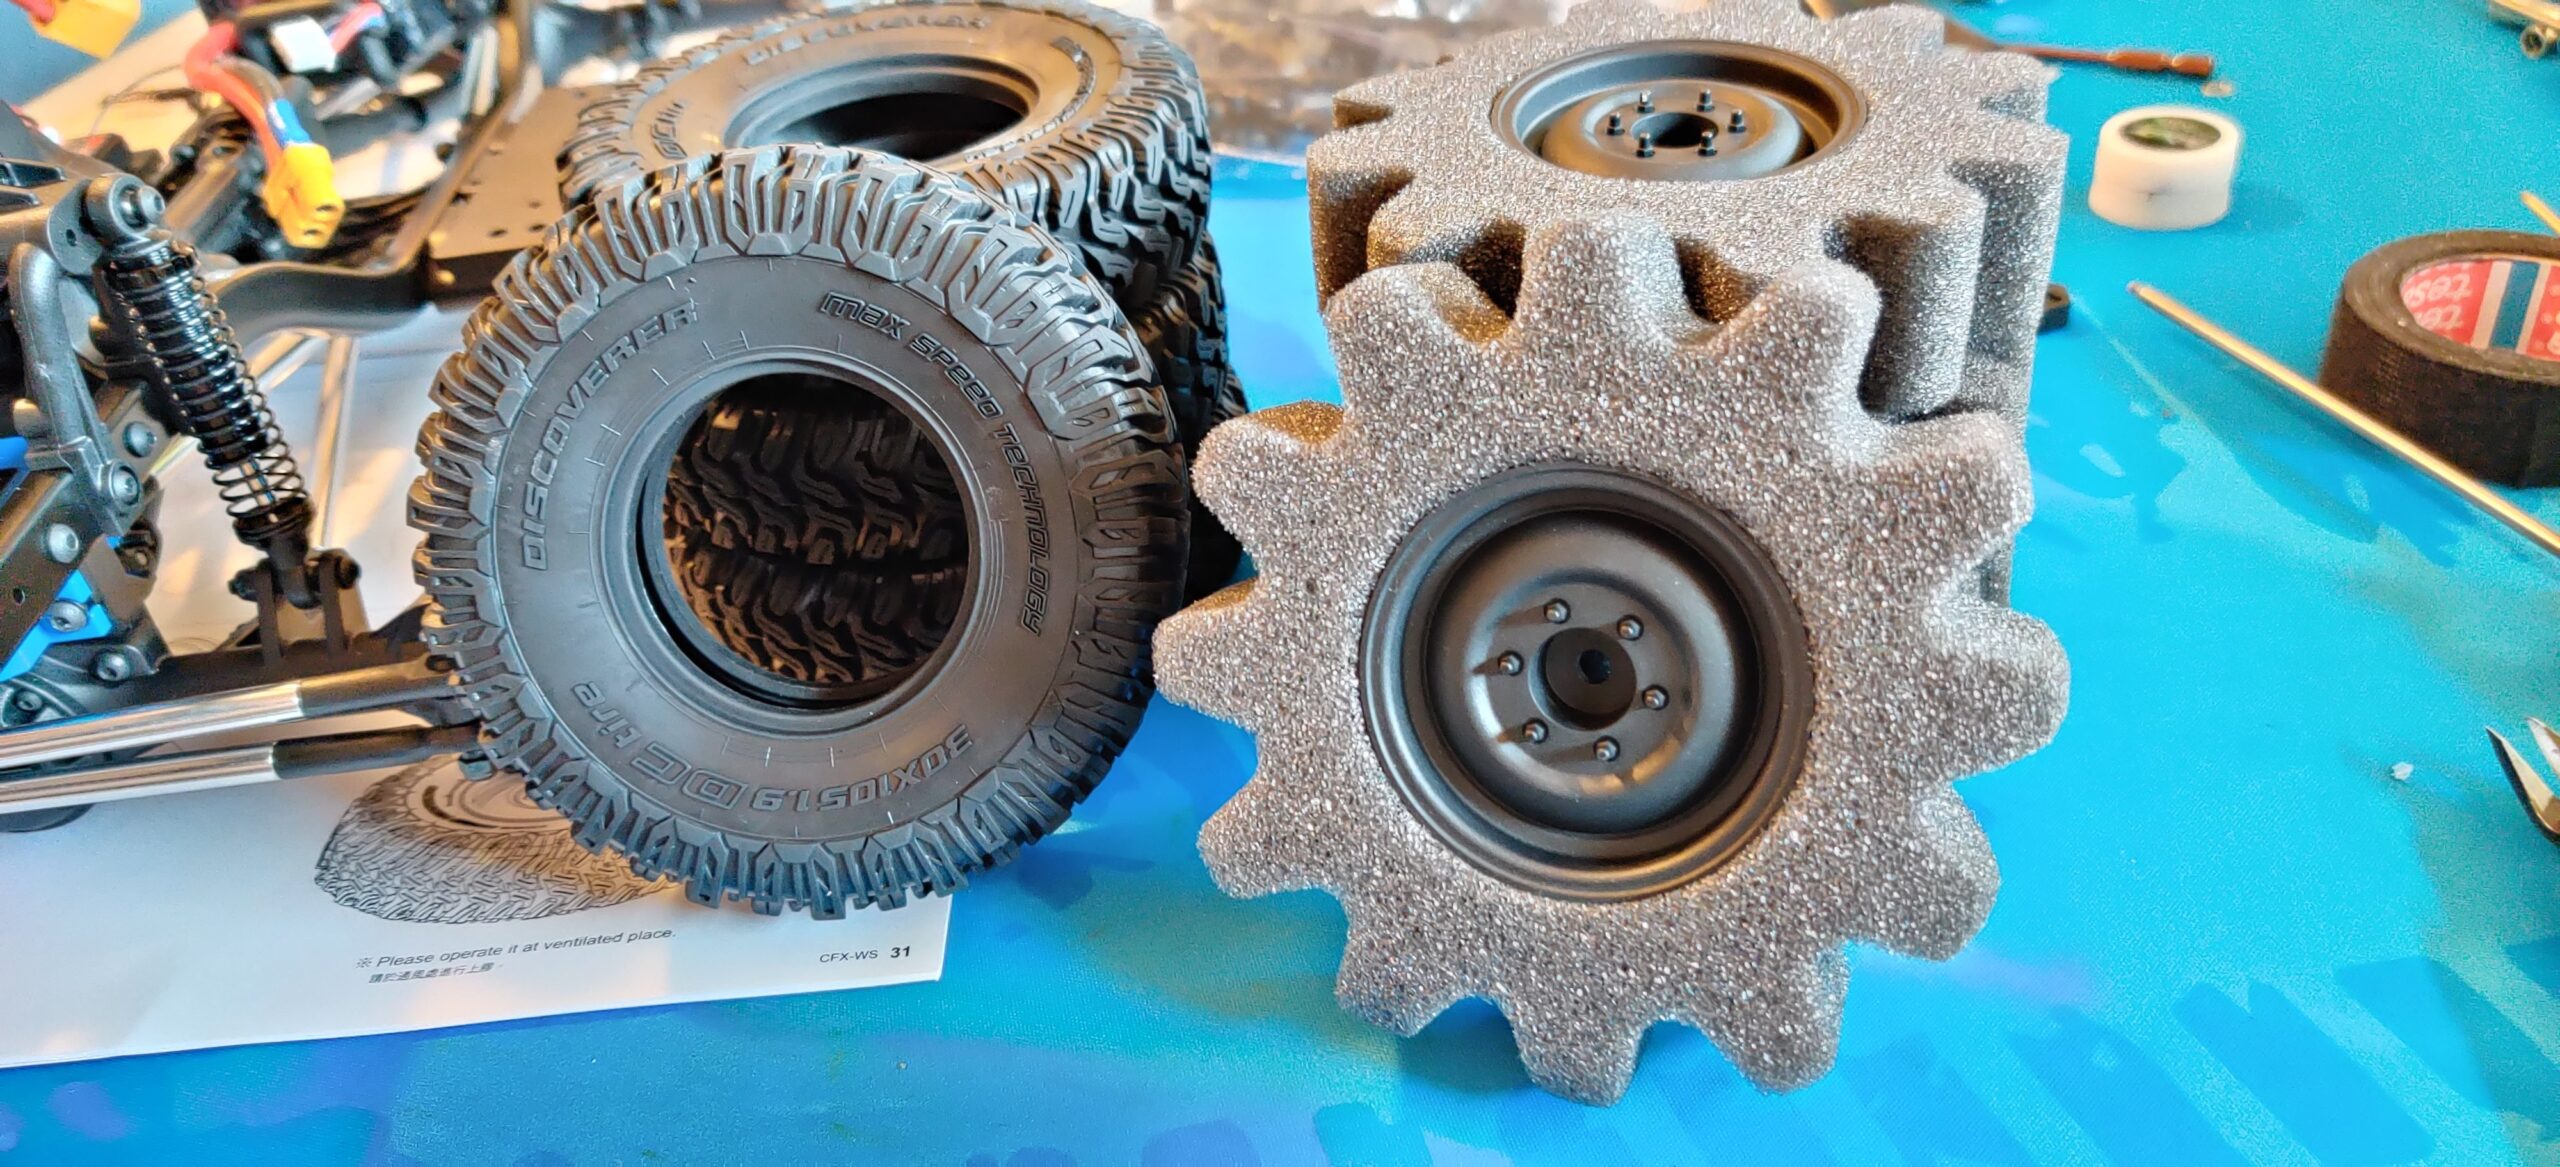
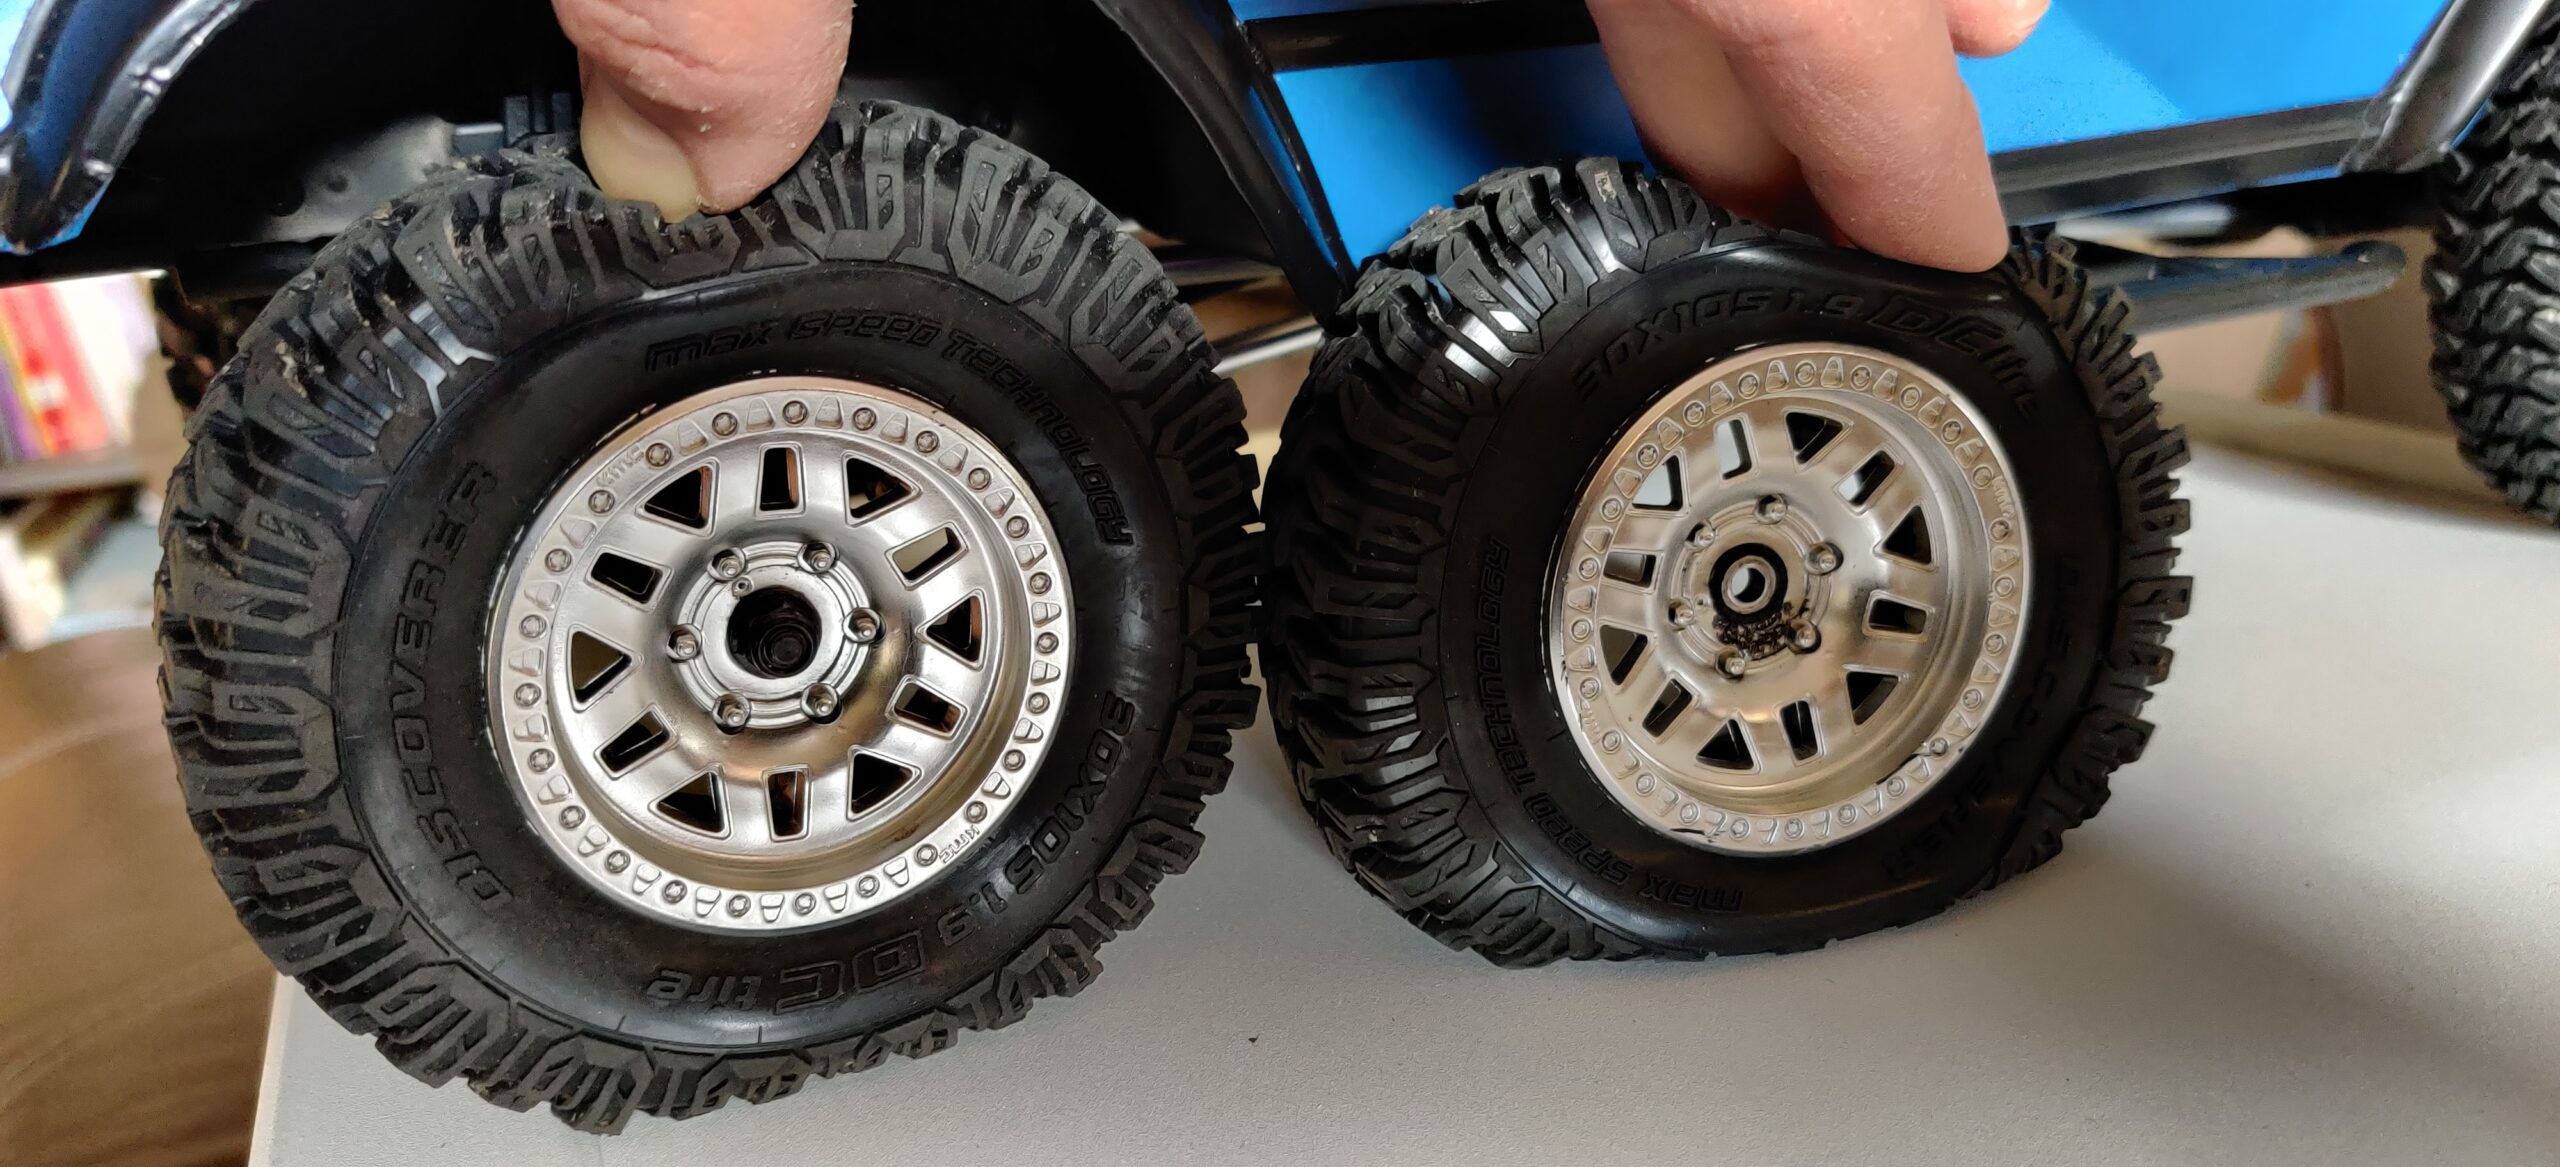
Easy one first: the tires suit this model, from the tread to the side-walls. The size is fairly large, from a scale perspective, but the width is good and the compound is soft enough to hopefully be a decent performer.
The wheels, on the other hand, were not what was shown on the AsiaTees website when I ordered, nor on the box. You don’t get the pretty, 5-spoke star wheels, but instead a set of flat-looking plastic wheels that require glue.
Adding insult to injury, the included foams are cut much too aggressively. I tried the model with these but found the tires sat flat under the model and worse, afforded deeply unsatisfying performance on the rocks. This little model will need every advantage possible for crawling, and the pre-cut foams are rubbish. Don’t use them if you can help it!
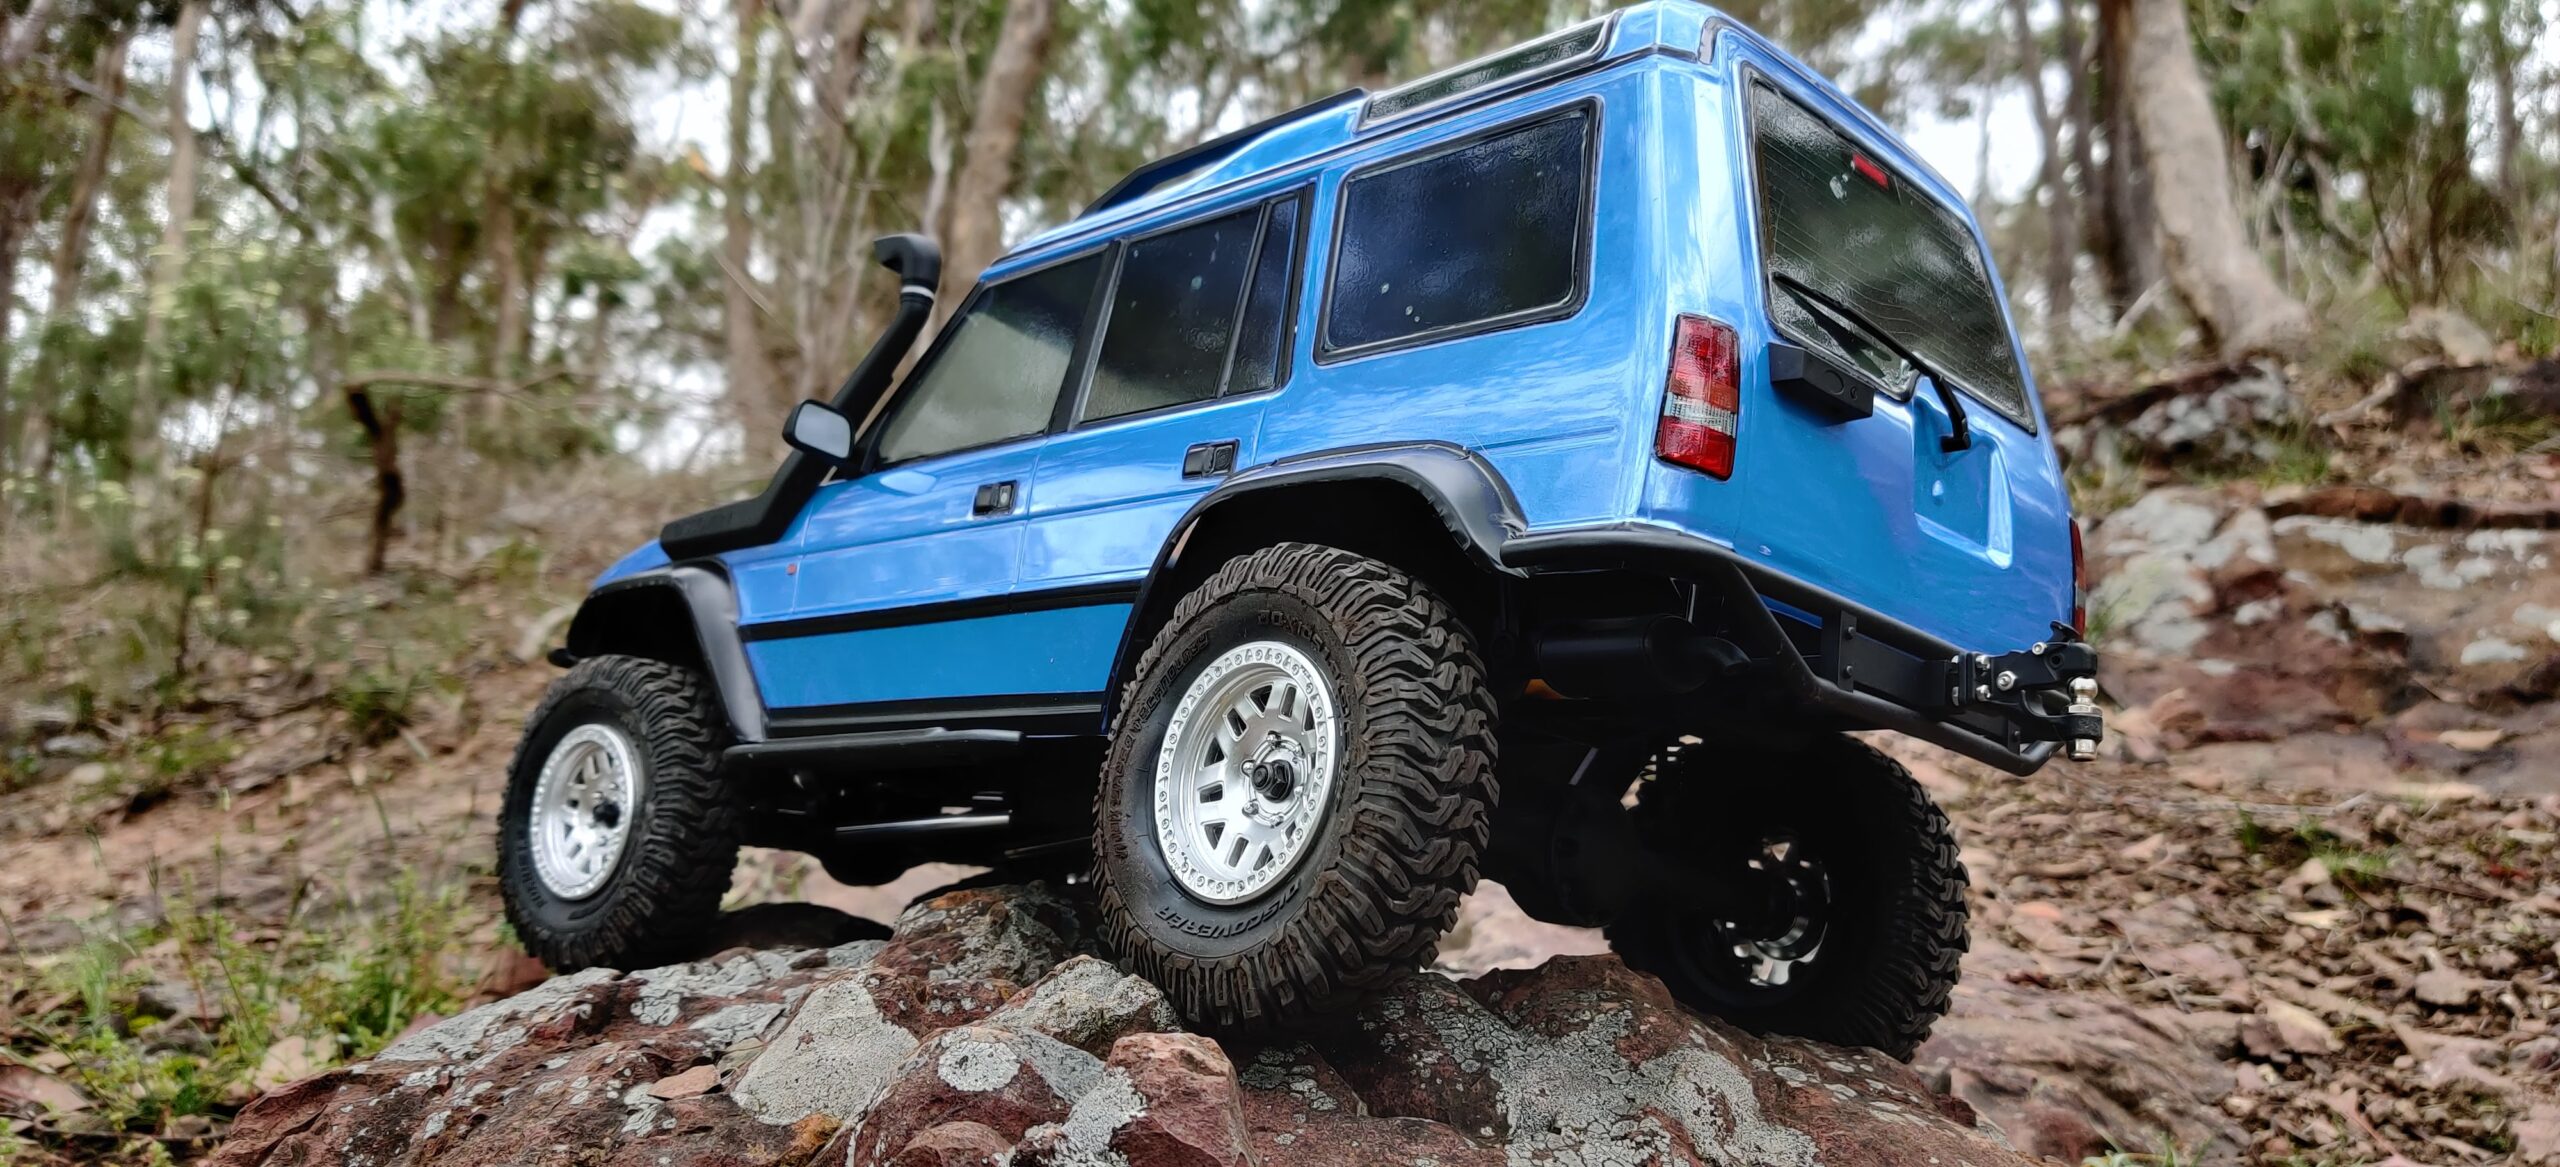
I fitted a fatter set of foams I had left over from some 4.19″ tires and these were perfect. I also used plastic beadlock wheels from the SCX10 III Gladiator, given I’ve replaced them on that rig with alloy beadlock wheels already. This way I still end up with the lightweight wheels of the correct size for the model, but I don’t have to glue those pretty tires. It doesn’t look fabulous, I must be honest, but I still think they’re a better choice than those ugly flat units supplied with the model! What do you think?
Well, Well, Well… Well!
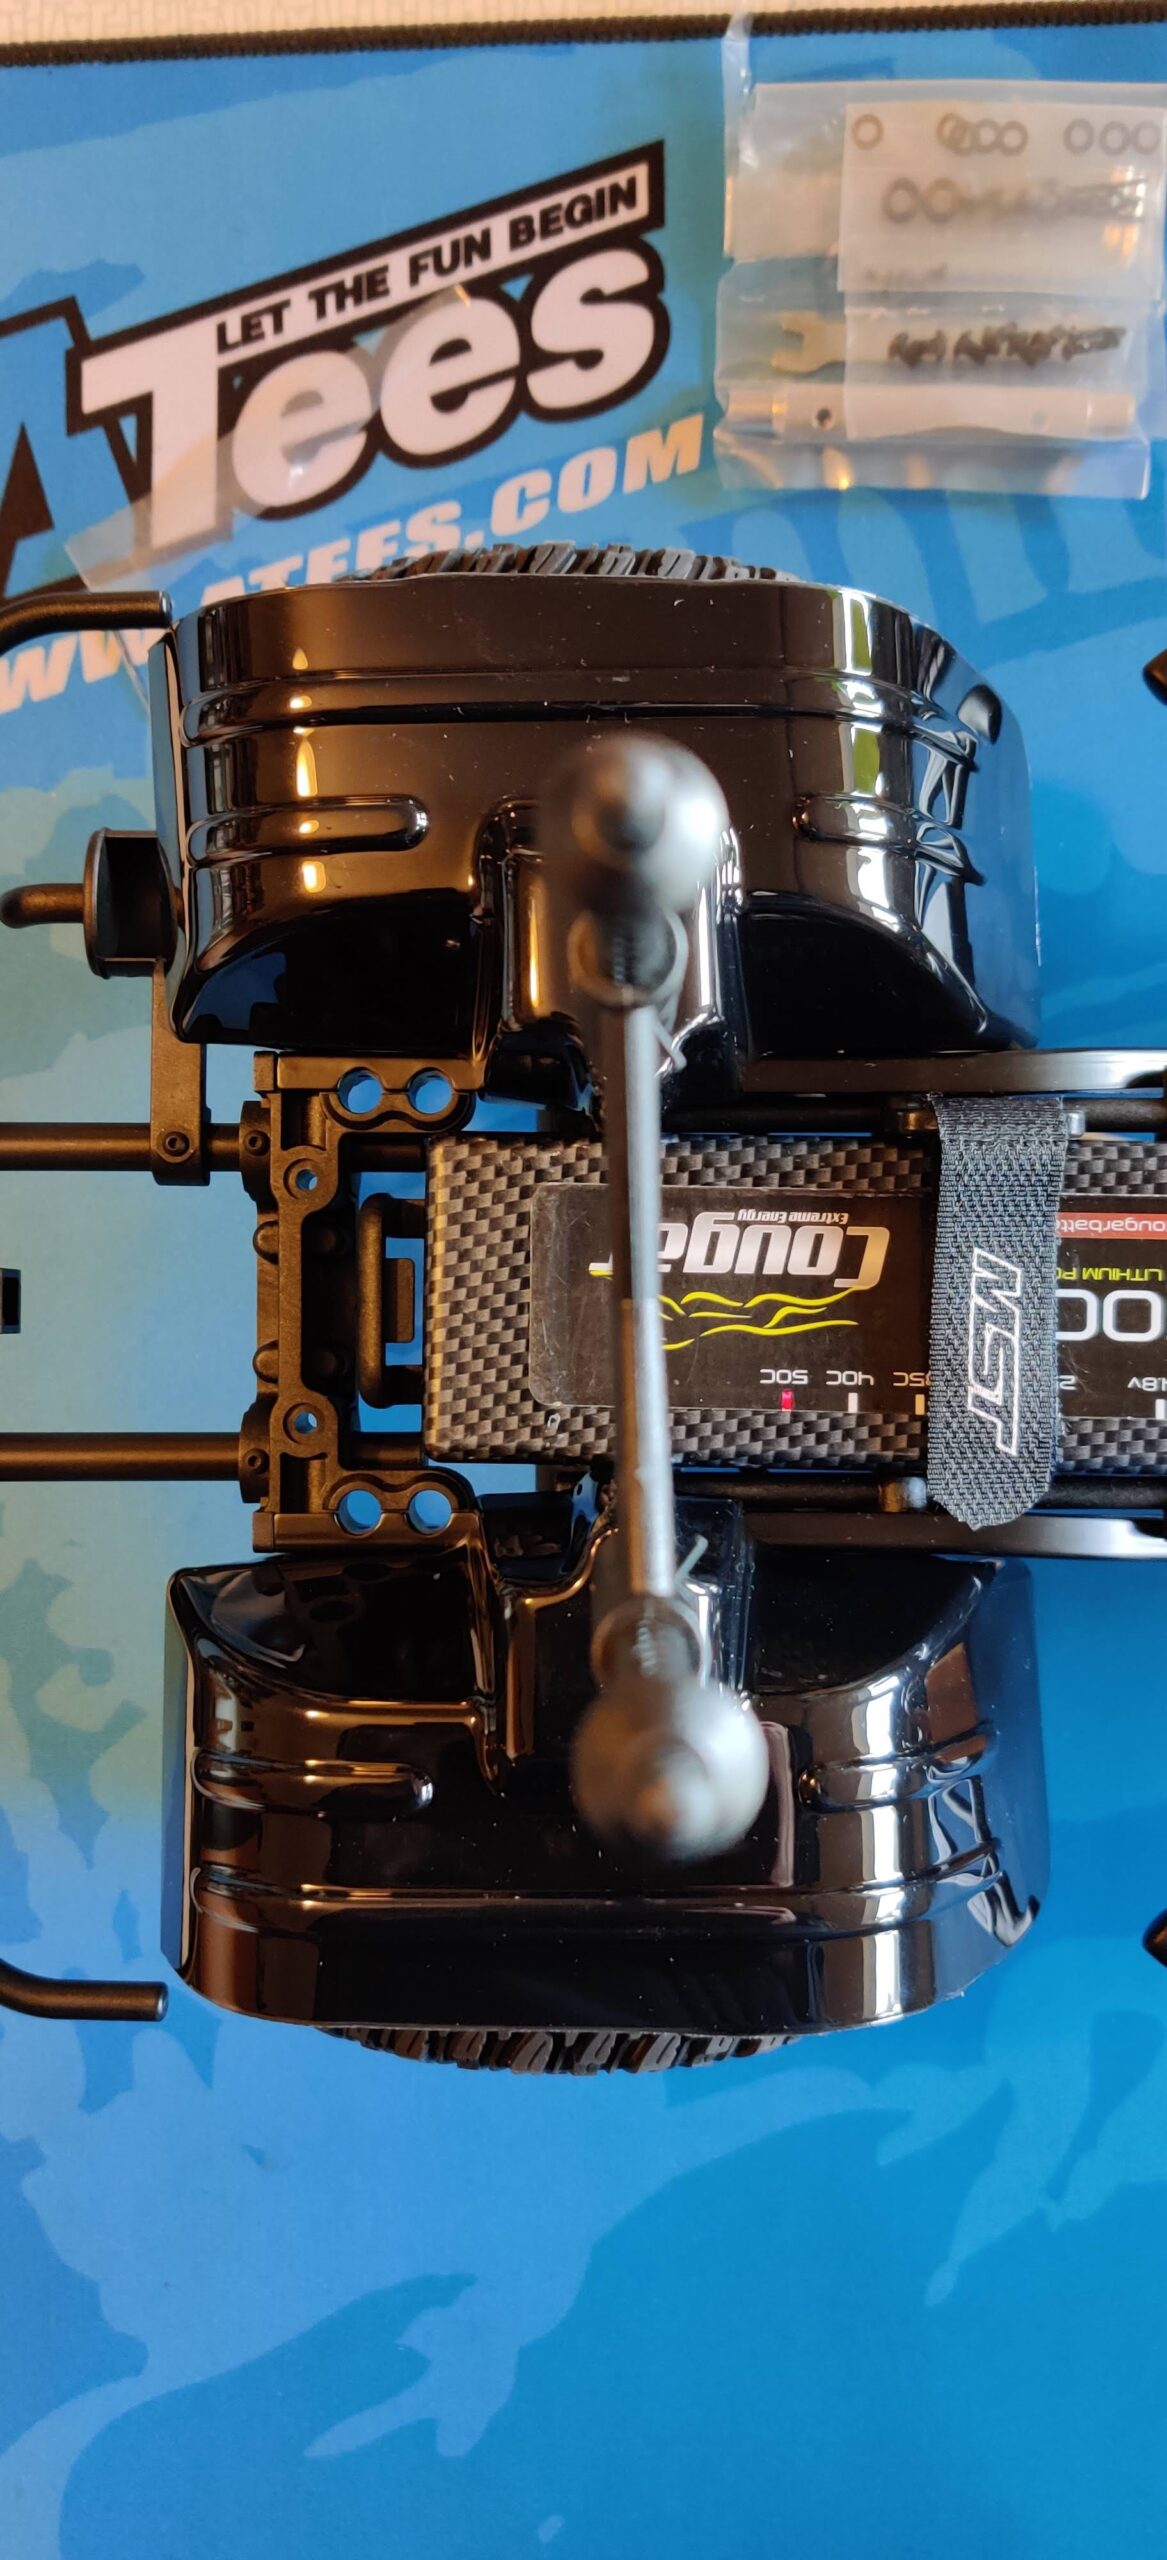
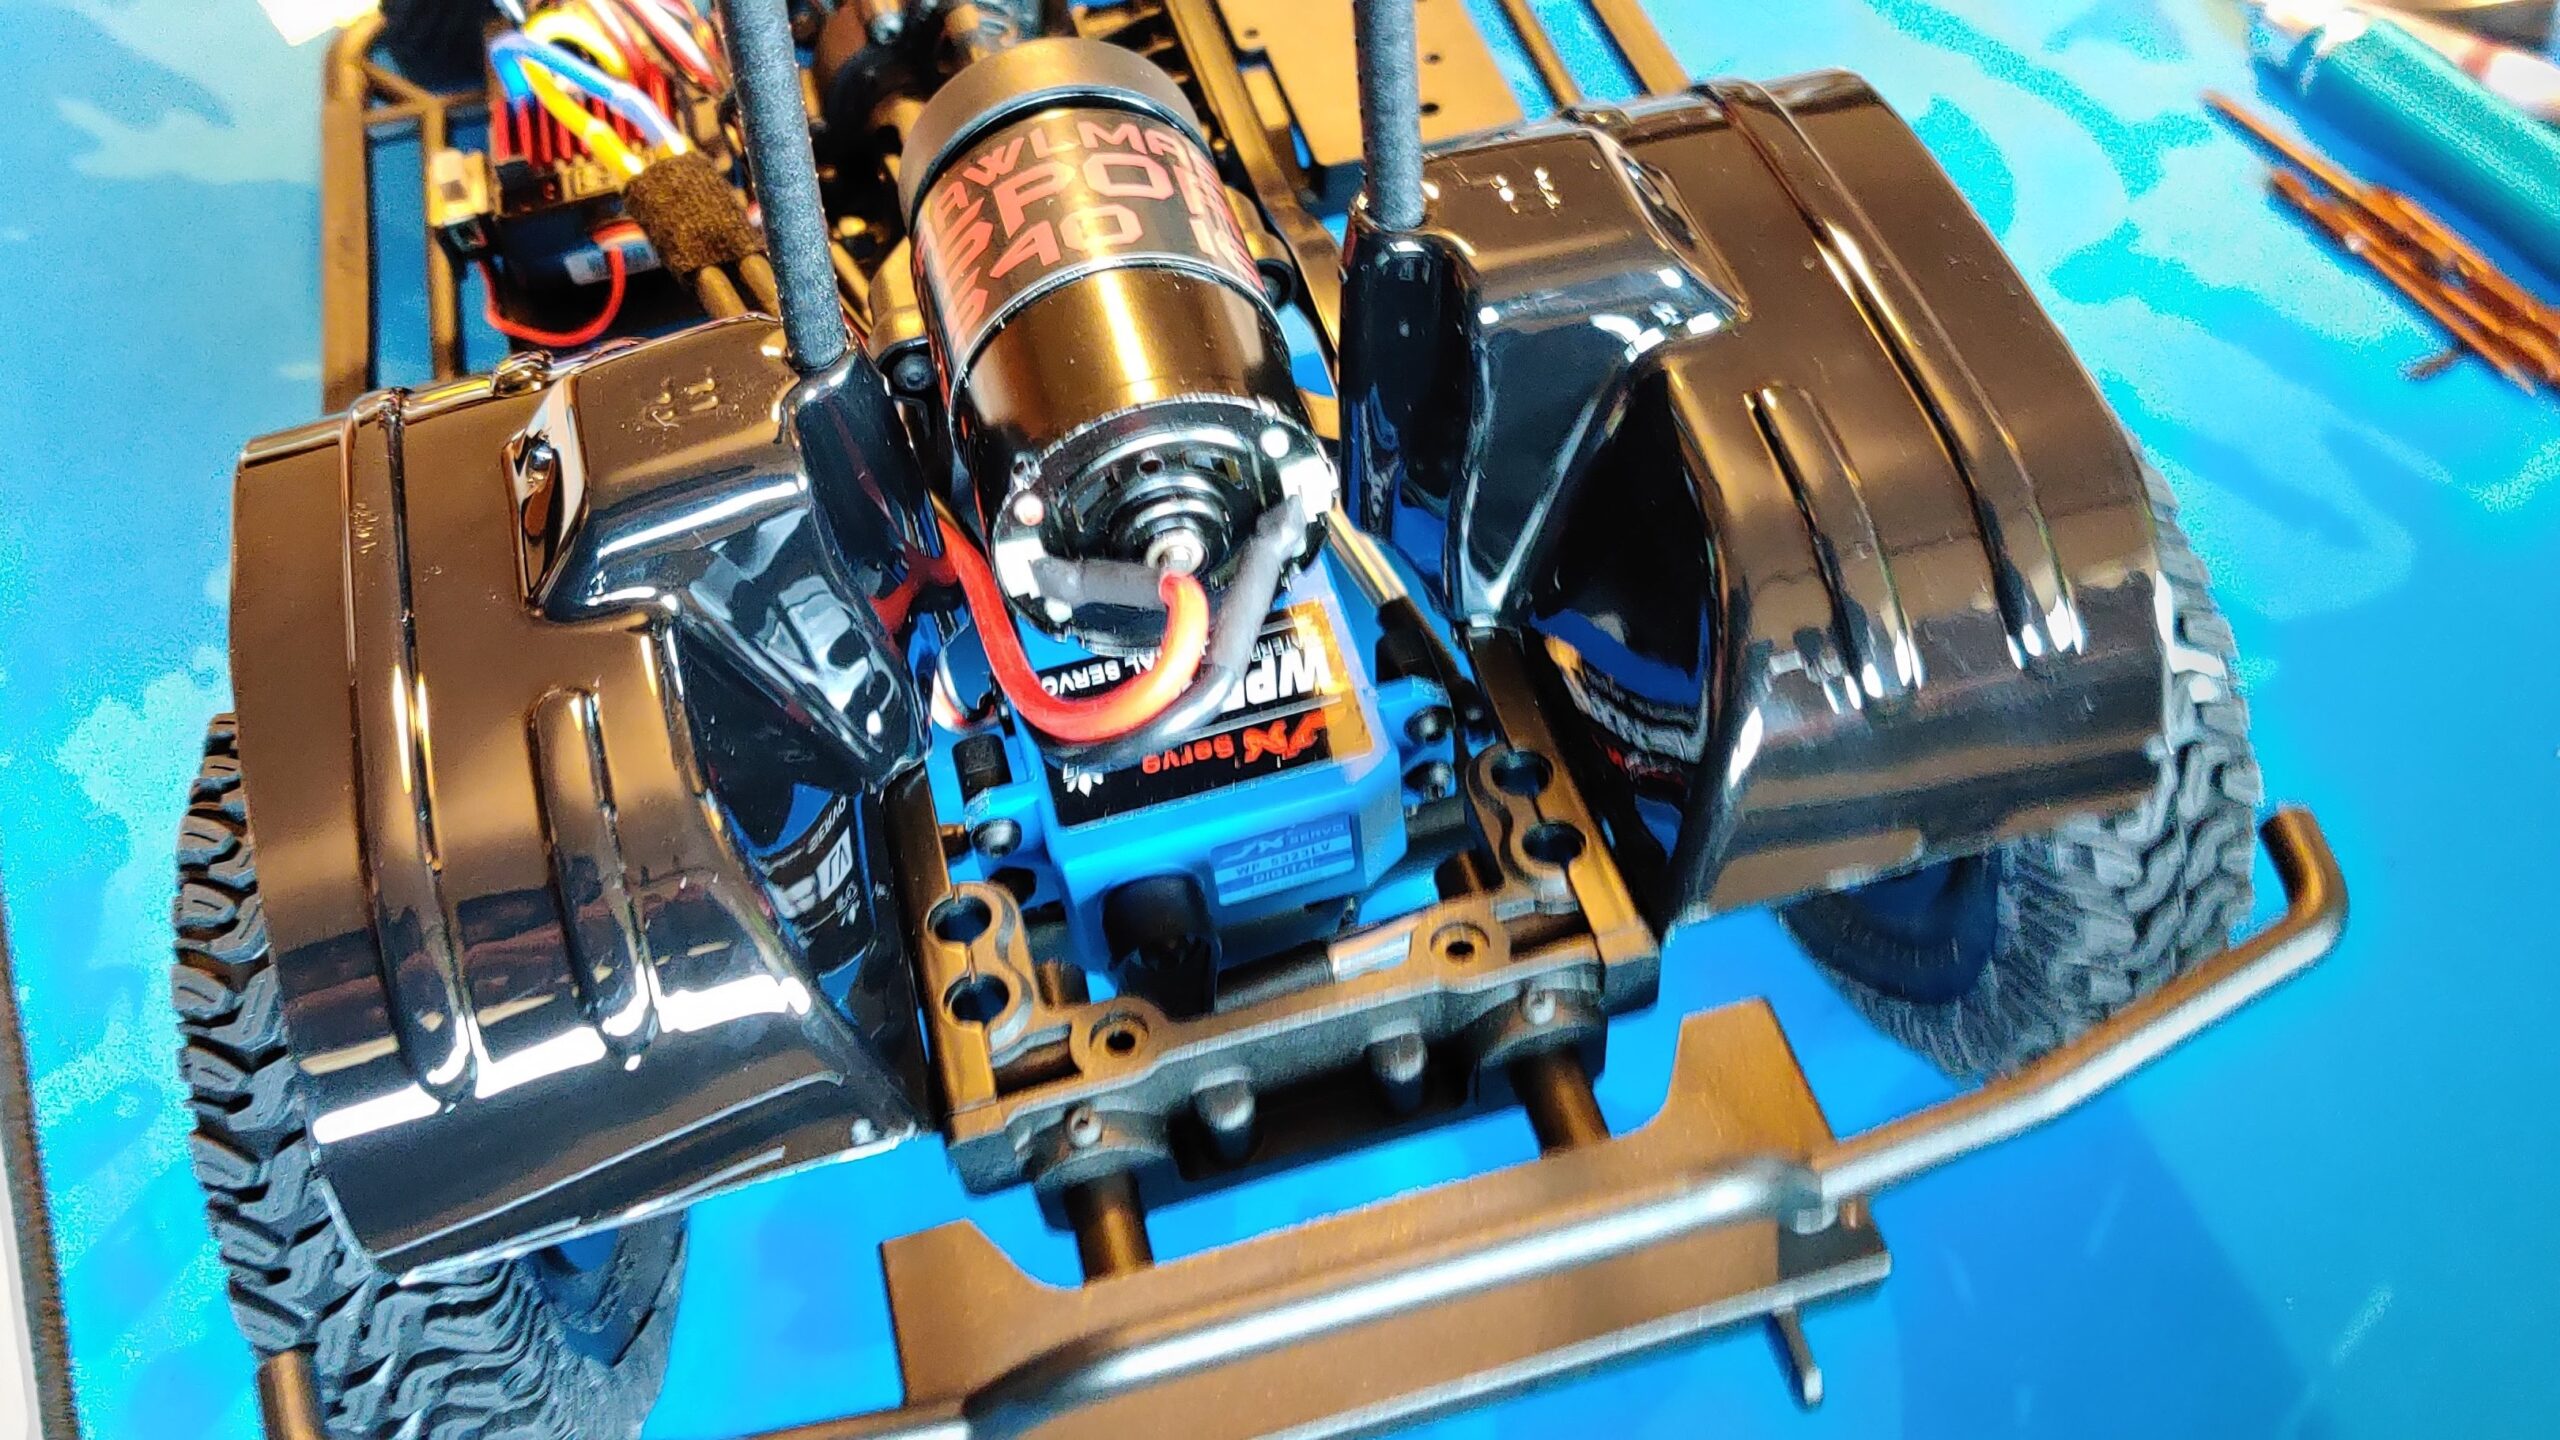
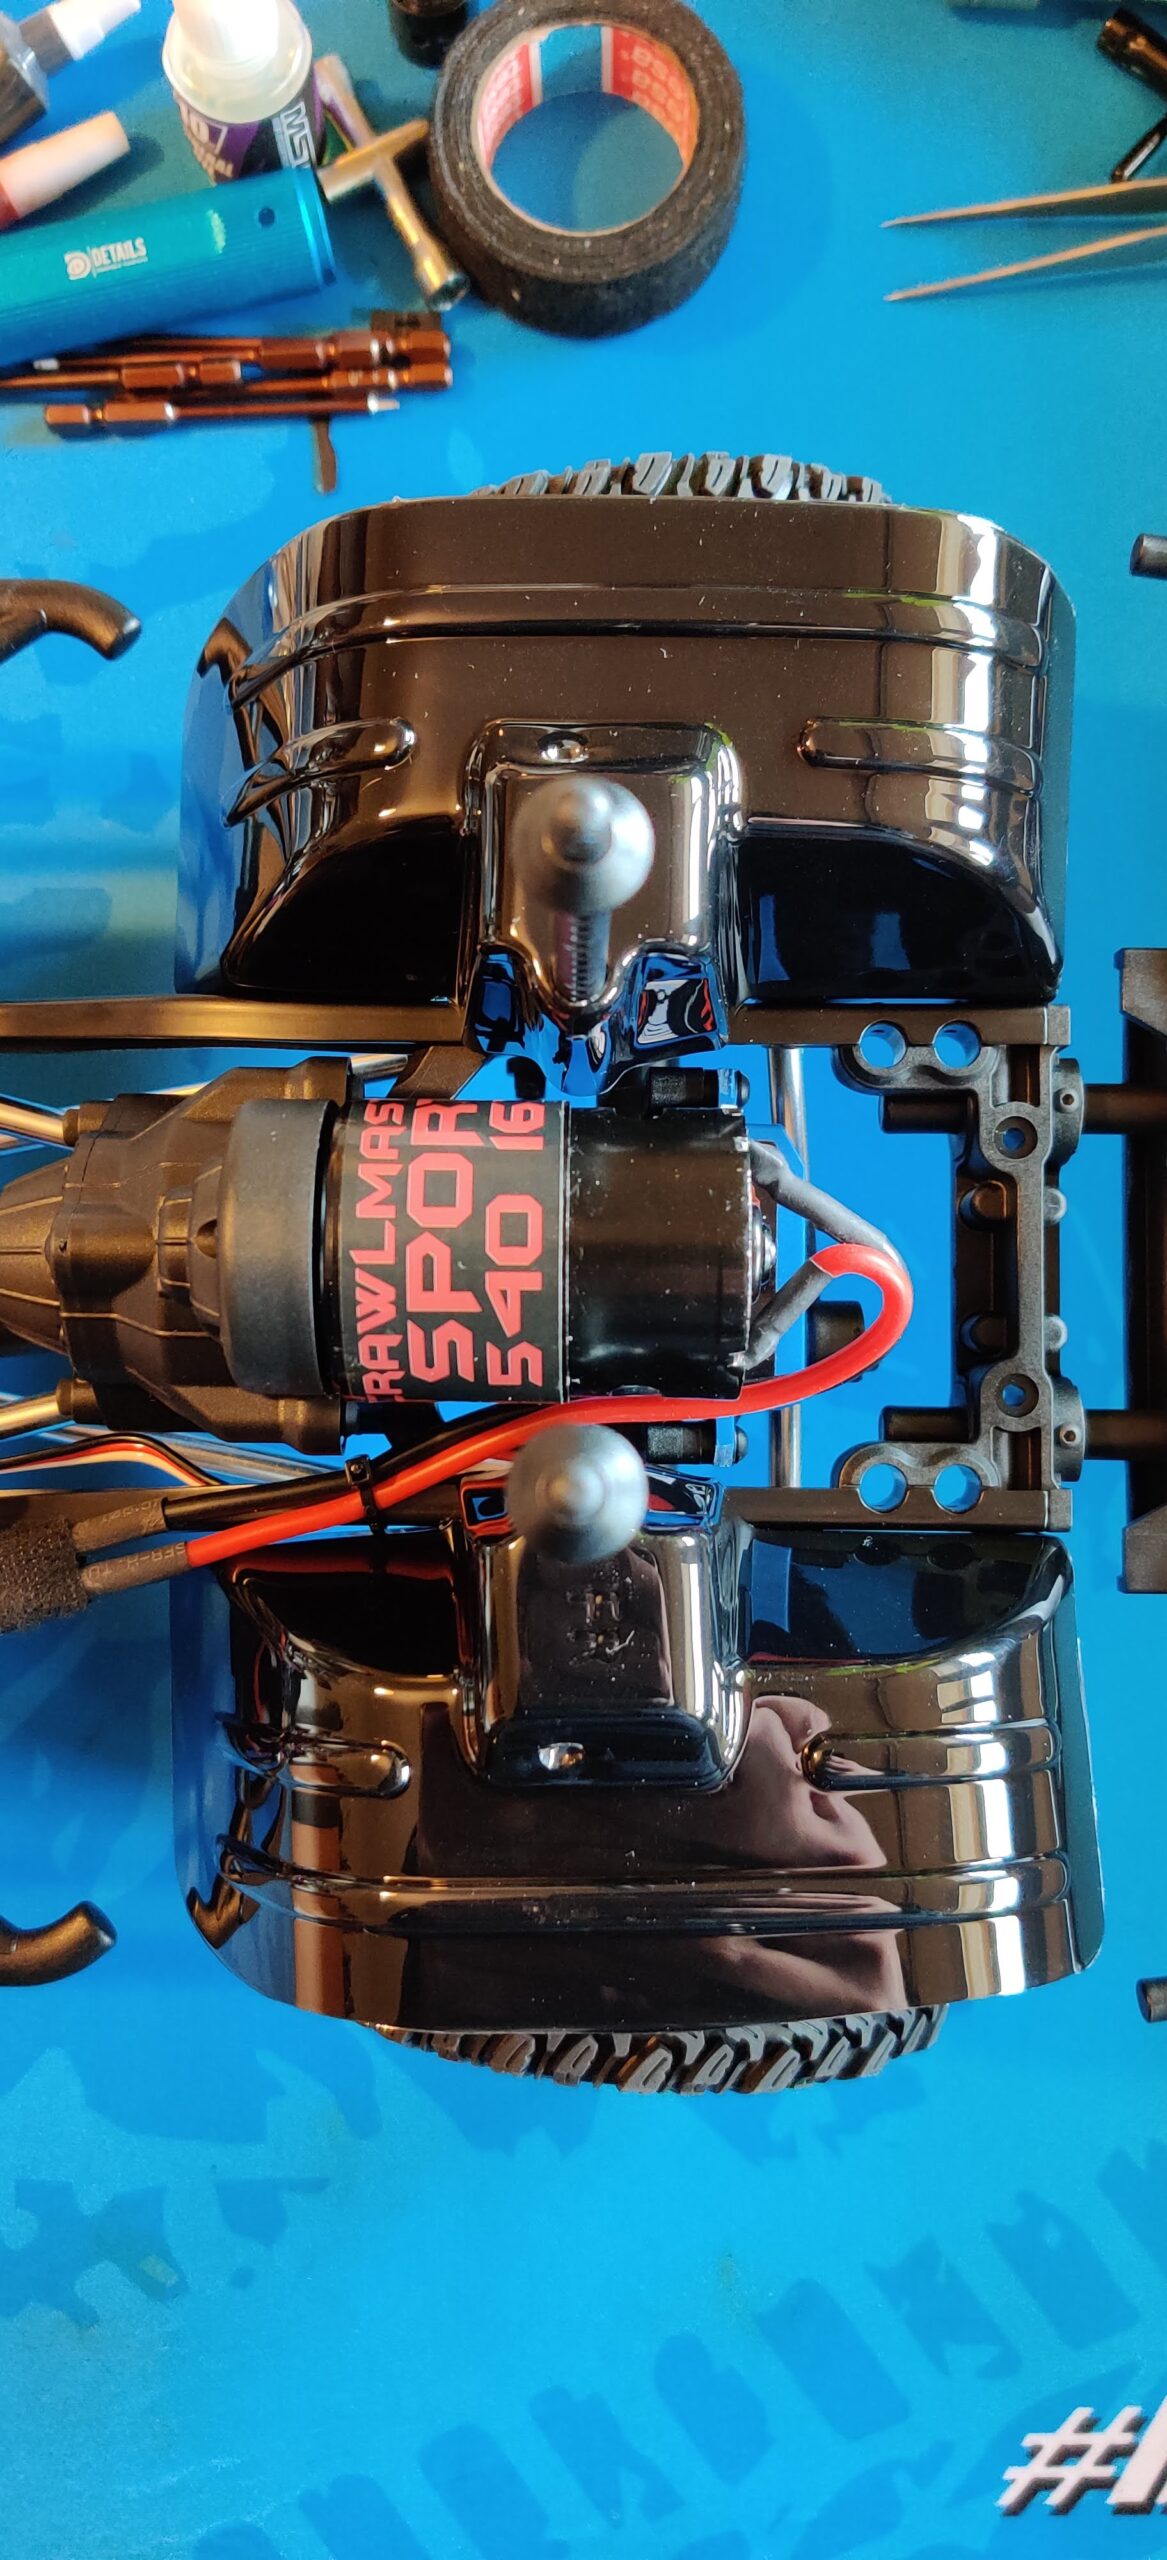
There are included wheel wells! That is excellent! I wish all crawlers included this, it really adds to the overall impression of a vehicle being solid. When you can’t see through the rig from the front or sides, it somehow feels more complete.
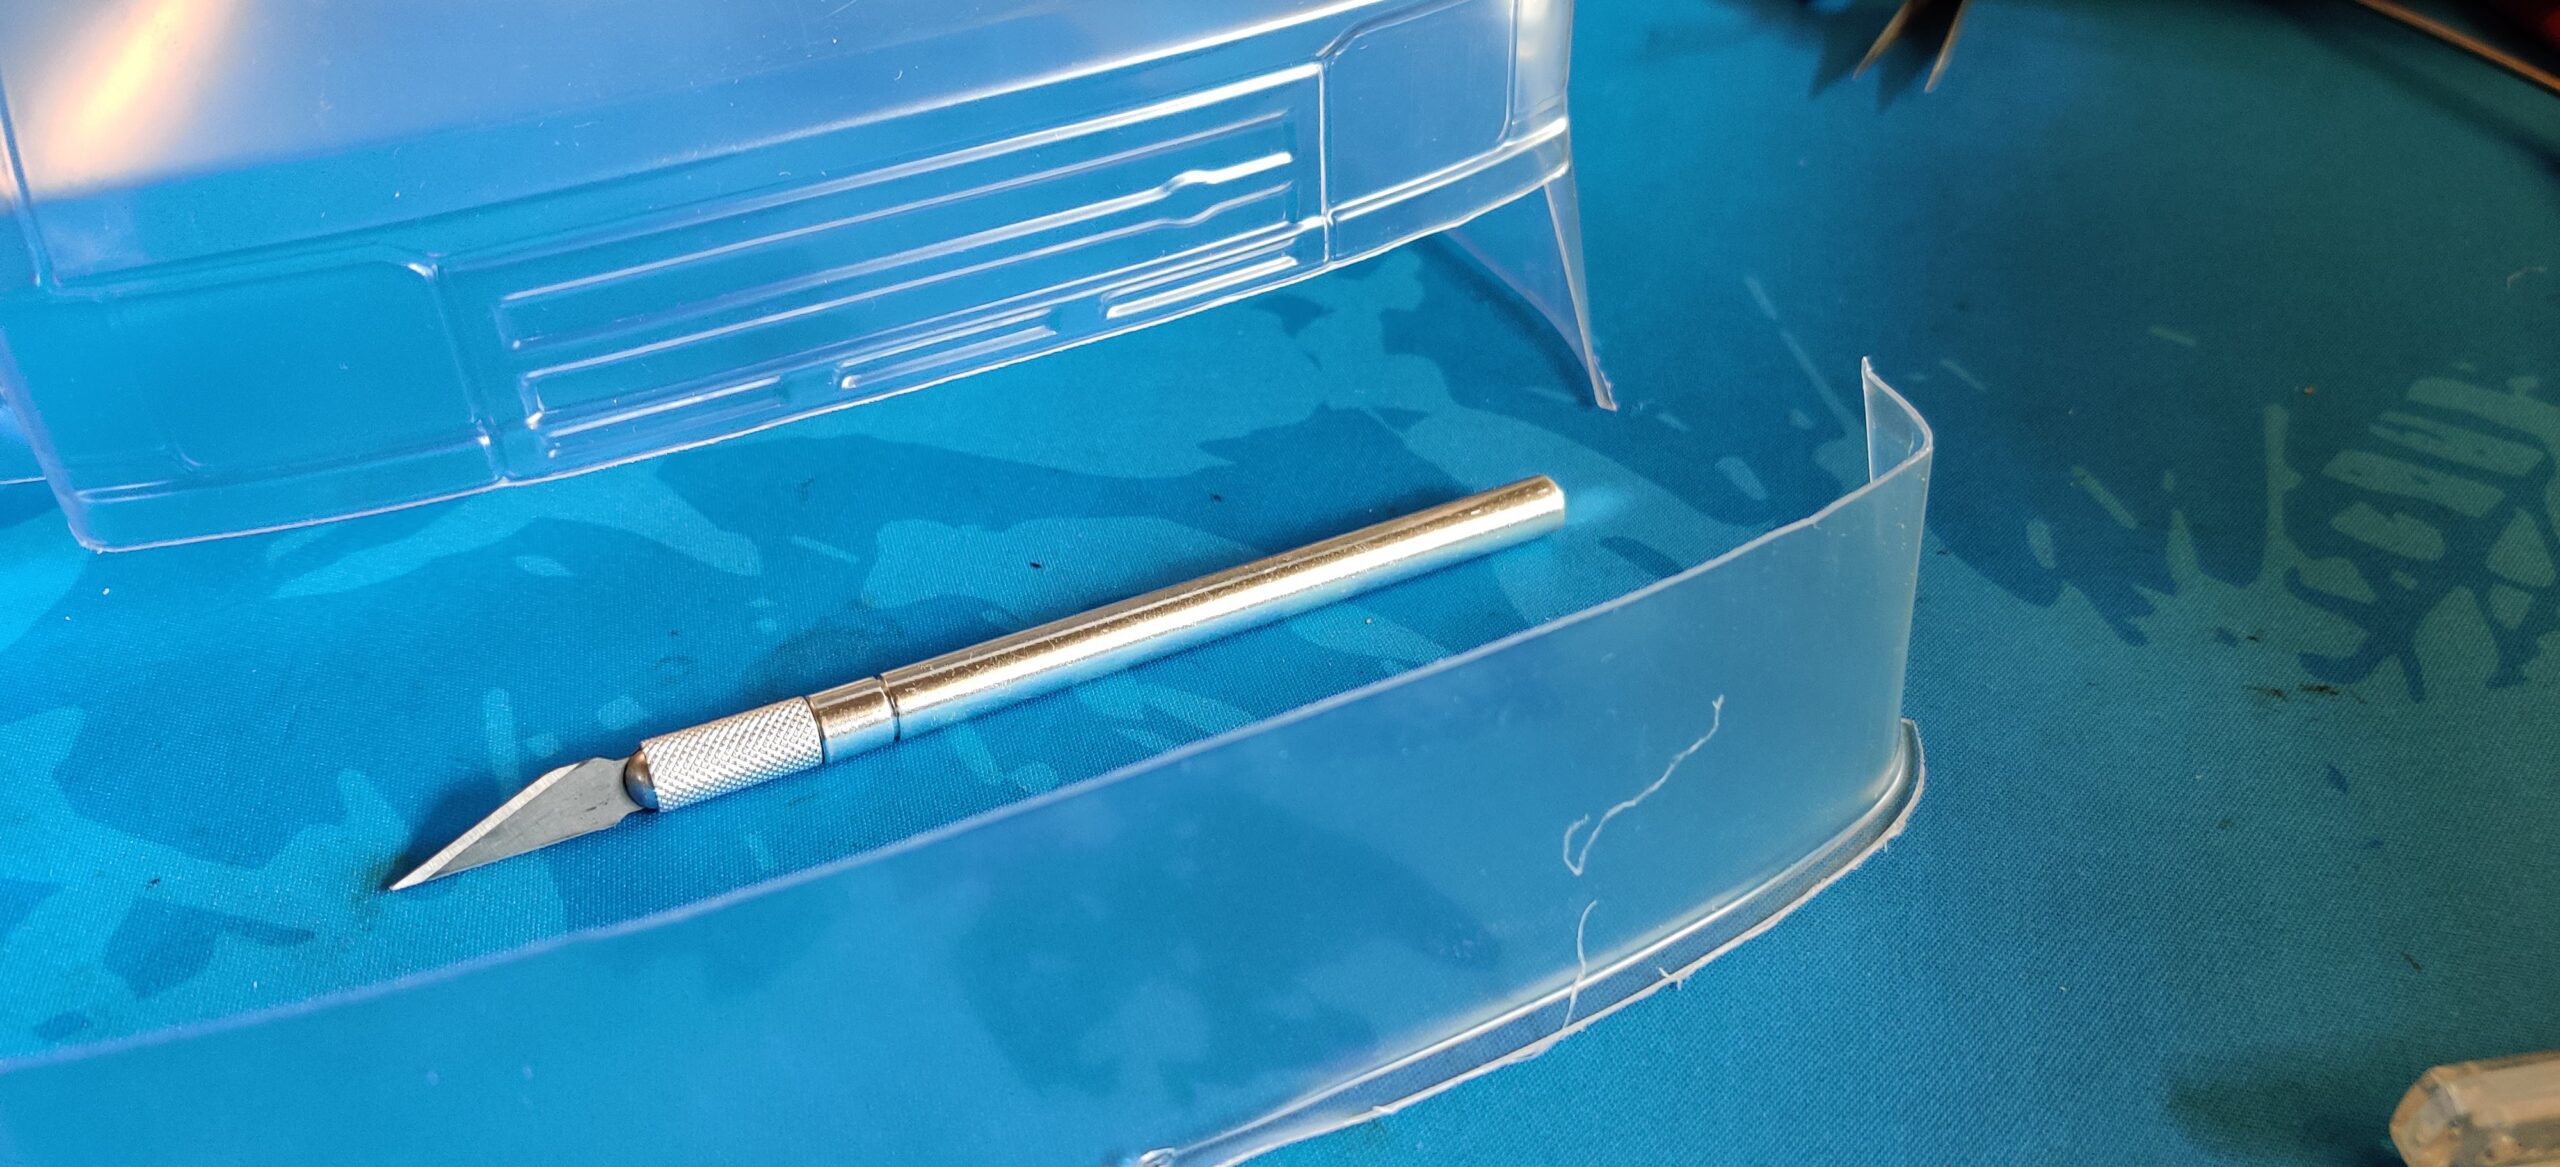
The included wheel wells are pre-painted, polycarbonate that required cutting from twin molds. As with the body, the best way to do this is to trace where you want the cuts with an Xacto knife or similar, and then simply tear the plastic away, allowing it to follow the groove you outlined. Done carefully, you’ll get a factory-smooth edge every time. Don’t use scissors except to correct mistakes – my experience says a sharp hobby blade will give best results every time.

MST DC1 Body
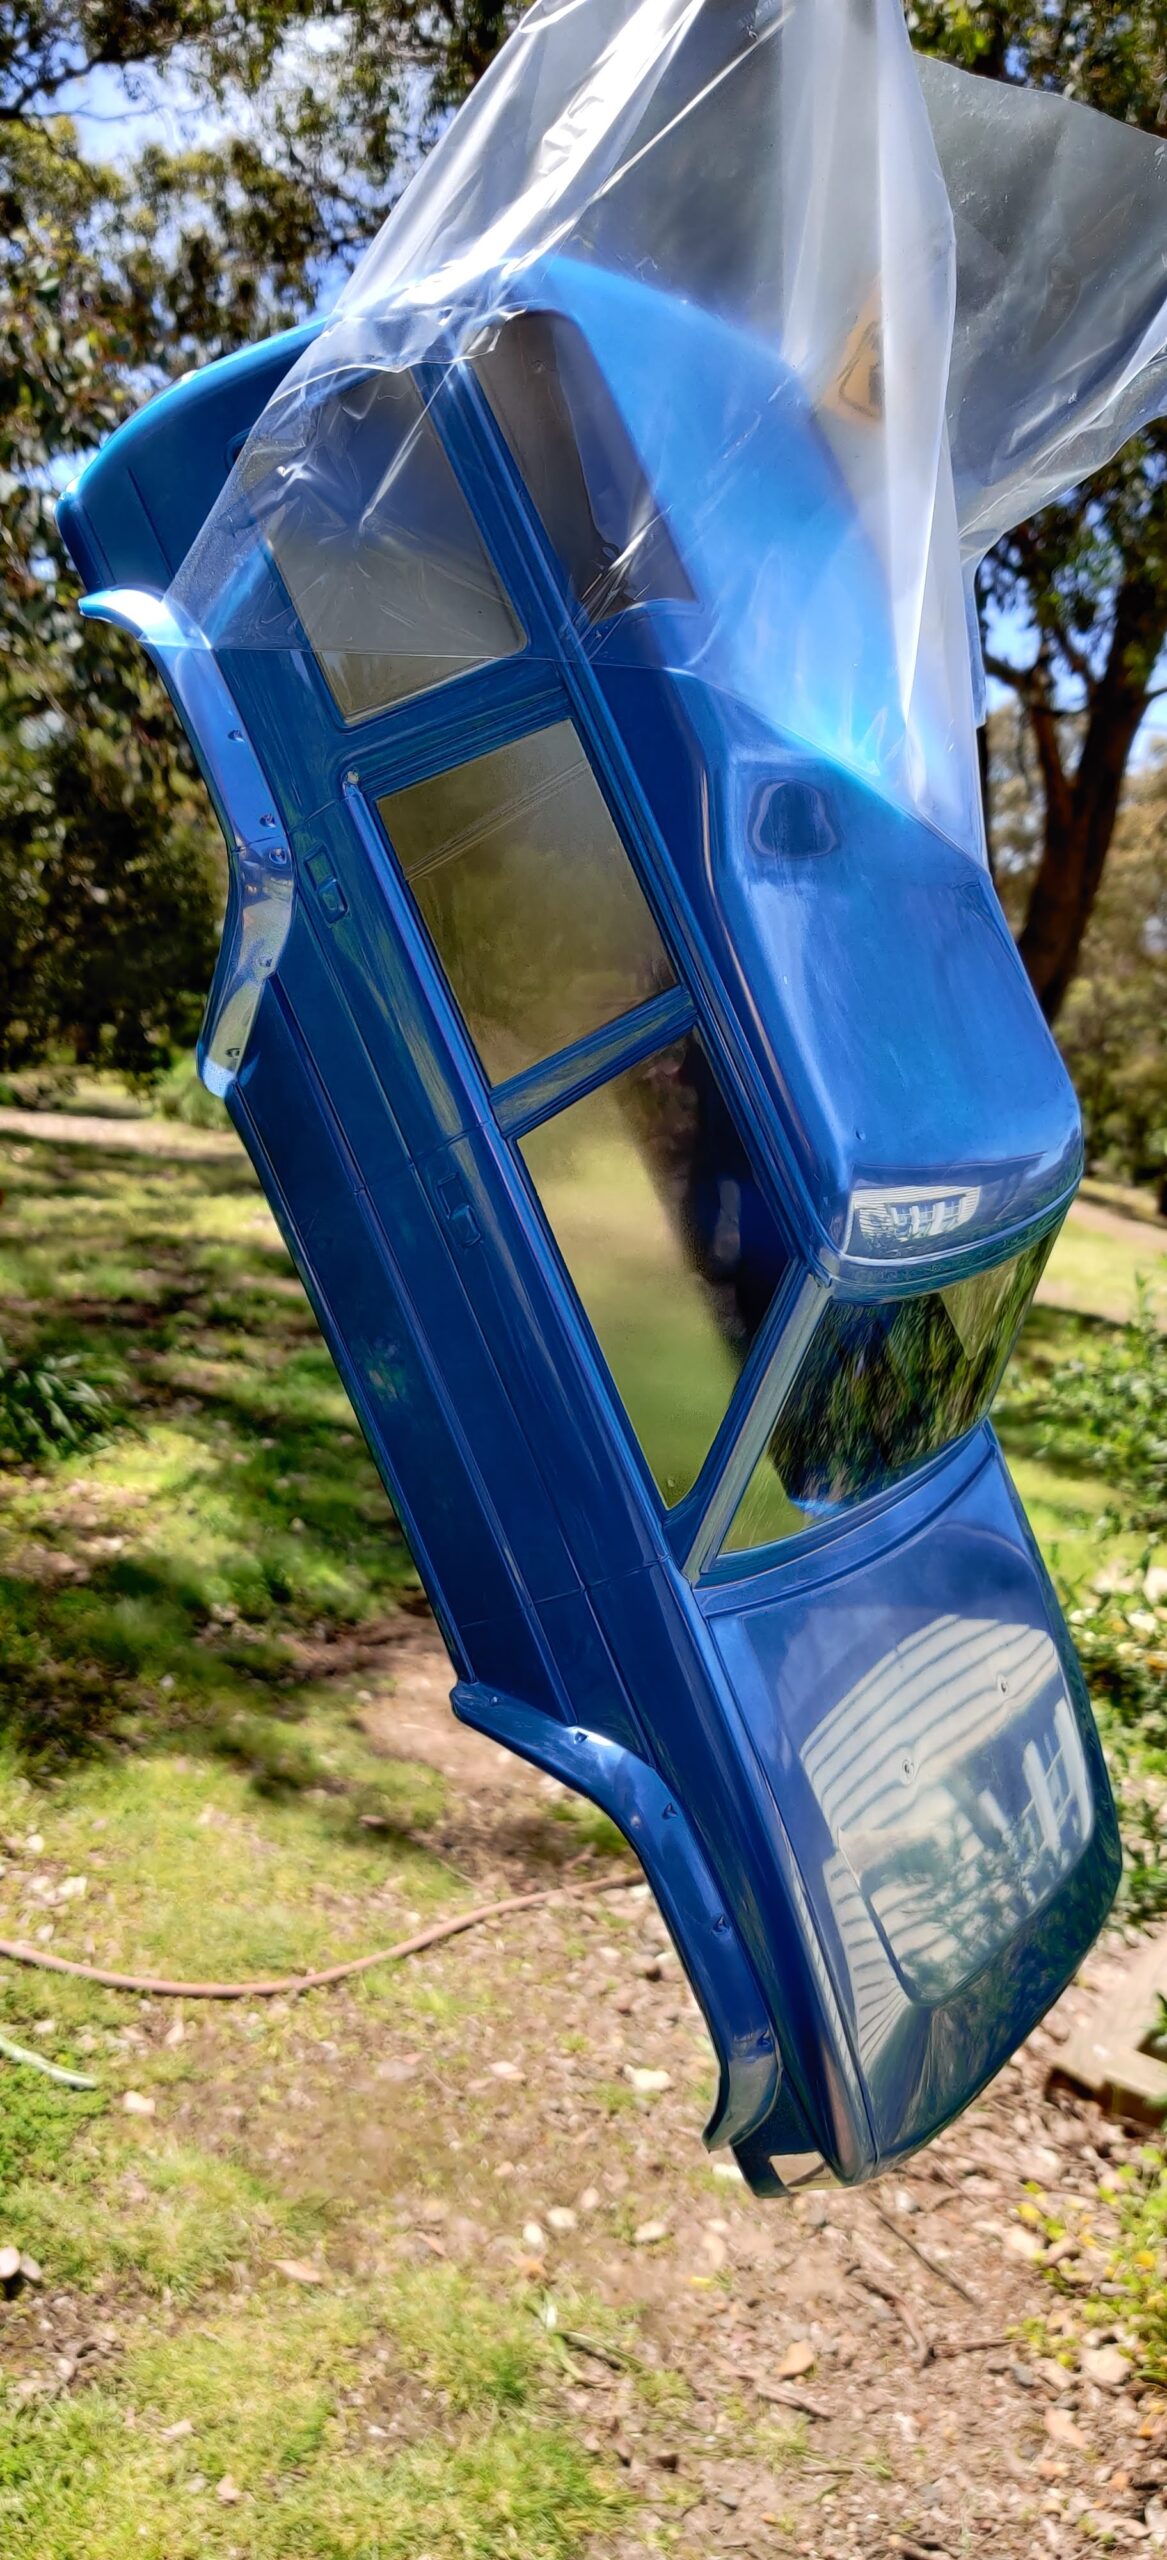
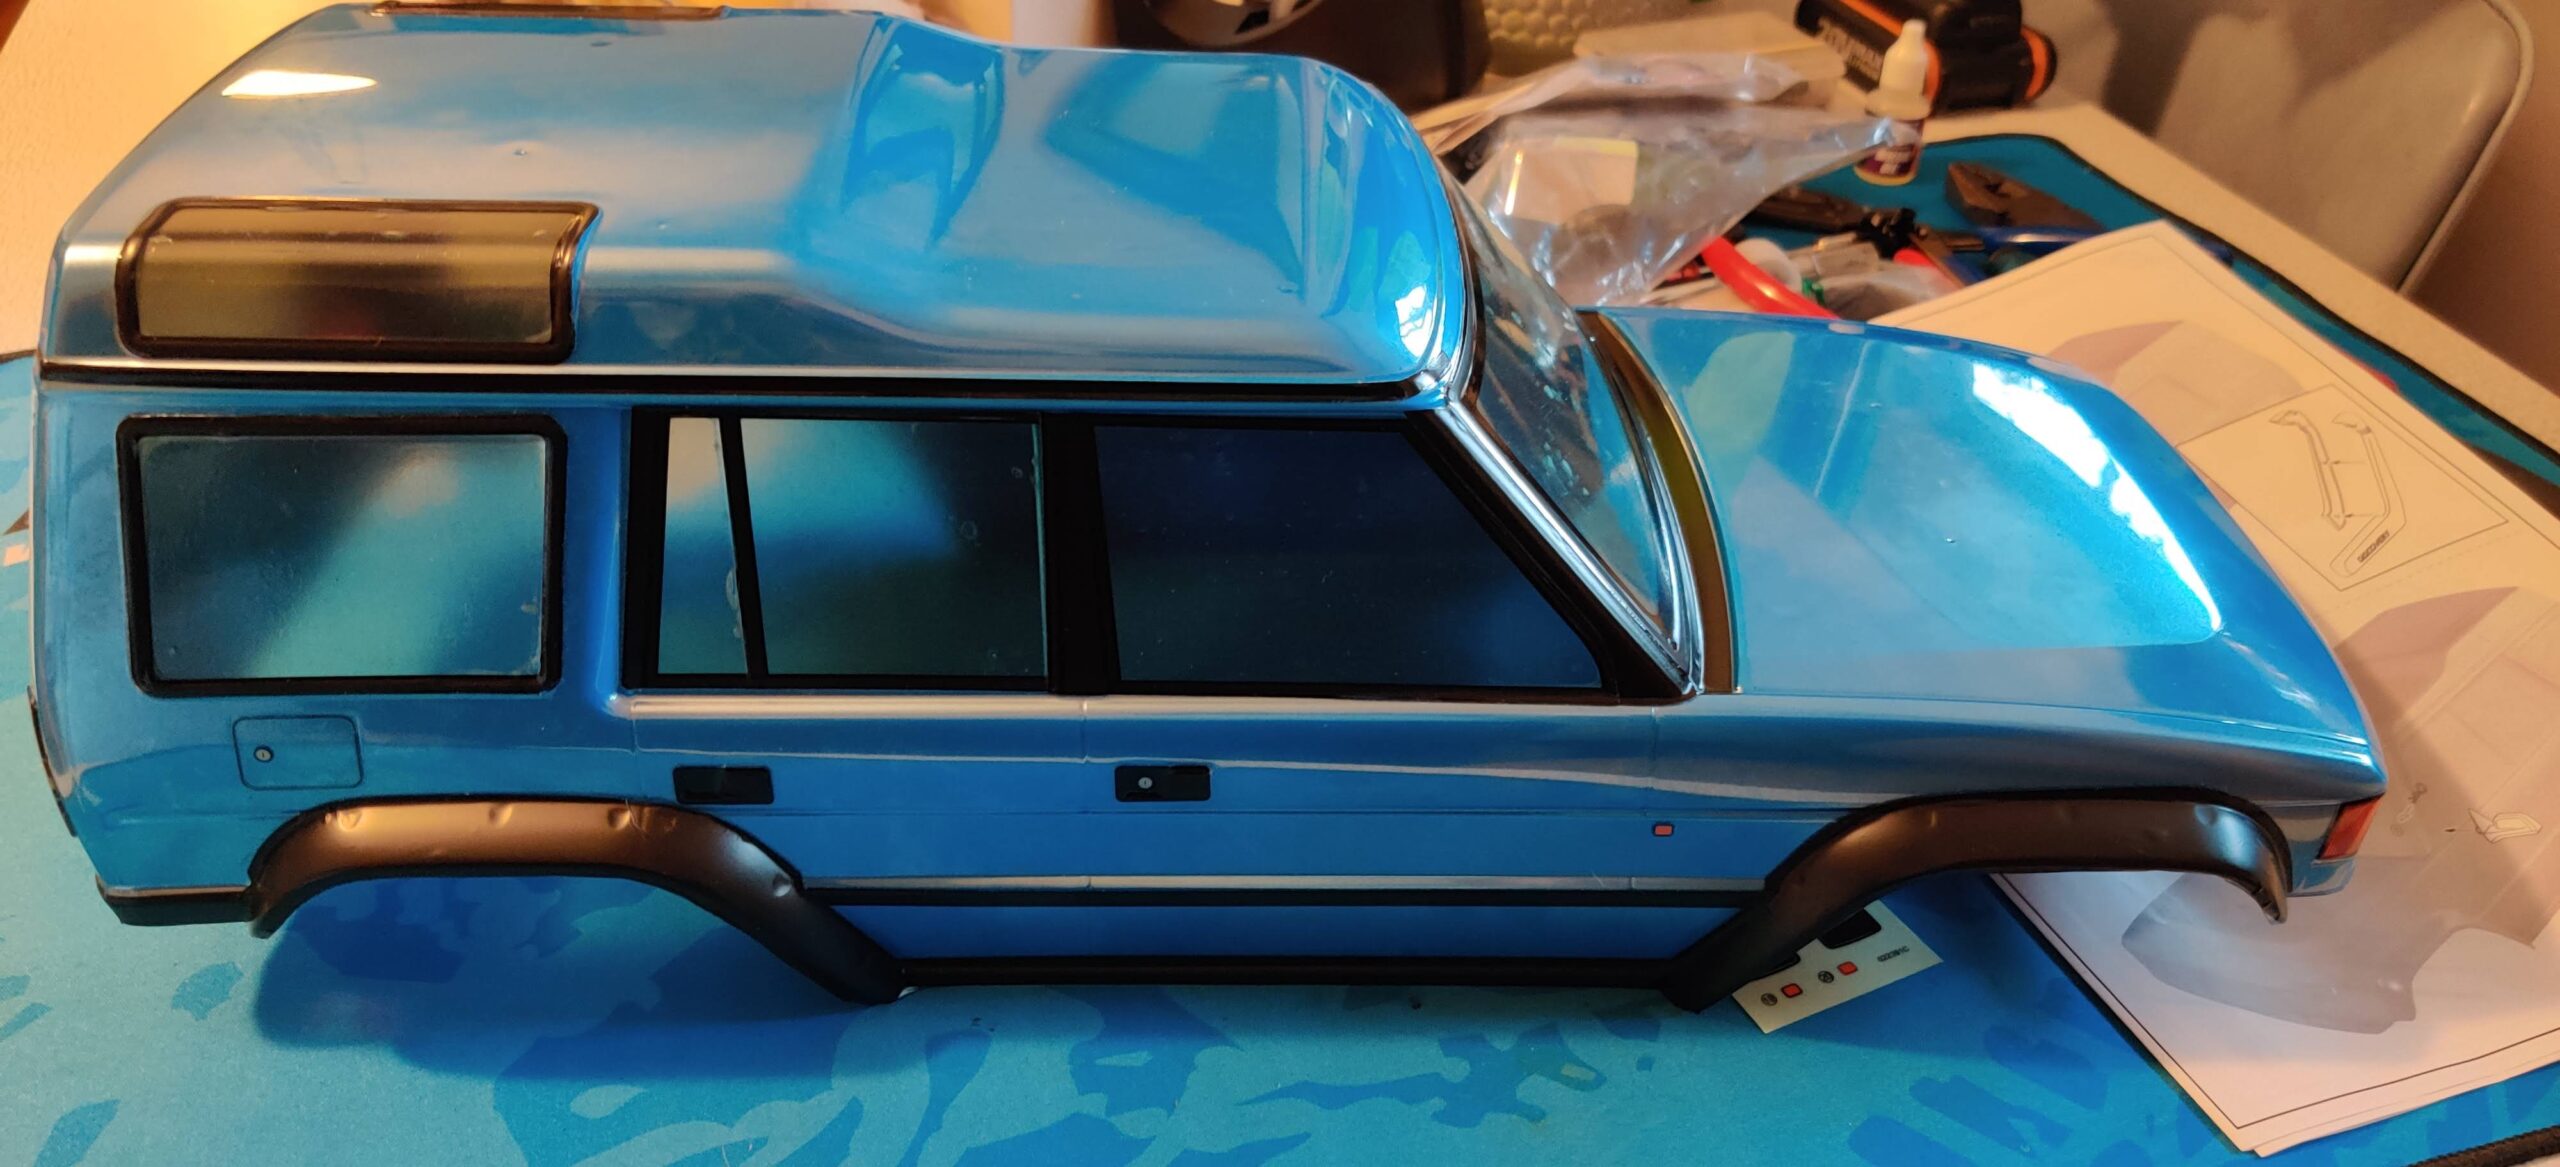
This is the selling point for the MSC CFX-WS DC1. That Land Rover Discovery body, unlicensed though it appears to be (sadly), is super-duper pretty. I really like it.
There were no included Land Rover badges for the front or rear, though the little oval spaces are there on the front grille and rear door handle assembly. What happened here, I wonder? Is it simply used without permission or did my unit simply not come with the little green ovals that are clearly visible on the AsiaTees website models?
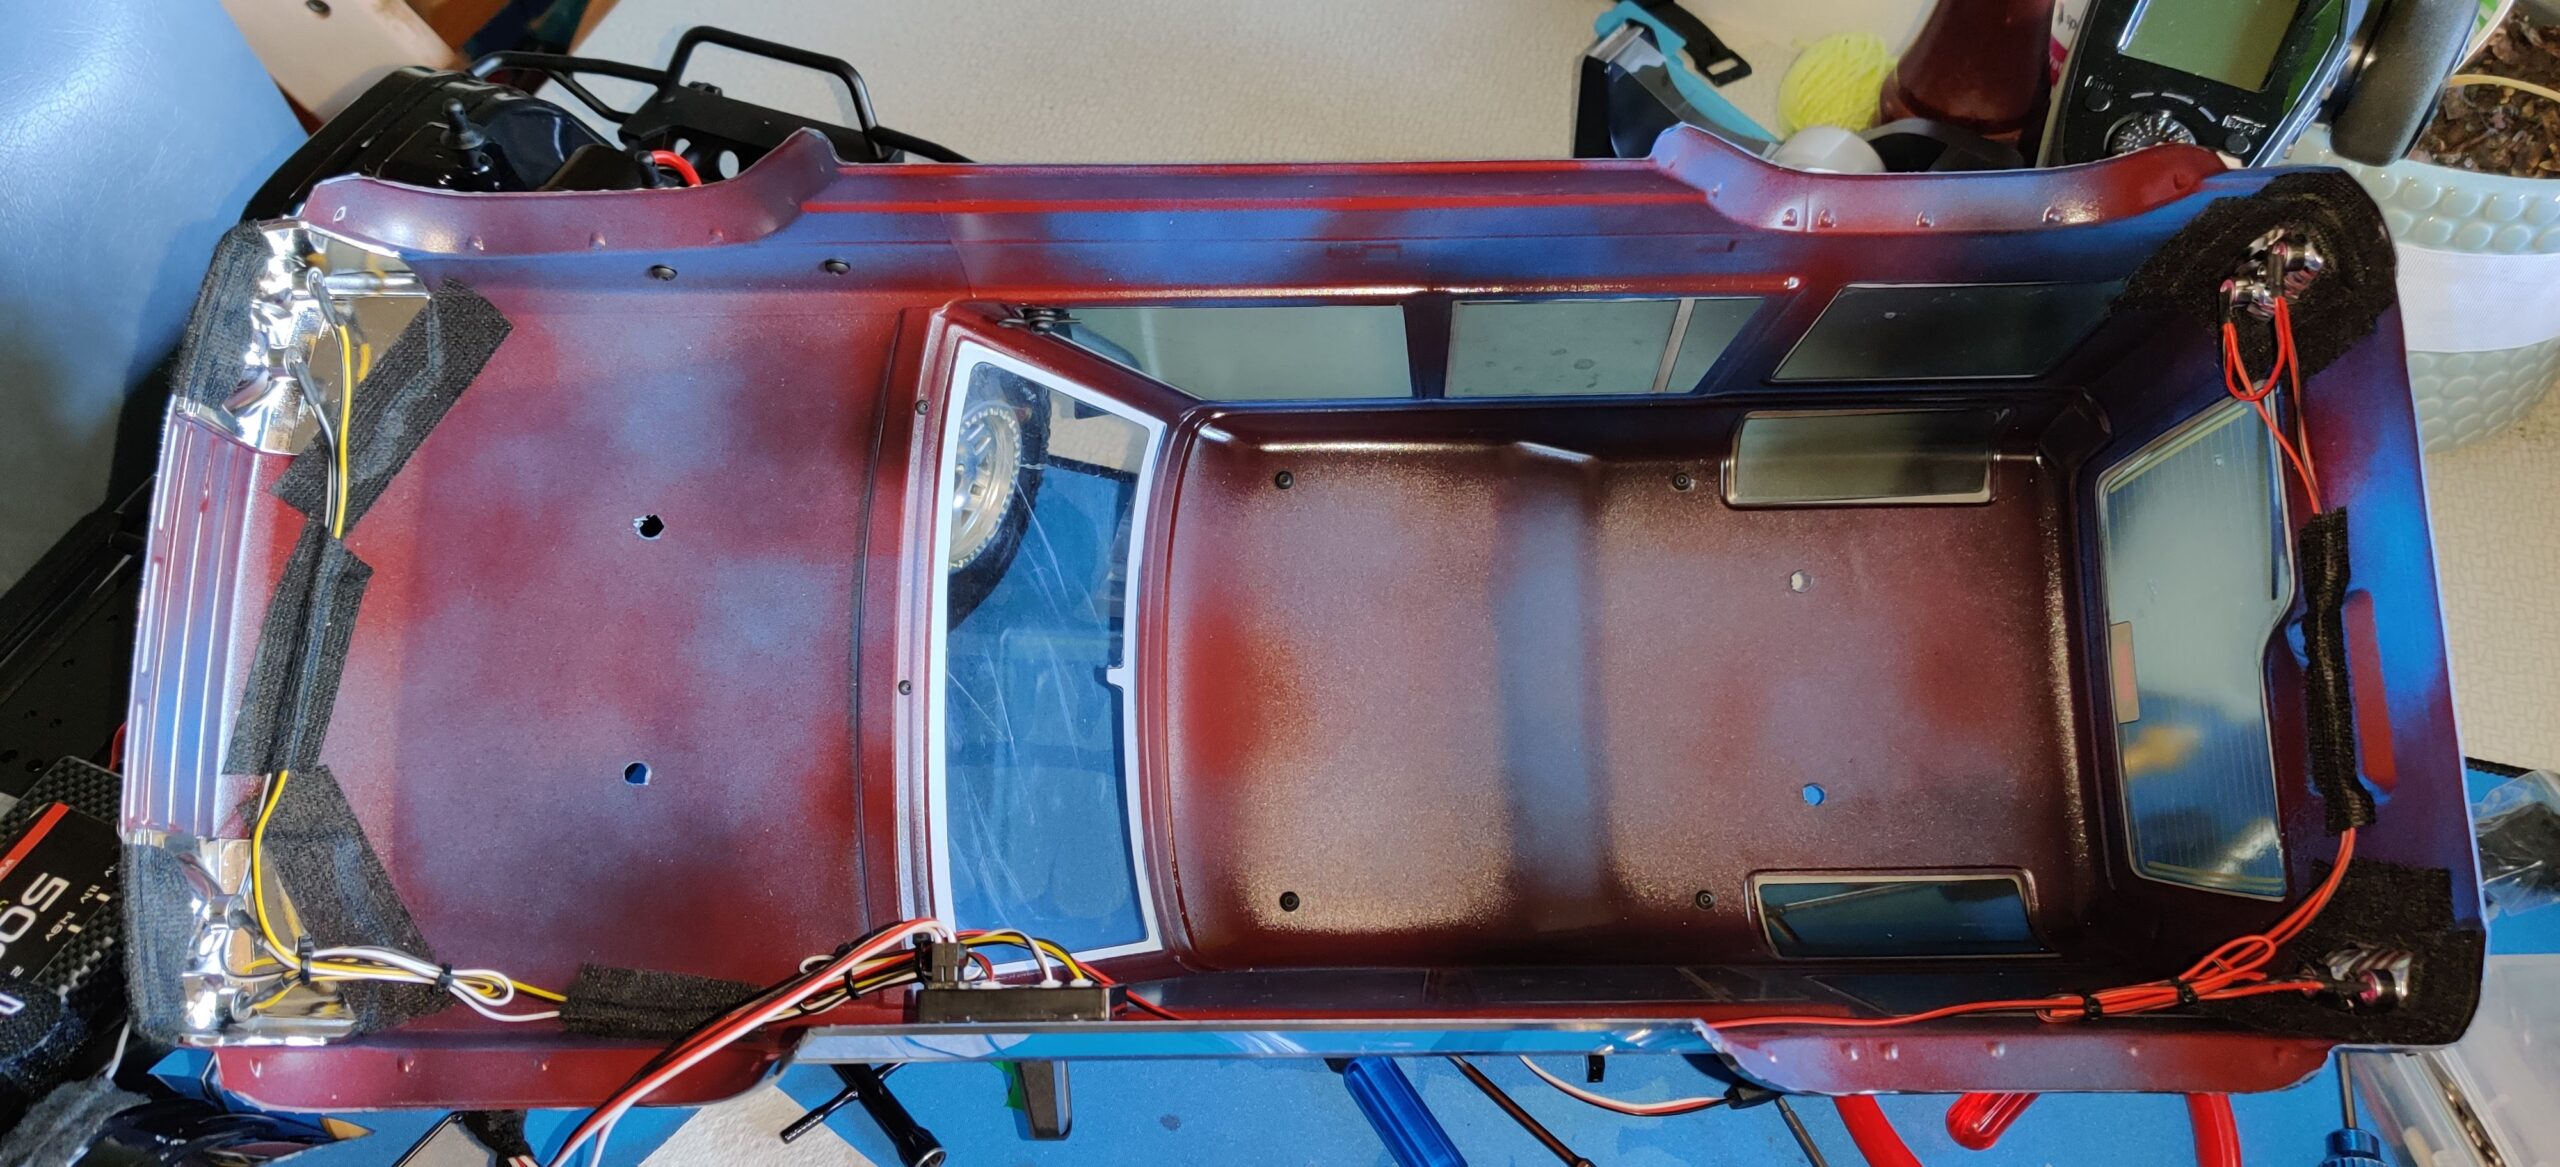
The lack of interior is also a little puzzling, given this car is all about the body. A single-piece polycarbonate interior would have been preferable to the ‘nothing’ that you get with this crawler. I’ll look into 3D-printing something for it and will share that here if/when I get around to it. In the meantime, I’ve settled for spraying the rear and side windows with Tamiya ‘smoke’ Lexan paint and finishing it with the included tinted stickers, so it’s hard to see into the body, aside from through the windscreen!
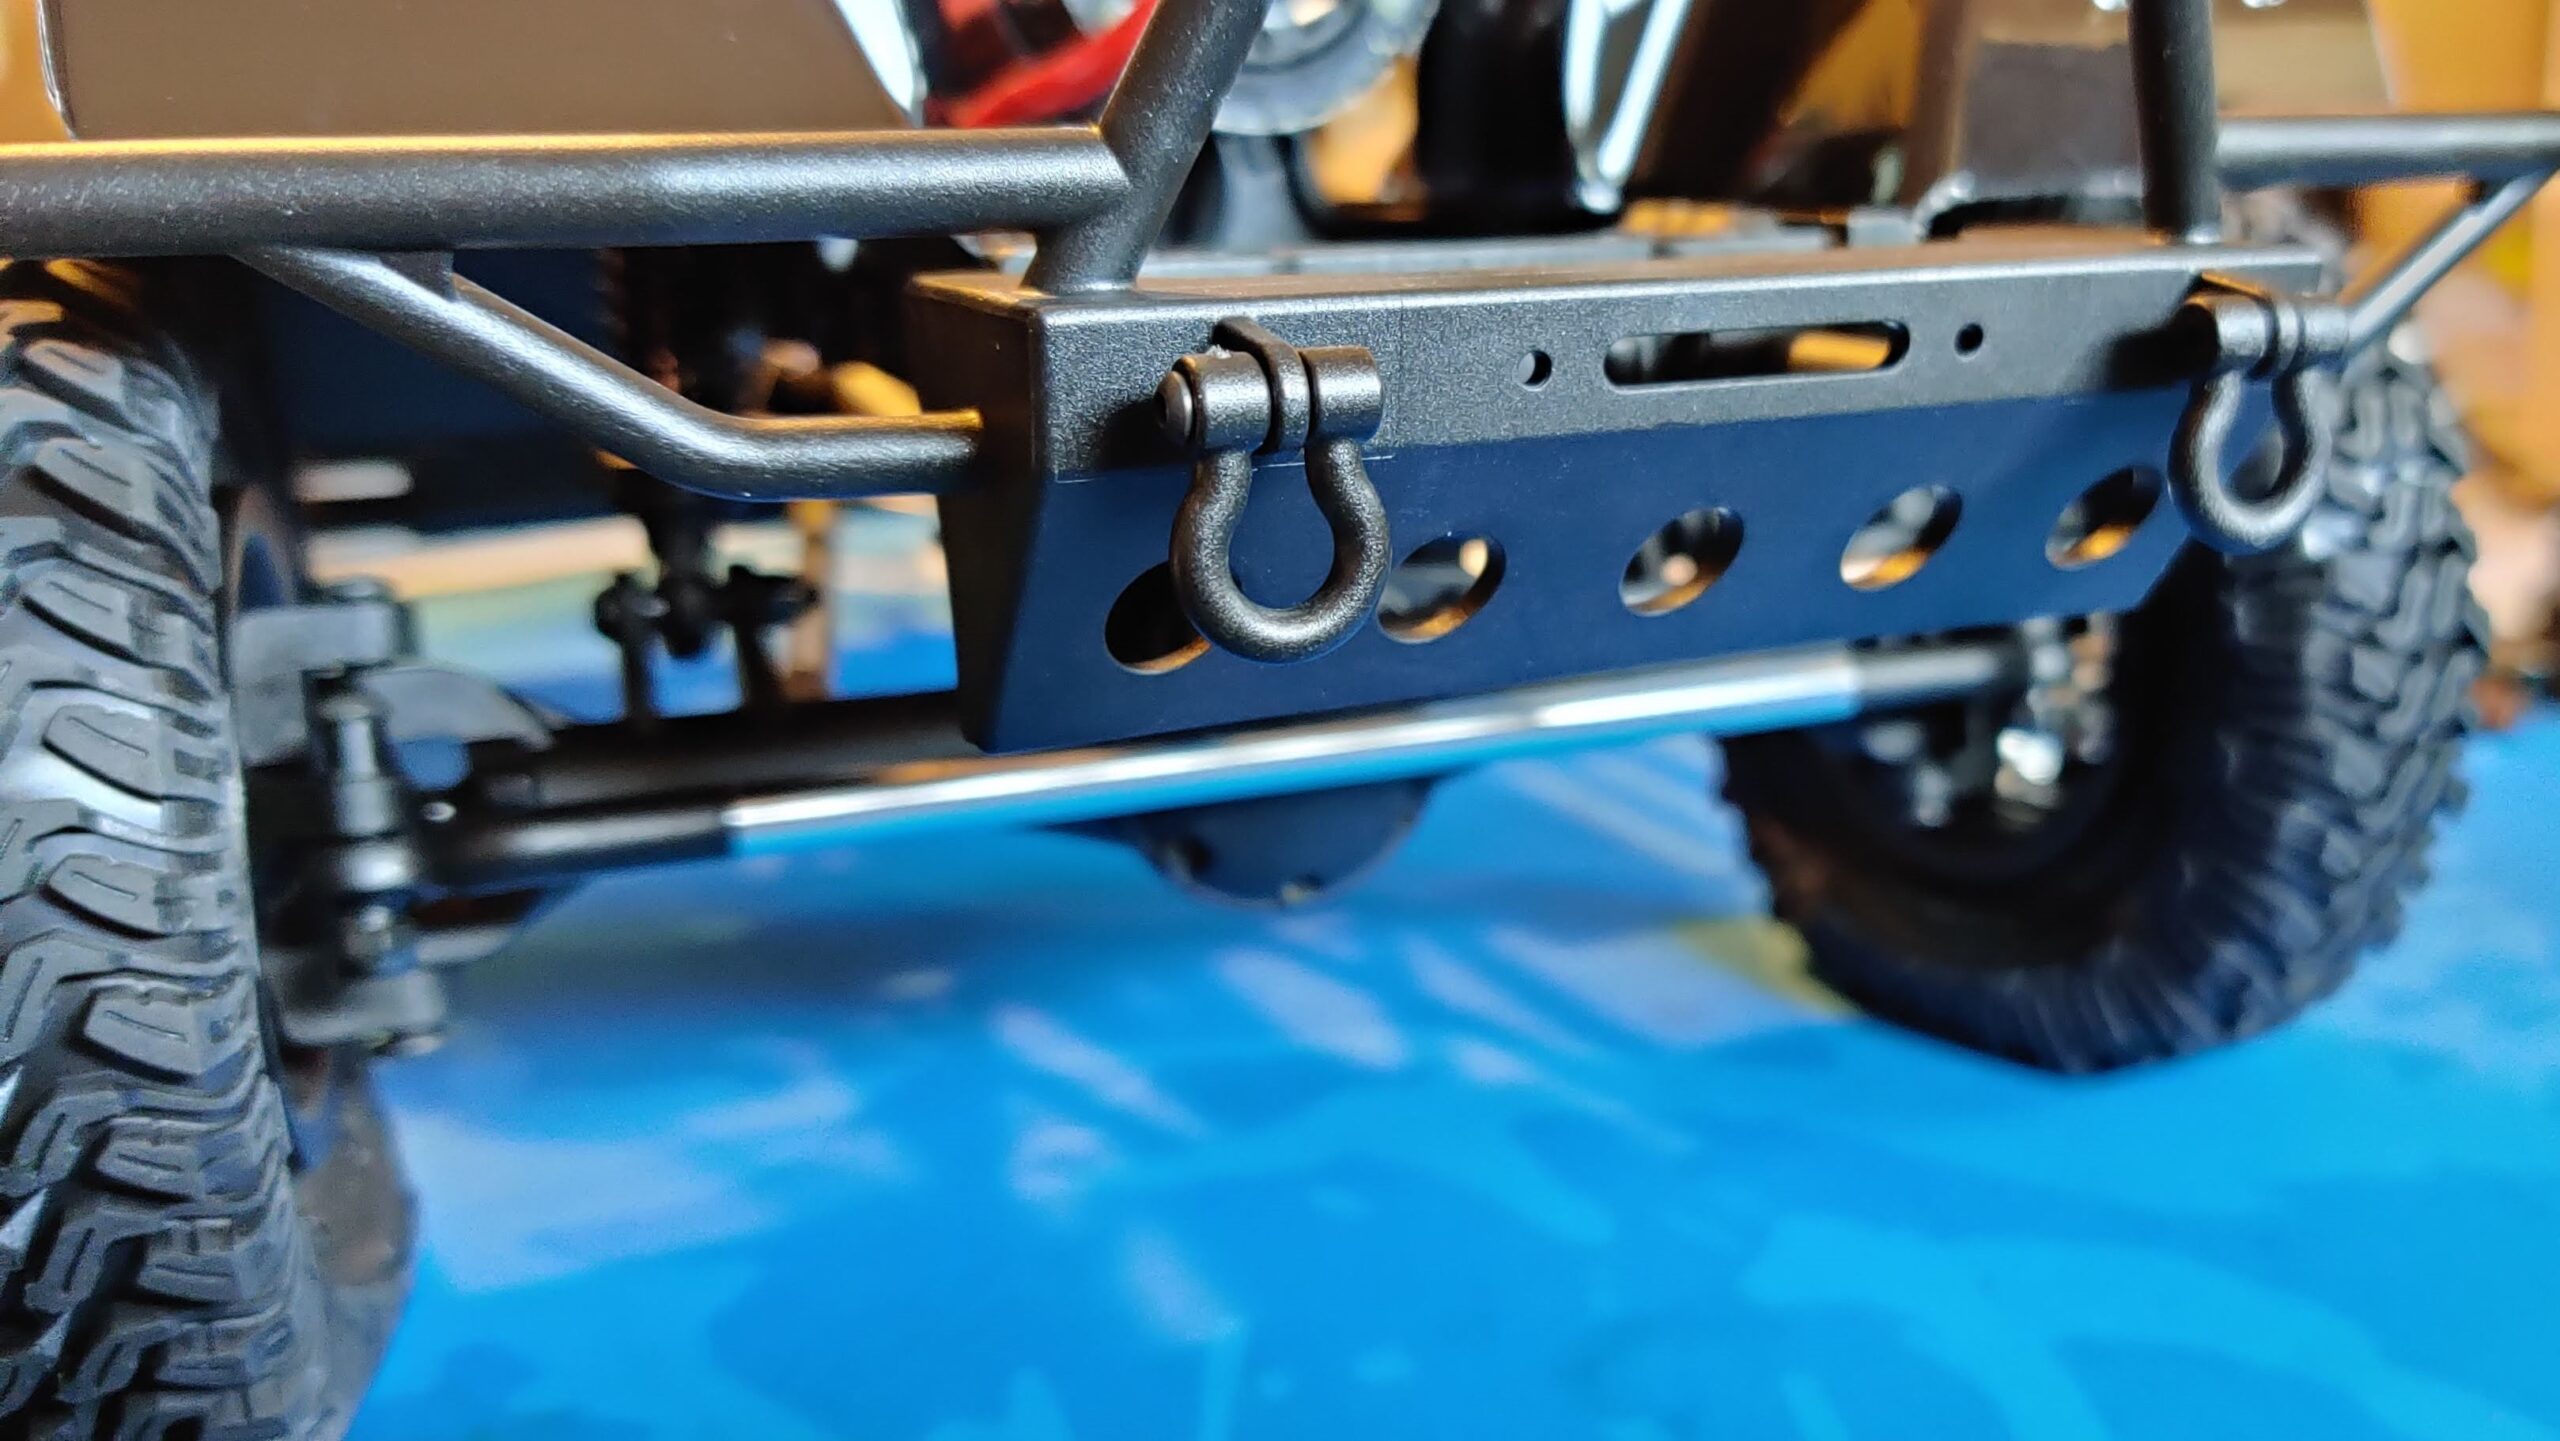
The included trim for this body really round out the scale appearance. Roof rack rails, side mirrors, front and rear wipers, rear door piece, and pretty bumpers all combine to deliver a pretty vehicle, wheels and missing interior aside!
Standard body pins through the hood and roof attach it to the chassis. For the price, this is fine, though it’s getting more common to see stealthy body attachment implementations and would have been a nice bonus touch with this scale model! For the price, traditional body posts and pins are acceptable.

Bringing It All Together
With the electrics in, the wheels on, the body finished and a battery charged, it was time for a maiden run!
I headed out to my 6-problem course, which I use for performance tests and comparisons for 1/10 crawlers. The MST DC1 finished 0 of 6, even with the better foams. Clearance was an issue.
So, it failed as a crawler on the most challenging stuff (and the 6-problem test course is NOT easy). But it looked good doing it!
See my full thoughts on driving, including on crawling and trail driving, in my video review below.
If you like crawlers and you’re a fan of the Land Rover Discovery, by all means, grab one of these. I note the body is available separately for USD$99 and there’s an RTR variant in green or blue for USD$369. My kit cost USD$289 and while it has its problems, overall it’s not bad.
If you have the itch for a kit build but want something with more rock-crawling ability than the DC1 here, you might check out the Cross RC EMO AT4 – very much a heavyweight alternative to the CFX-WS here! We also have a general ‘which crawler do I buy?’ article you might find useful.
As far as the DC1 goes, though, I like it. I probably won’t drive it terribly much. But for those Class-0 runs with friends driving RC4WD Gelandes, Trail Finders and other 1.55″ wheeled beasties, I think the MST DC1 will fit right in.
For the price, yeah, I like it! Get yours here.

Craig Veness
RC-TNT
Craig has been into radio control since the 90s and into RC crawling since about 2010, when a Losi MRC started the obsession! Now it’s all rocks this and crawl that and upgrade all the things! …You know how it is, right? Welcome home 🙂

