Comp Course Labels
Comp Course Labels
What This Is
When we run a comp day, our club has sometimes as many as 20 courses running concurrently.
It can get confusing for people who are looking for the right course for their class.
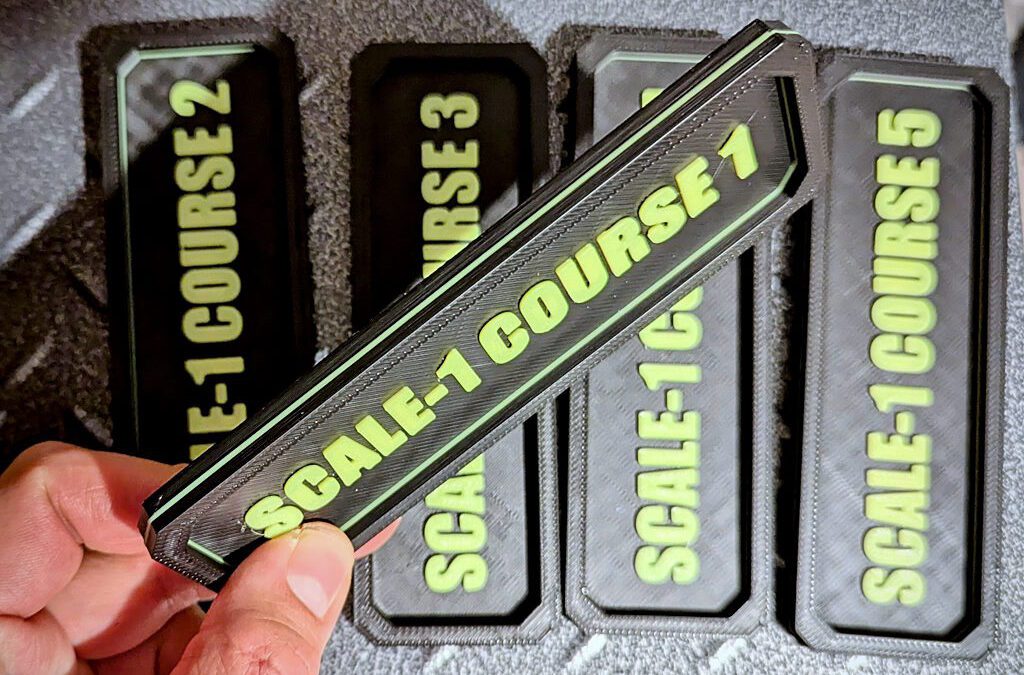
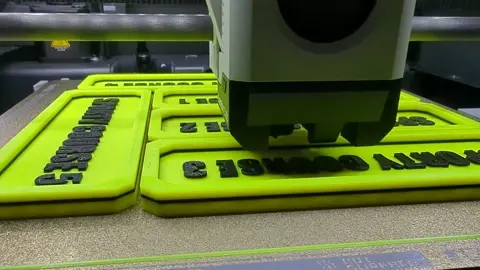
So, now we have these nifty course labels. Each one uses a bit under 30g of filament with 2 colors and probably less again with just one color.
What’s Included
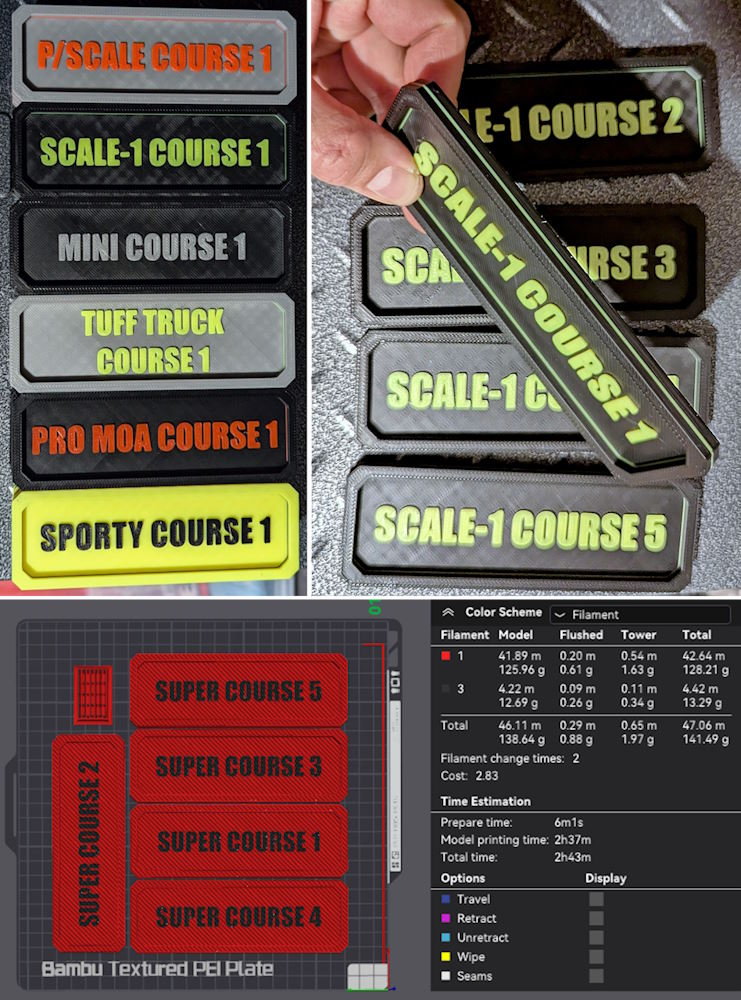
I’ve made a set of Course 1 to Course 5 for these classes:
- Super
- Pro/Moa
- Sporty
- Performance Scale
- Mini
- Scale-1 (experimental class)
- Pricey’s Tuff Truck (experimental class)
I’ve also made a blank label, so you can print it in just one bright color and then write your class and course number on it in black marker. It’s up to you how you do it!
They’re 150mm x 50mm in size, and about 8mm deep. I didn’t want to go too thin nor too small, as they need to be visible and also heavy enough to not be blown away in windy conditions. This size feels good in the hand and it’s easy to read in the IMPACT font I used.
Materials Needed
You’ll need 25g to 30g of PLA+ filament per label, and of course, access to 3D printer.
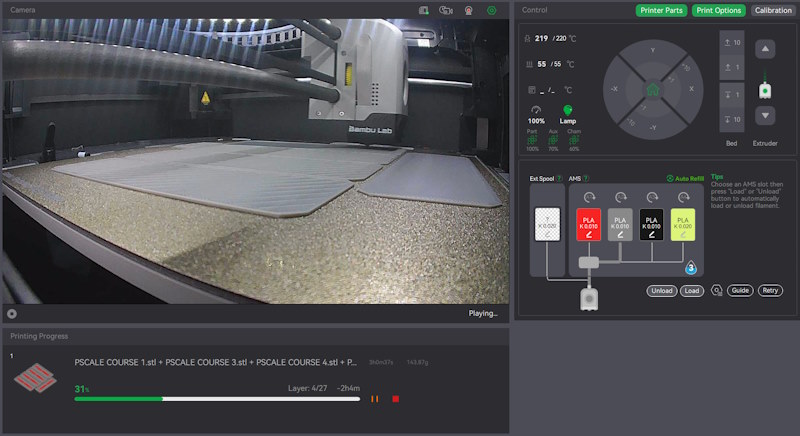
How to Print
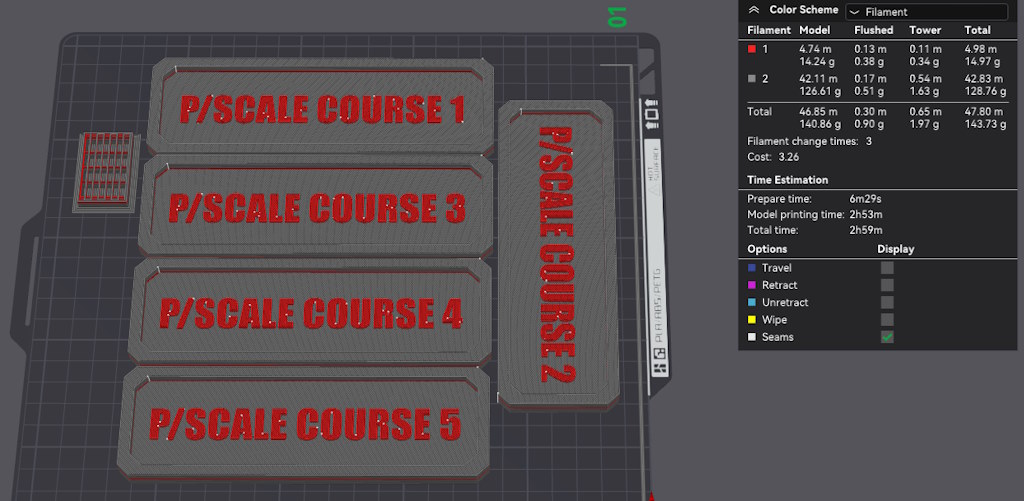
These are best printed at a draft resolution (0.24 on a 0.4mm nozzle or 0.3 or 0.36 on a 0.6mm nozzle). I used 2 walls (or shell thickness) and 10% Rectilinear infill.
Printing in two filament colors, care of Bambu AMS, at 0.3mm resolution, the total filament needed to print a set of 5 labels is 144g (or 48m of PLA+ filament).
Terms of Use
These files are provided for your personal use and enjoyment only. Please don’t print and sell them, nor the stl files (if you see them for sale in the wild, do me a solid and let me know!)
Please also don’t upload these to any of the online 3D printable sites. I’ve chosen not to do that and would appreciate you respecting that choice, as I’ve freely shared the files with you to print here on RC-TNT.com.
Thank you and please enjoy!

Craig Veness
RC-TNT
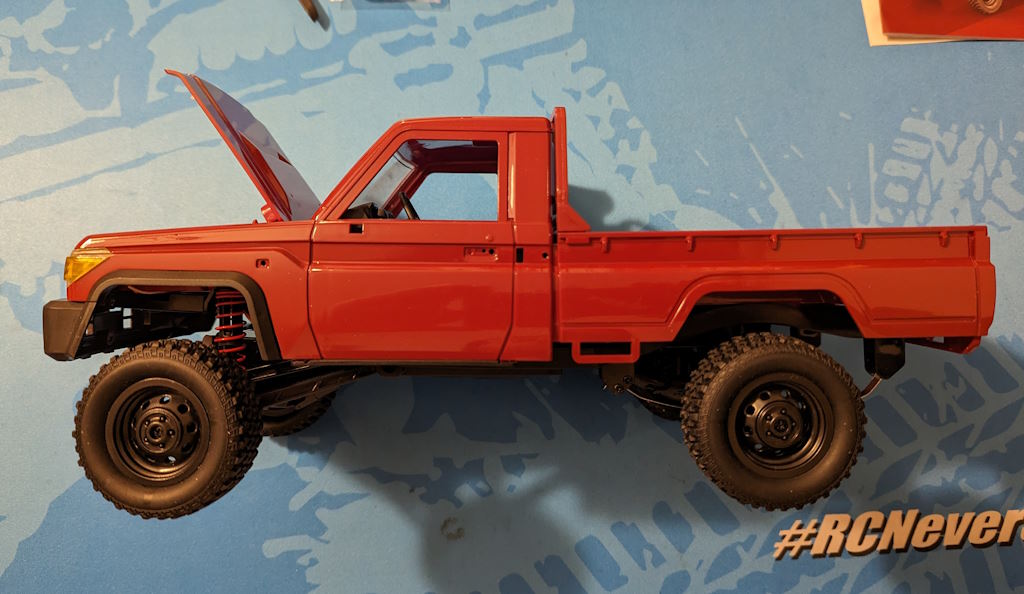
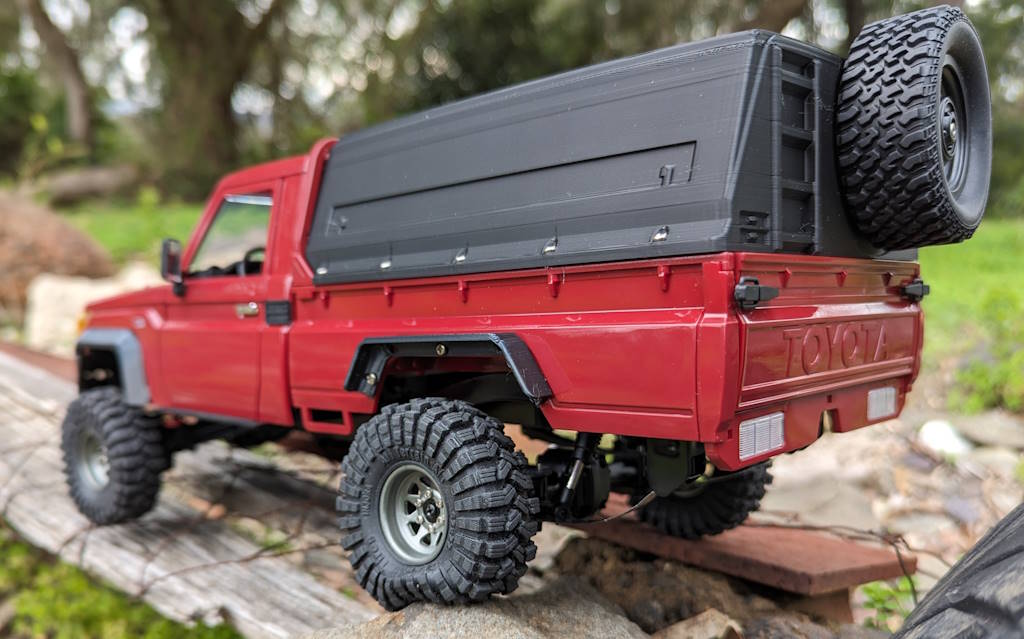
Craig has been into radio control since the 90s and into RC crawling since about 2010, when a Losi MRC started the obsession! Now it's all rocks this and crawl that and upgrade all the things! ...You know how it is, right? Welcome home 🙂


")
")