What This Is
This is the Aug 2023 version of the HT Feather, a performance-focused comp chassis for the Axial Capra UTB18 (Update: Sep 2023 version here).
It’s designed to optimize the rig for comp crawling, with a focus on clearing obstacles and lowering your center of gravity.
Crucially, it is a bolt-on upgrade. You only need to supply your own slightly longer screws. I’ve even got instructions for you!
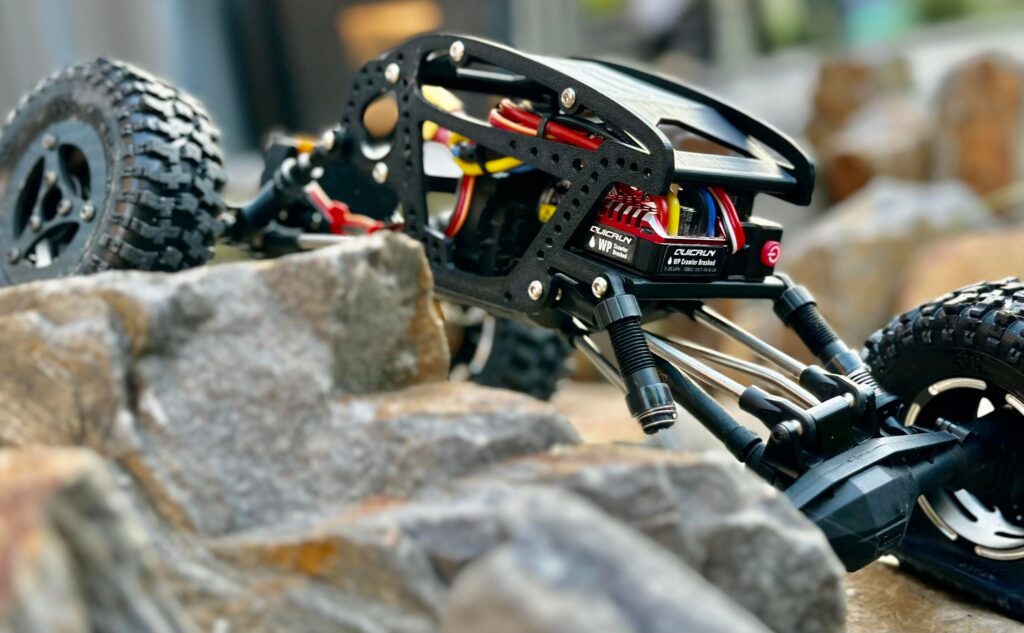
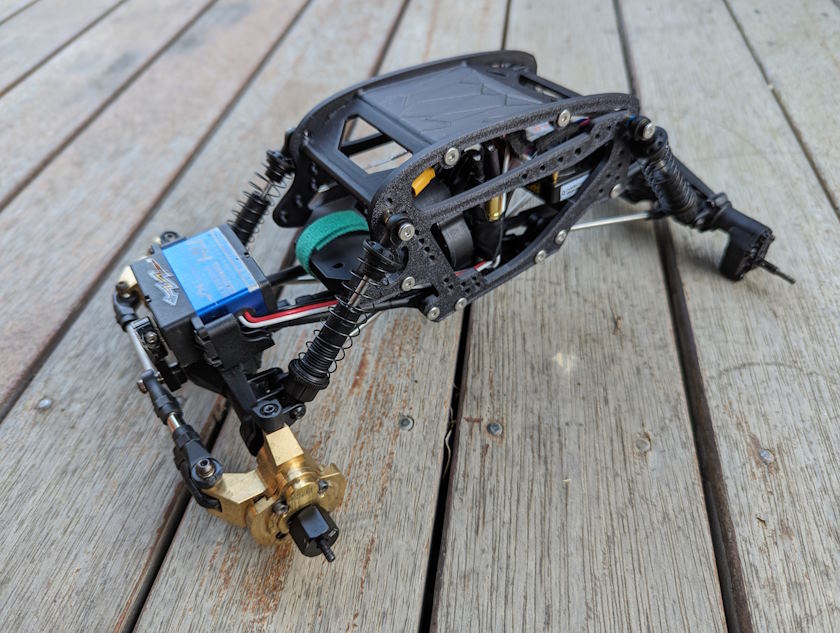
Photo credit: Harry Tetley; HT Feather v2.0 shown here.
What You Get
You get four files in this download:
- LHS chassis piece;
- RHS chassis piece;
- spacers; and,
- PDF assembly manual.
Current version: 2.1 (first public release version)
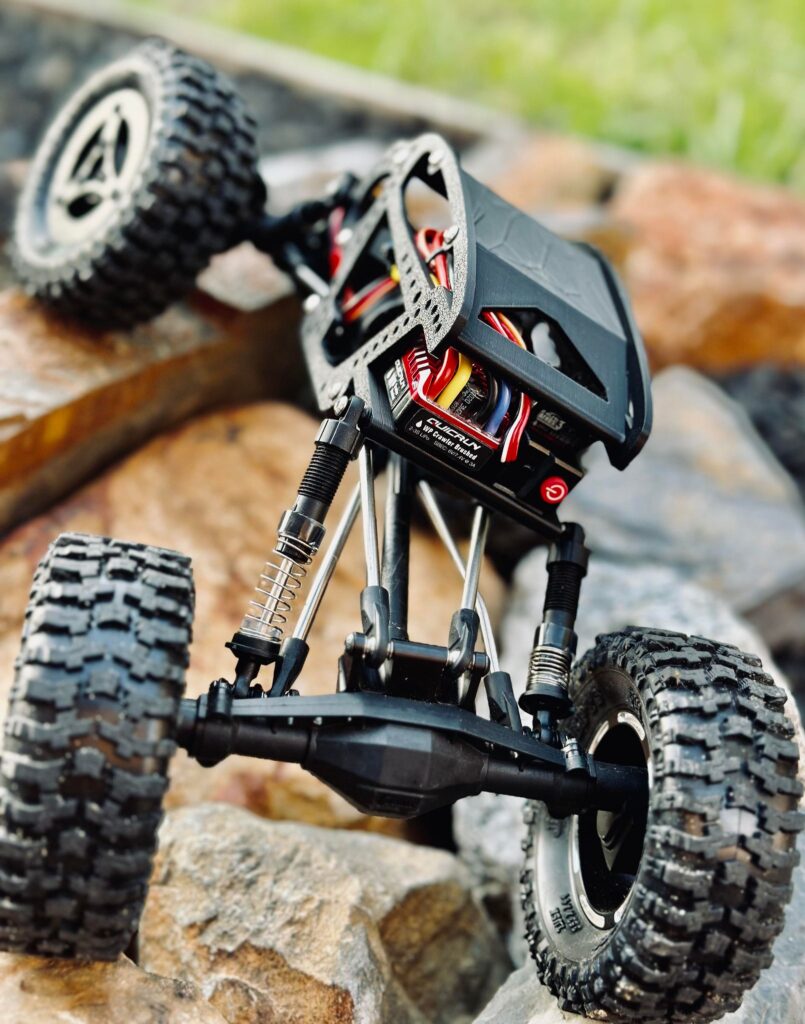
Photo credit: Harry Tetley; HT Feather v2.0 shown here.
How To Use
Here’s how to print them:
Quantity: 1 of each piece. The spacers are required for installation and the correct number and sizes are supplied in the single STL file.
Material: PETG or PLA+ (any brand) – we’ve had success with eSUN and SUNLU. There’s no standard for PLA+, but it gives strength and flexibility to PLA and has been good.
Resolution: I’ve been using 0.24, but any of 0.2, 0.24 or even 0.28 will work. Lower res is stronger, higher res is smoother. 0.24 is a good mid-point.
Infill: doesn’t really matter, but 15% should be fine.
Walls: 4 or 6, gives a little extra strength on those thinner parts.
Supports: none should be fine, but you could use Tree(Auto) or Default(Auto) and 5 degrees as the angle. That will support the middle of the rear-window arch, should your printer require the help. You don’t need to support anything else, and even this is optional on modern printers. Your mileage may vary.
Rafts: none
Orientation: on the flat side of both chassis parts. They’re designed to just work.
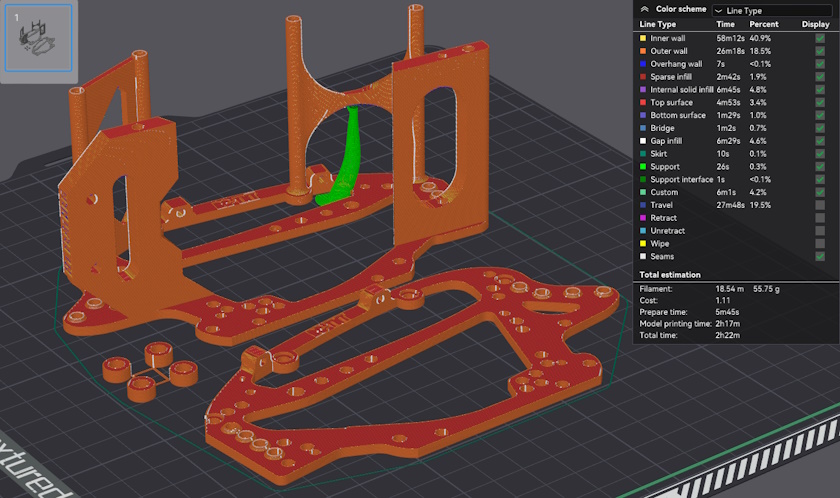
Pictured above: RC-TNT HT Feather V2.36, sliced on Bambu Studio in 0.2 res with 6 walls and 20% infill. This is stronger at higher detail. As above, 0.24 res/line width, 4 walls and 15% infill is also fine. I’m also using Tree support at 5 degrees, in order to help print that rear window arch cleanly in the Silk PLA+ filament I’m testing (Silk can be difficult to work with, so I’m experimenting).
Assembly
See the included Build Guide for assembly instructions. You’ll need 8x M3 8mm and 8x M3 18mm low-profile head screws – flat or button will work. Screws available here.
Enjoy!
Terms of Use
These files are provided for your personal use and enjoyment only. Please don’t print and sell them, nor the stl files (if you see them for sale in the wild, do me a solid and let me know!)
Please also don’t upload these to any of the online 3D printable sites. I’ve chosen not to do that and would appreciate you respecting that choice, as I’ve freely shared the files with you to print here on RC-TNT.com.
Thank you and please enjoy!
